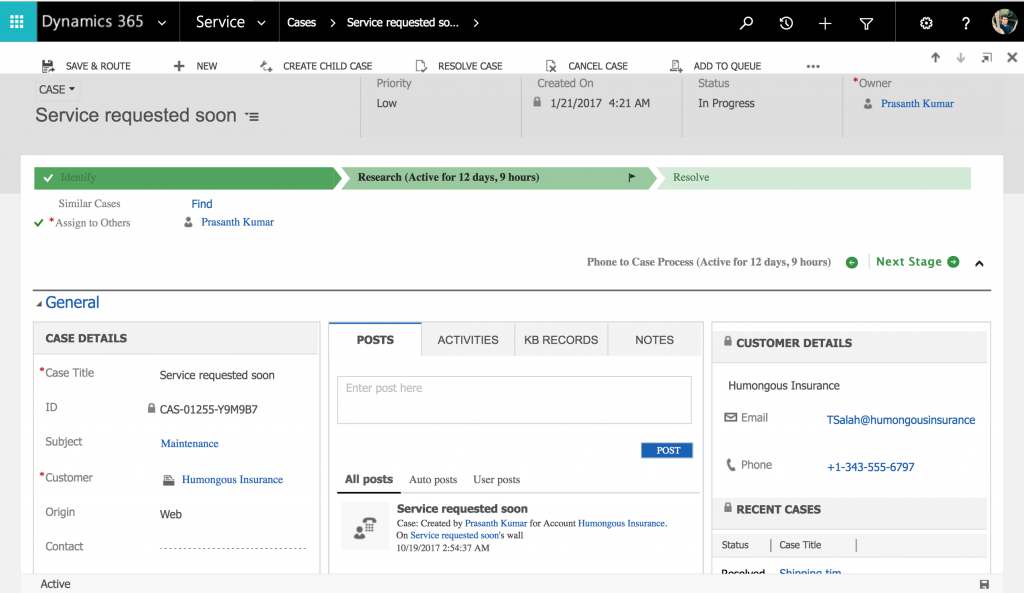
Microsoft Dynamics 365 Navigation and Interface is different when compared with Microsoft Dynamics CRM 2016. Dynamics 365 interface is cleaner and easier to find Applications and products. In this Dynamics 365 tutorial, we are going to learn about Microsoft Dynamics 365 Navigation and user interface step by step.
Microsoft Dynamics 365 Navigation
- Login to Dynamics 365 at http://login.microsoftonline.com.
- Enter your username and password.
- Click on Submit button.
After successfully login, Microsoft will be displayed two products office.com and Dynamics.com.
- Select Dynamics.com to login to home.dynamics.com.
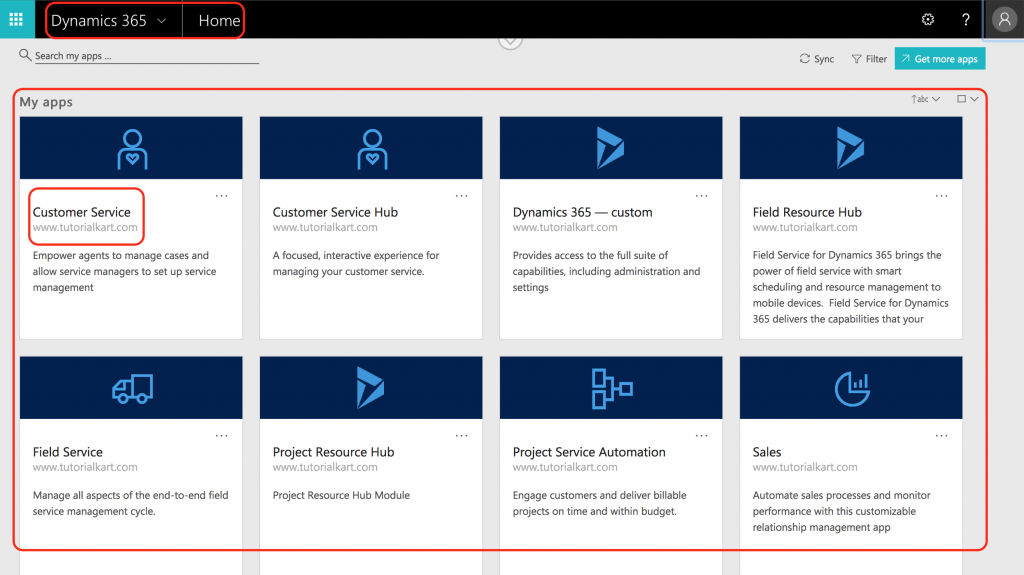
Now we are at Dynamics 365 Home, when we dropdown menu as shown below list of all application present in Microsoft Dynamics 365 will be displayed. In Dynamics 365 we have different options like My apps, Home, Dynamics 365 – Custom, Sales Hub, Sales, Customer Service, Project resource Hub, Project service automation, field service, Field resource Hub.
- Select Dynamics 365 – Custom as shown below.
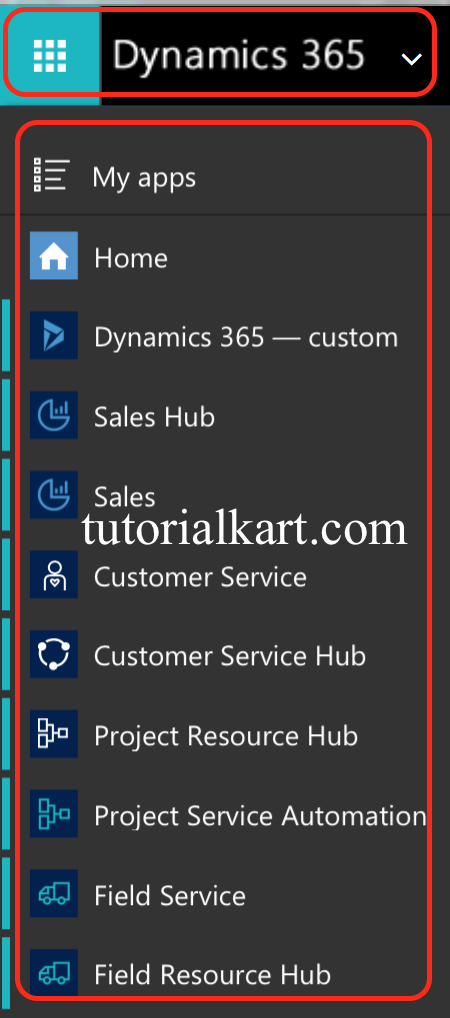
Microsoft Dynamics 365 interface lets users navigate from left to right, and the intuitive design includes large buttons for each of the various sections. If we select modules like Sales or Service, a “sticky” menu will with expanded menu items as shown below.
Microsoft Dynamics 365 Navigation
The navigation bar in Microsoft Dynamics 365 is located on the top of the screen and it contains Sales, Service, marketing, Field service, Project Service, Resource scheduling, Settings and training.

- To open recently opened pages click on clock symbol present on the top menu.
- A + icon is used for quickly adding information.
- A magnifying glass icon for systemwide quick searches and the Advanced Find button.
- If you click the + icon, the ribbon bar expands to show you what can be created.
Settings Personal Information in Dynamics 365
To setup Personal Information in Dynamics 365, navigate to Gear symbol present on the top right in the main menu. Here we can view Apps that are available for Dynamics 365, can view privacy statement
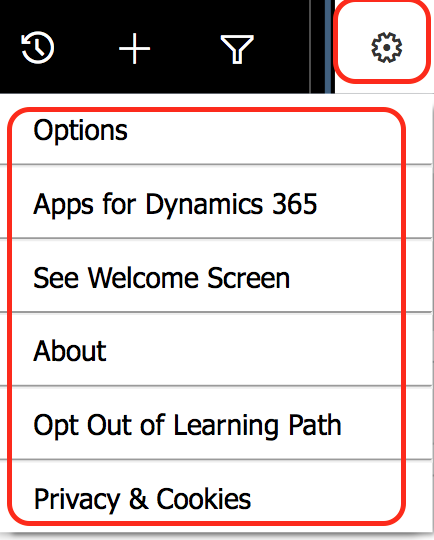
- Click on Options.
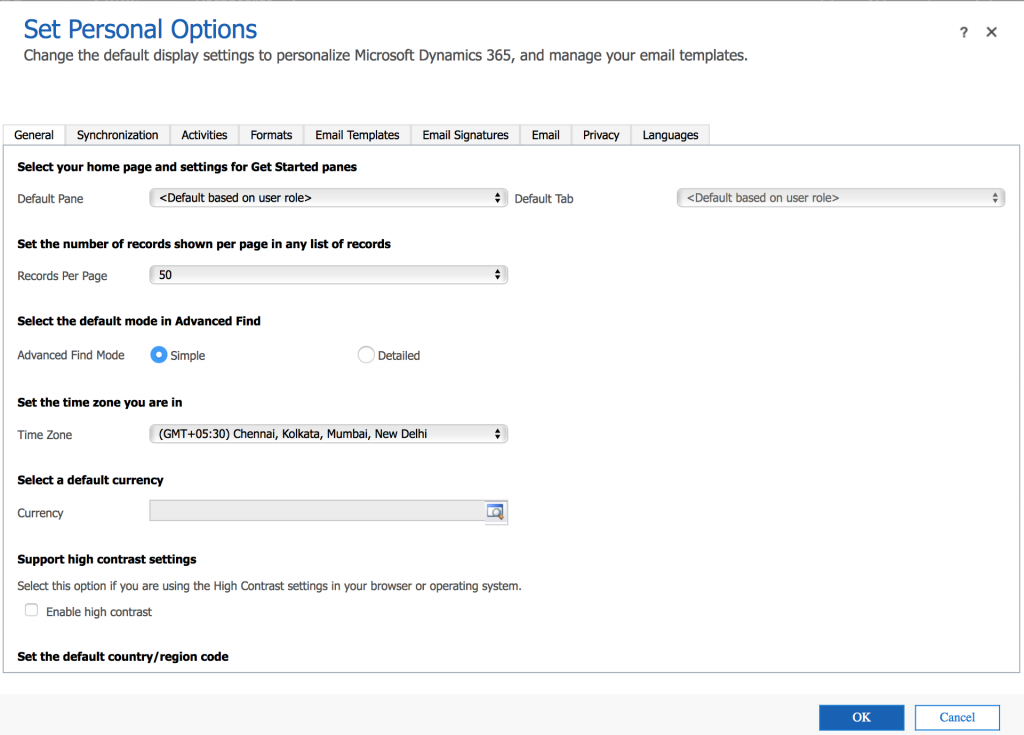
As shown above screen, we can setup time zone, default currency, email templates, Email signature, Can set language and many more.
How to Open recent pages in Microsoft Dynamics 365?
To view recently viewed files click on clock icon in the navigation bar. Now this option lists many more entities to choose from than the drop-down arrow’s list of recently viewed files as shown below.

How to Open recently viewed Options?
The drop-down arrow in the navigation bar is the Recently Viewed option. When you select this arrow, you see any records that have recently been accessed. When we click on drop down, it shows sales activity dashboard that have recently been viewed, and you can select one to easily navigate to it from here.

How to create new record and Customize a record in Dynamics 365?
When working with Records in Dynamics 365, a new record can be created by clicking on +New button and can be deleted by delete button. As shown below we have opened Contacts in Sales module and a list of all Contacts displayed. The available menu option … will display drop down options depending on the entity that we are working and the user permissions.

The following are the most common options on the dynamic submenu when you’re working on main (grouped) entities (such as Account or Contact).
| New | Delete | Email a Link |
| Run Report | Excel Templates | Export to Excel |
| Import Data | Chart Pane | View |
| Form | Add to Queue | Share |
| System view | Customize Entity | New System View |
Menu Options for existing contact
When users navigate to a record, they are presented with a variety of menu options at the top of the page. These options are dynamic and varied, depending on what the record allows or what it has been customised to include. As shown below we have a opened Contacts records.
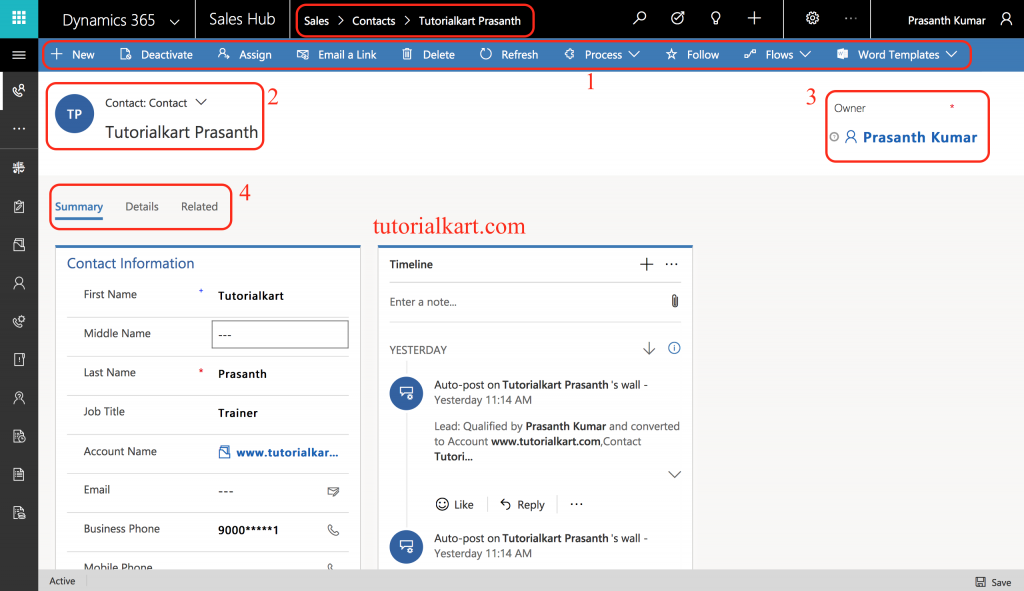
As shown below, menu options for contacts and cases are different with each other.
