HTML Input Email Type
The HTML <input> element with type="email" creates a field specifically designed for entering email addresses. This input type provides built-in validation to ensure the user enters a properly formatted email address before submitting the form. It’s an essential tool for collecting user emails in forms such as subscriptions, contact forms, and user registration systems.
In this tutorial, we will learn the syntax and how to use input element with email type, specify a placeholder, do validations, or specify custom validations using JavaScript, and style it using CSS.
1 Basic Syntax of Email Input
The basic syntax for an email input field is:
<input type="email" name="user_email">Here:
type="email": Specifies that the input field accepts email addresses.name: Associates a name with the input for form submission.
Example: index.html
<!DOCTYPE html>
<html lang="en">
<head>
  <title>HTML Input Example tutorialkart.com</title>
</head>
<body>

  <form>
    <input type="email" name="user_email">
    <input type="submit" value="Submit">
  </form>

</body>
</html>
Video
2 Adding a Label for Accessibility for Email Input
To make the email input accessible and user-friendly, use a <label> element:
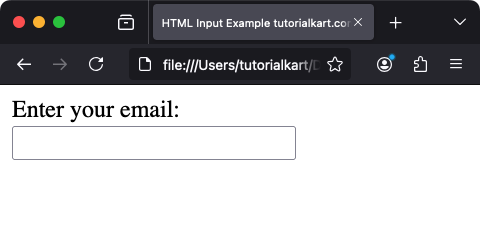
<label for="email">Enter your email:</label>
<input type="email" id="email" name="email">
Clicking the label focuses the input field, enhancing usability and accessibility.

3 Placeholder Text for Email Input
You can use the placeholder attribute to provide a hint or example of the expected email format:
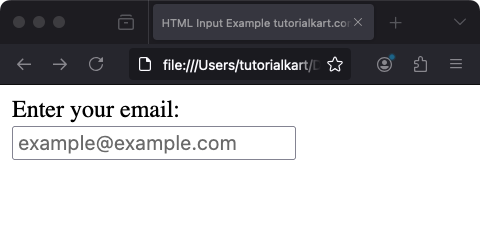
<input type="email" id="user_email" name="user_email" placeholder="example@example.com">In this example, “example@example.com” is displayed as placeholder text inside the input field.
Example: index.html
<!DOCTYPE html>
<html lang="en">
<head>
  <title>HTML Input Example tutorialkart.com</title>
</head>
<body>

  <form>
    <label for="user_email">Enter your email:</label>
    <input type="email" id="user_email" name="user_email" placeholder="example@example.com">
  </form>

</body>
</html>
Screenshot

4 Validation with Required Attribute for Email Input
Use the required attribute to ensure the user cannot submit the form without providing a valid email address:
<input type="email" id="email" name="email" required>If the user tries to submit the form without entering an email, the browser will display a validation error.
Example: index.html
<!DOCTYPE html>
<html lang="en">
<head>
  <title>HTML Input Example tutorialkart.com</title>
</head>
<body>

  <form>
    <label for="email">Enter your email:</label>
    <input type="email" id="email" name="email" required>
    <input type="submit" value="Submit">
  </form>

</body>
</html>
Video
5 Pattern Matching for Additional Validation of Email Input
Although the email input type includes basic validation, you can add a pattern attribute for custom validation:
<input type="email" id="email" name="email" pattern="[a-z0-9._%+-]+@[a-z0-9.-]+\.[a-z]{2,}$" placeholder="example@example.com" required>This pattern ensures a stricter format for email addresses, including lowercase letters, numbers, and specific characters.
6 Styling Email Input Fields
CSS can be used to style the email input field for better aesthetics:
<style>
  input[type="email"] {
    width: 100%;
    padding: 10px;
    font-size: 16px;
    border: 1px solid #ccc;
    border-radius: 5px;
  }

  input[type="email"]:focus {
    border-color: #4CAF50;
    outline: none;
    box-shadow: 0 0 5px #4CAF50;
  }
</style>

<label for="styled_email">Email:</label>
<input type="email" id="styled_email" name="styled_email" placeholder="you@example.com">
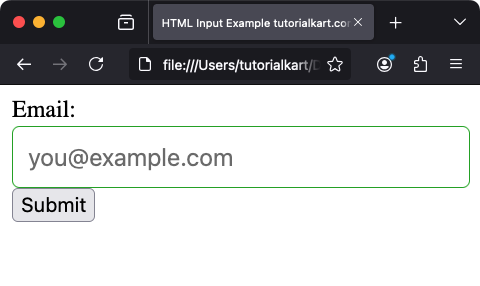
This styling creates a rounded input field with a green border and glow effect when focused.
Example: index.html
<!DOCTYPE html>
<html lang="en">
<body>

  <form>
    <style>
      input[type="email"] {
        width: calc(100% - 20px);
        padding: 10px;
        font-size: 16px;
        border: 1px solid #2a2;
        border-radius: 5px;
      }

      input[type="email"]:focus {
        border-color: #4CAF50;
        outline: none;
        box-shadow: 0 0 5px #4CAF50;
      }
    </style>

    <label for="styled_email">Email:</label>
    <input type="email" id="styled_email" name="styled_email" placeholder="you@example.com">
    <input type="submit" value="Submit">
  </form>

</body>
</html>
Screenshot

7 Using JavaScript with Email Input
JavaScript can be used to dynamically validate the email input or handle user interactions. For example, checking the validity of the email field:
<form id="emailForm">
  <label for="emailInput">Enter your email:</label>
  <input type="email" id="emailInput" name="emailInput" required>
  <button type="button" onclick="validateEmail()">Validate</button>
</form>

<script>
  function validateEmail() {
    const emailField = document.getElementById('emailInput');
    if (emailField.checkValidity()) {
      alert('Email is valid!');
    } else {
      alert('Please enter a valid email address.');
    }
  }
</script>
This example validates the email input field and provides feedback to the user via an alert message.
8 Accessibility Considerations for Email Input
To ensure your email input is accessible:
- Always use a
<label>element to associate descriptive text with the input. - Provide placeholder text for guidance if necessary, but do not rely solely on it for instructions.
- Ensure sufficient color contrast between the input text and background.
9 Real-World Use Cases for Email Input
- User Registration: Collect email addresses for account creation.
- Contact Forms: Allow users to submit their queries or feedback along with an email address for responses.
- Newsletter Subscriptions: Gather user emails for sending updates or promotional content.
Conclusion
The HTML <input type="email"> element is an essential part of modern web forms, offering built-in validation and an optimized user experience. By combining it with labels, styling, and JavaScript, you can create robust and accessible email input fields for your projects.
