HTML Ordered Lists
HTML ordered lists (<ol>) are used to display a collection of items in a specific, sequential order. Each item is represented by the <li> (list item) element, and the browser automatically numbers the items in the list. Ordered lists are perfect for instructions, steps, ranking, or any data where order matters.
In this HTML tutorial, we will learn about Ordered Lists, and explore the structure, attributes, and styling of ordered lists, with practical examples and tips to help you effectively use them in your web projects.
For an overview of what lists are, refer HTML Lists.
What is an Ordered List?
An ordered list is a collection of items where the order of the items is significant. The list is enclosed within the <ol> tags, and each item is defined using the <li> tag.
Here’s the basic syntax of an ordered list:
<ol>
  <li>First item</li>
  <li>Second item</li>
  <li>Third item</li>
</ol>
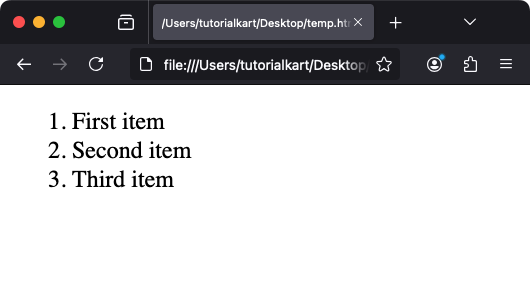
The browser will render this as a numbered list:
Attributes of the <ol> Element
The <ol> element supports several attributes to customize its behavior and appearance:
1 type
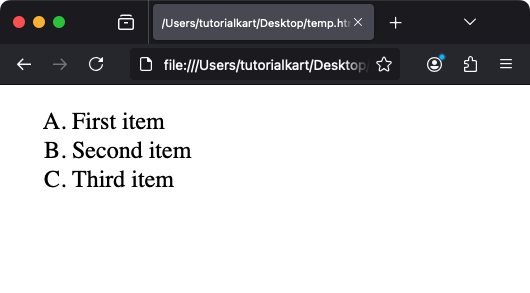
The type attribute specifies the style of numbering. Possible values include:
1: Default numeric style (1, 2, 3, …).A: Uppercase letters (A, B, C, …).a: Lowercase letters (a, b, c, …).I: Uppercase Roman numerals (I, II, III, …).i: Lowercase Roman numerals (i, ii, iii, …).
Example:
<ol type="A">
  <li>First item</li>
  <li>Second item</li>
  <li>Third item</li>
</ol>
Output:
2 start
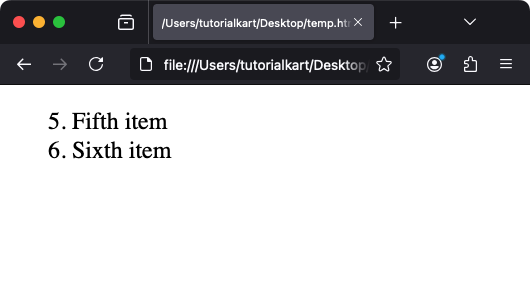
The start attribute specifies the starting value of the list:
<ol start="5">
  <li>Fifth item</li>
  <li>Sixth item</li>
</ol>
Output:
3 reversed
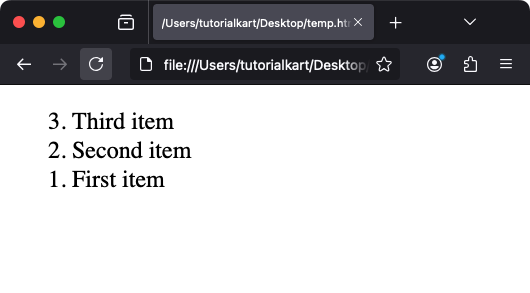
The reversed attribute creates a list in reverse order:
<ol reversed>
  <li>Third item</li>
  <li>Second item</li>
  <li>First item</li>
</ol>
Output:
Styling Ordered Lists with CSS
CSS can be used to style ordered lists, such as changing numbering styles, adjusting spacing, or customizing appearance. Below are some common techniques:
1 Changing the List Style
Use the list-style-type property to change numbering styles:
<style>
  ol {
    list-style-type: lower-roman; /* Options: decimal, lower-alpha, upper-alpha, etc. */
  }
</style>

<ol>
  <li>Item 1</li>
  <li>Item 2</li>
</ol>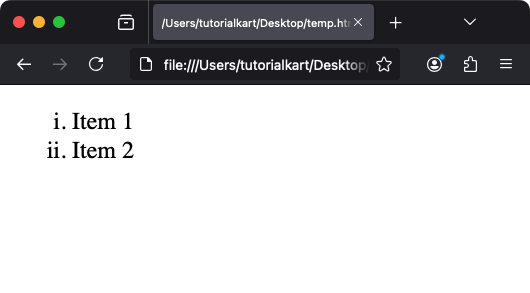
2 Customizing Indentation
Adjust the indentation of the list using margin and padding:
<style>
  ol {
    margin-left: 20px; /* Indentation from the left */
    padding: 0;
  }
</style>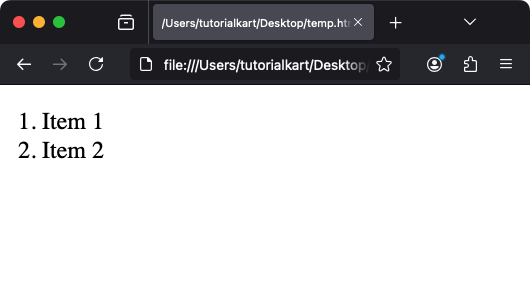
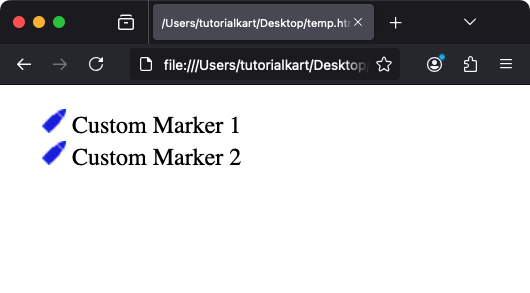
3 Adding Custom Markers
To use custom markers, set list-style-image with a URL to an image:
<style>
  ol {
    list-style-image: url('custom-marker.png');
  }
</style>

<ol>
  <li>Custom Marker 1</li>
  <li>Custom Marker 2</li>
</ol>
This method allows for unique and creative numbering designs.
Nested Ordered Lists
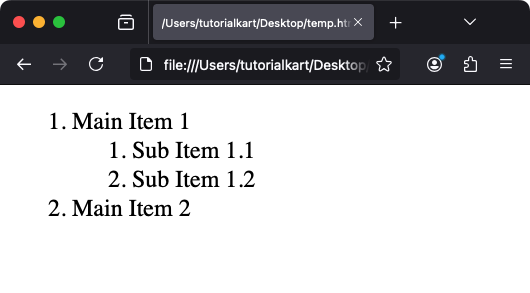
Ordered lists can be nested to create hierarchical structures. Each nested list is placed inside an <li> element of the parent list:
<ol>
  <li>Main Item 1
    <ol>
      <li>Sub Item 1.1</li>
      <li>Sub Item 1.2</li>
    </ol>
  </li>
  <li>Main Item 2</li>
</ol>
This creates a multi-level list, with each nested list indented.
Accessibility Considerations
Follow these guidelines to ensure ordered lists are accessible:
- Use
<ol>for lists where order matters; otherwise, use<ul>. - Provide context for the list, such as a heading or introductory text.
- Ensure proper nesting of lists to maintain logical structure for screen readers.
Best Practices for Ordered Lists
- Keep lists concise to avoid overwhelming users.
- Use consistent numbering styles across your webpage for uniformity.
- Apply CSS for spacing and alignment to enhance readability.
- Leverage nested lists for complex data, but ensure logical hierarchy.
Conclusion
HTML ordered lists are a powerful way to present ordered information. By understanding their structure, attributes, and styling options, you can create visually appealing and functional lists that improve user experience and effectively convey structured information.
