Mac – Create New User
In this tutorial, we will learn how to create a new user in Mac, in a step by step process.
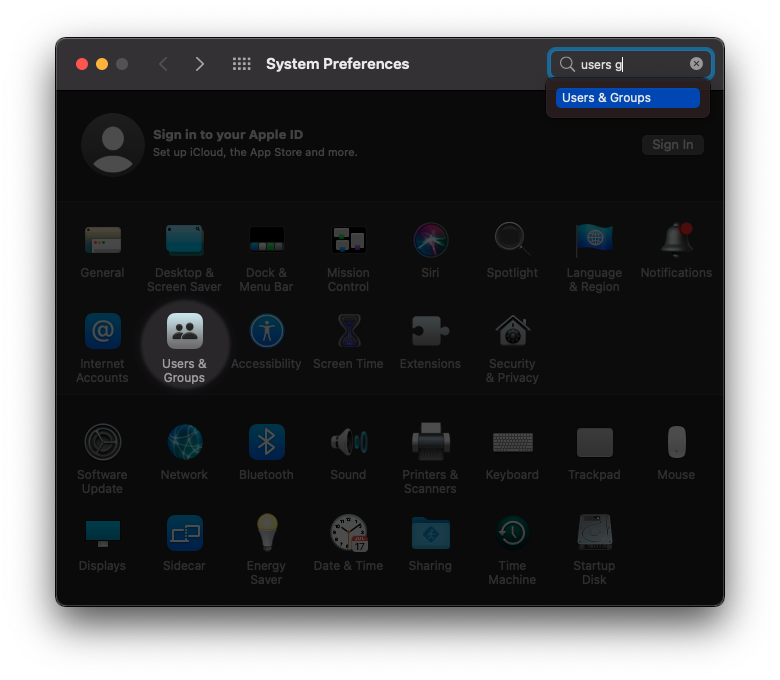
Step 1 – Open System Preferences
From Dock, click on System Preferences Icon.

Step 2 – Users & Groups
Click on Users & Groups item.
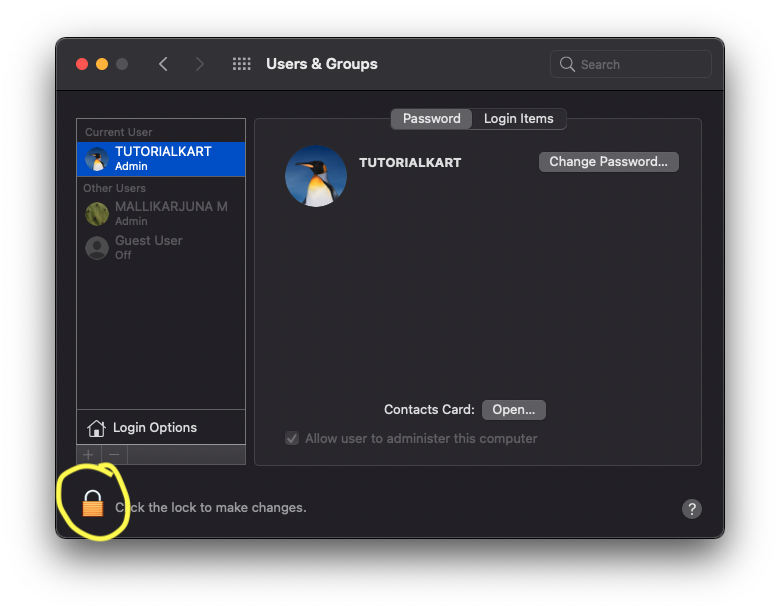
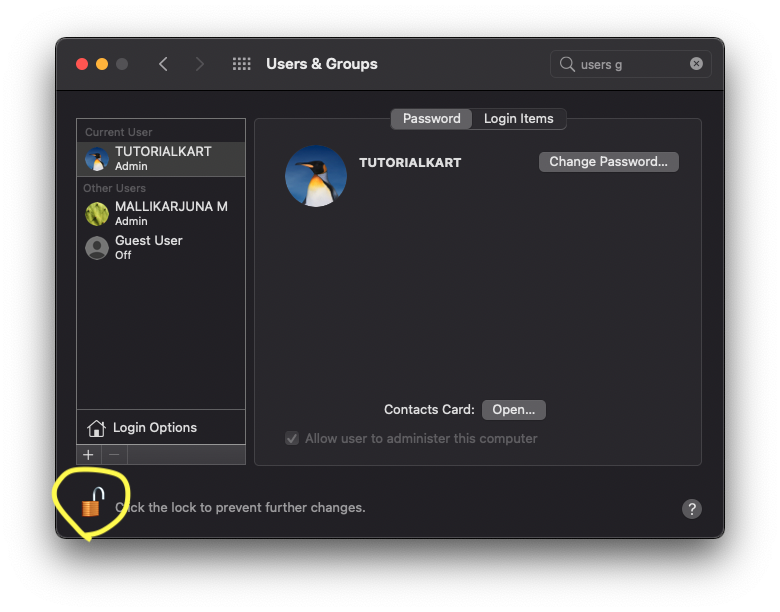
Step 3 – Unlock
Click on the Lock icon in the bottom left corner of the window, as shown in the following screenshot, highlighted.
Step 4 – Enter Password
A prompt appears for confirmation and requests account password.
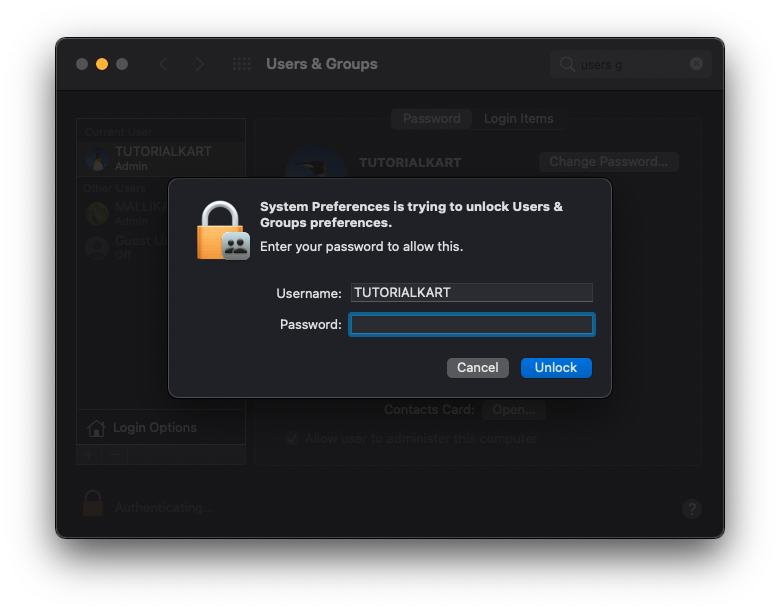
Enter the password and click on Unlock button.
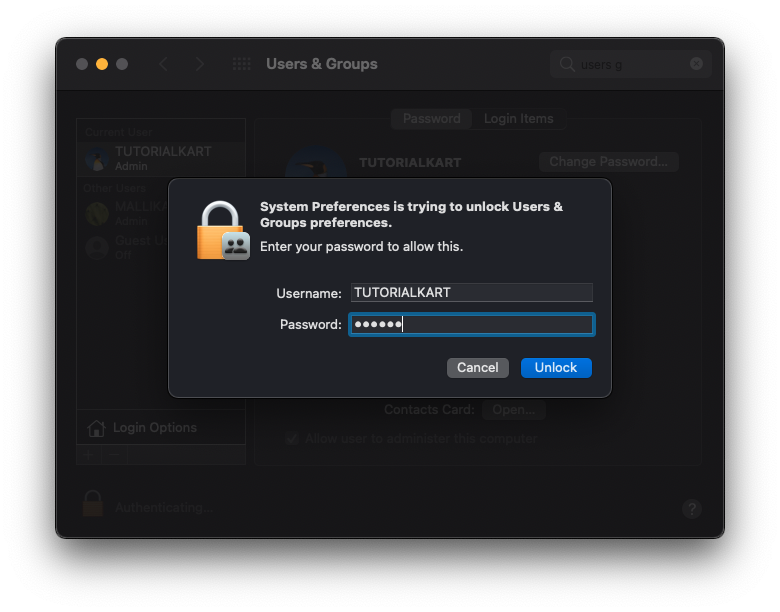
The Lock is unlocked. Now, we can make changes to Users & Groups.
Step 5 – Add User
Click on the + button in the bottom right corner, as shown in the following screenshot, highlighted.

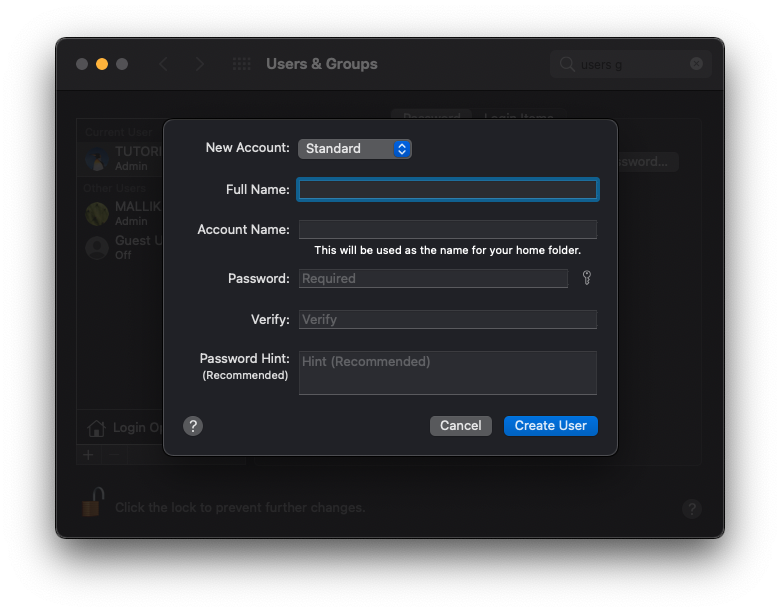
Step 6 – User Details
Provide User details like Full Name, Account Name, Password and Verify password. Password Hint is optional. The Password and Verify should match.
After filling in the details, click on Create User button.

The user is created successfully.
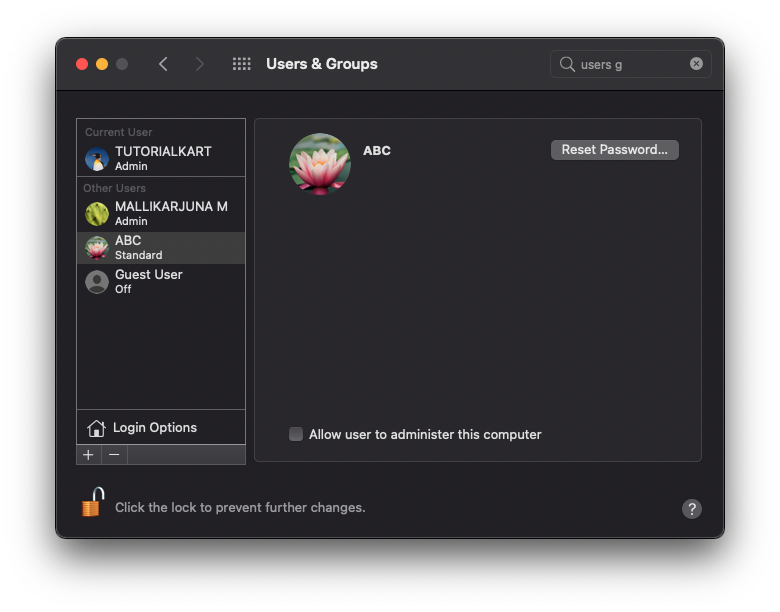
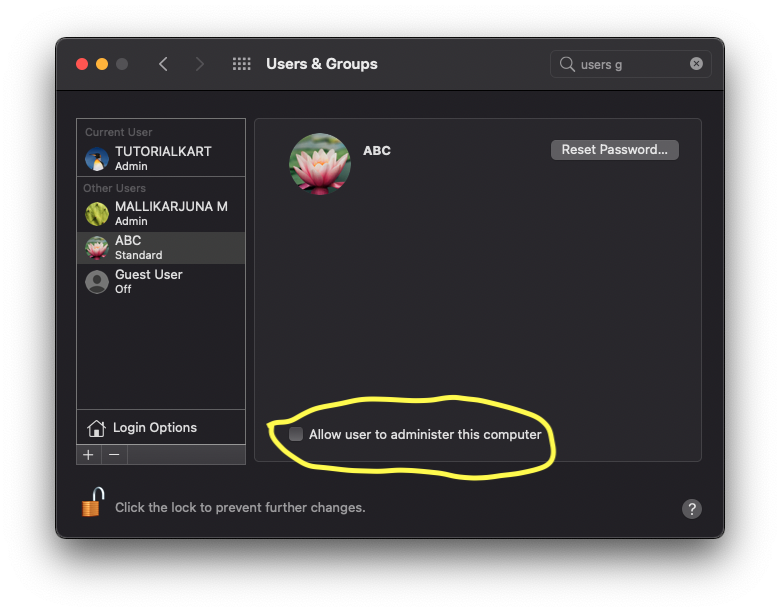
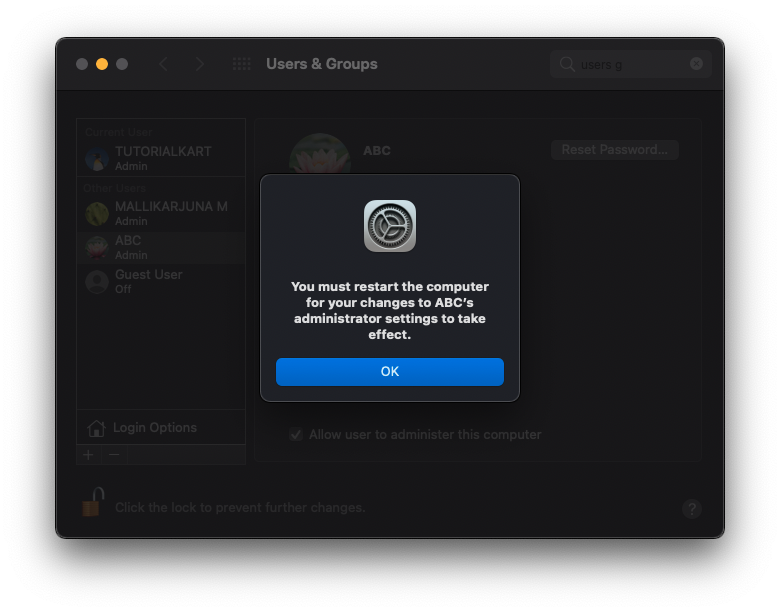
Optionally, you may allow this user to administer this computer. Click on the checkbox, as shown in the following screenshot, highlighted.
A dialog appears. Click OK.
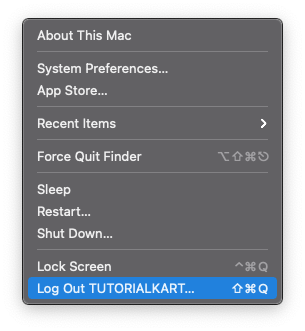
Step 7 – Log Out / Restart
Restart (in case of user with administrator privileges) or Log Out, and login to the newly created account.
Conclusion
In this Mac Tutorial, we learned how to create a new user in Mac.