Create a Database in MySQL
Creating a database is the first step when working with MySQL, as it serves as a container for tables and other objects.
In this tutorial, we will provide detailed steps on how to create a database in MySQL using both the command-line interface (CLI) and graphical tools such as MySQL Workbench. We’ll also cover some common scenarios and best practices for creating databases.
Prerequisites
Before you begin, ensure the following:
- You have MySQL installed on your system.
- You have access to the MySQL server, and you have sufficient privileges (e.g., the
CREATEprivilege) to create a database. - You have access to a MySQL client, such as the command-line interface or MySQL Workbench.
Creating a Database Using the MySQL Command-Line Interface
Follow these steps to create a database using the MySQL CLI:
Step 1: Connect to the MySQL Server
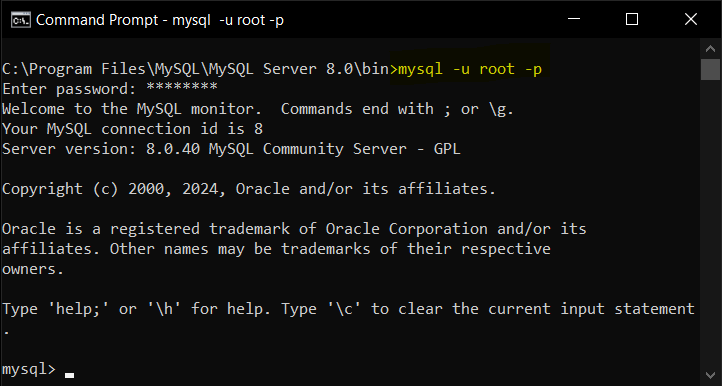
Open your terminal or command prompt, navigate to the mysql location, and login to the MySQL server using the following command:
mysql -u username -pReplace username with your MySQL username. When prompted, enter your password to log in.
In this guide, we will use the root user.
Step 2: Create the Database
To create a new database, use the CREATE DATABASE statement:
CREATE DATABASE database_name;Replace mydatabase with the name of your desired database. Database names must be unique within the MySQL instance.
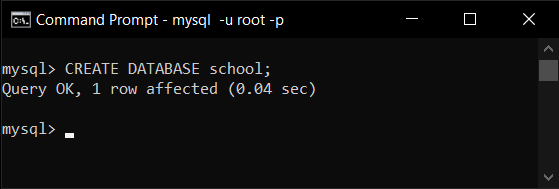
Let us create a database named school.
CREATE DATABASE school;If the database creation is successful, you would see a message “Query OK” as shown in the following screenshot.
Step 3: Verify the Database
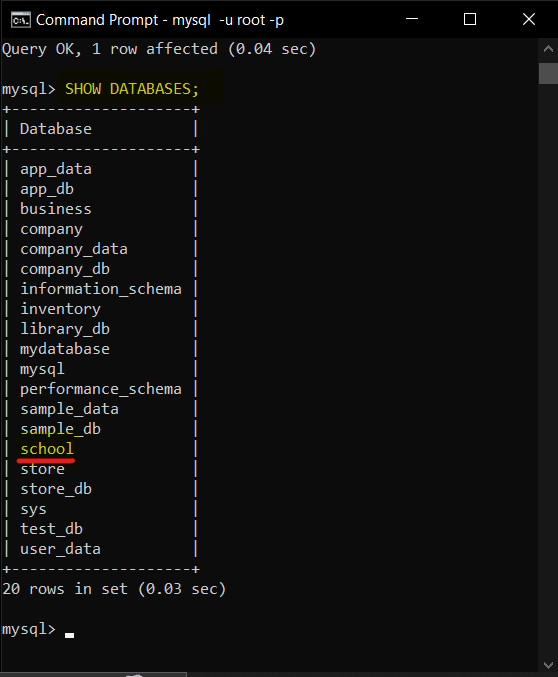
To confirm that the database has been created, list all databases:
SHOW DATABASES;The newly created database school should appear in the list.
Step 4: Use the Database
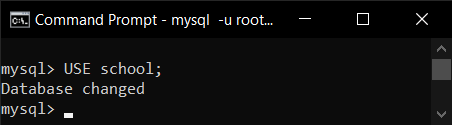
To start working within the new database, select it using the USE statement:
USE database_name;Let us select the school database.
USE school;You can now create tables and perform operations within the selected database.
Creating a Database Using MySQL Workbench
If you prefer a graphical interface, you can use MySQL Workbench to create a database. Follow these steps:
Step 1: Launch MySQL Workbench
Open MySQL Workbench on your system.
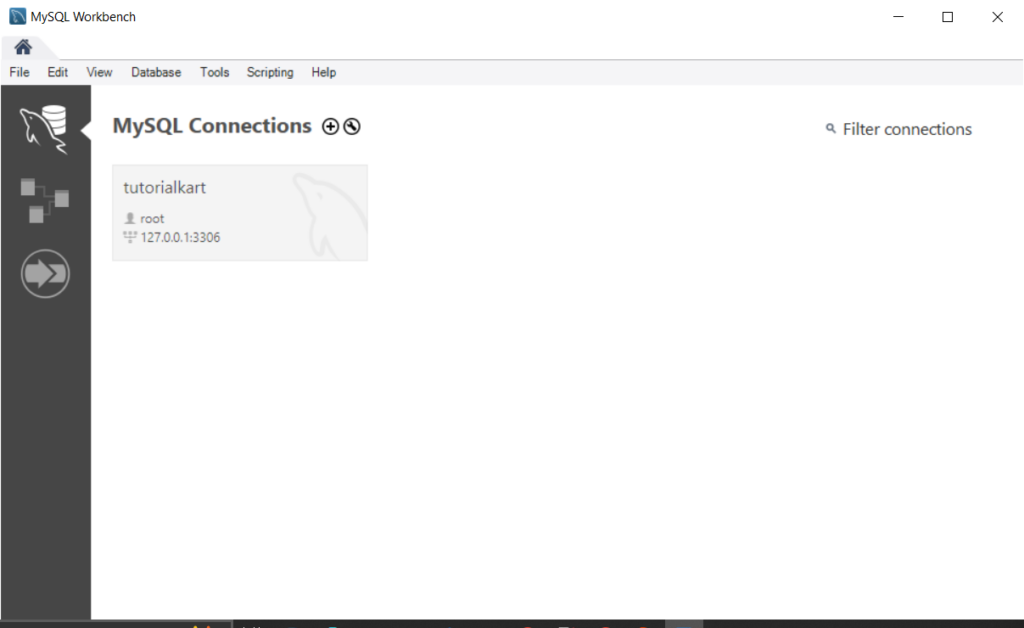
And connect to the MySQL server by clicking on the appropriate connection in the home screen.
In the above screenshot, we have tutorialkart connection. We shall click on it.
Step 2: Open the Schema Panel
In the left-hand navigation panel, right-click on empty area in the “Schemas” tab and select Create Schema.
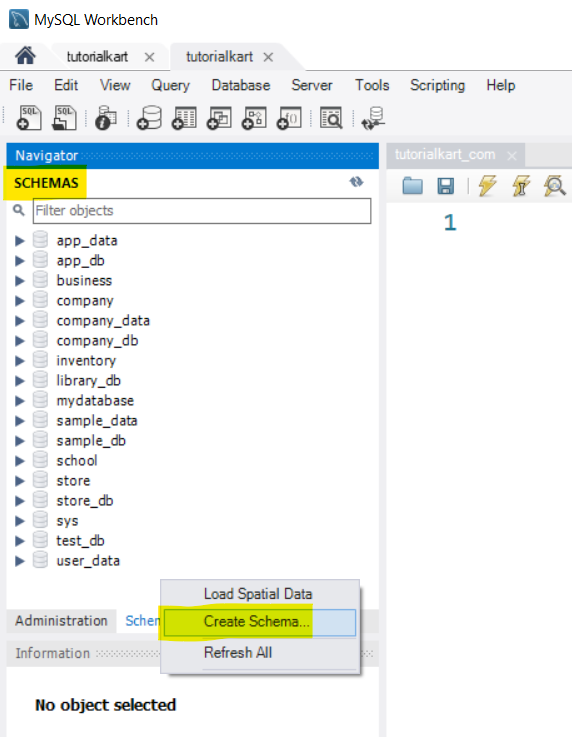
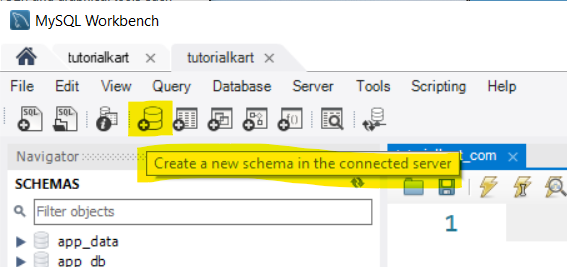
Or, you can also use the quick icon present below the menu.
Step 3: Define the Schema Name
In the dialog that appears, enter a name for the new schema (database) and click Apply. Let us say that we would like to create new_school database.
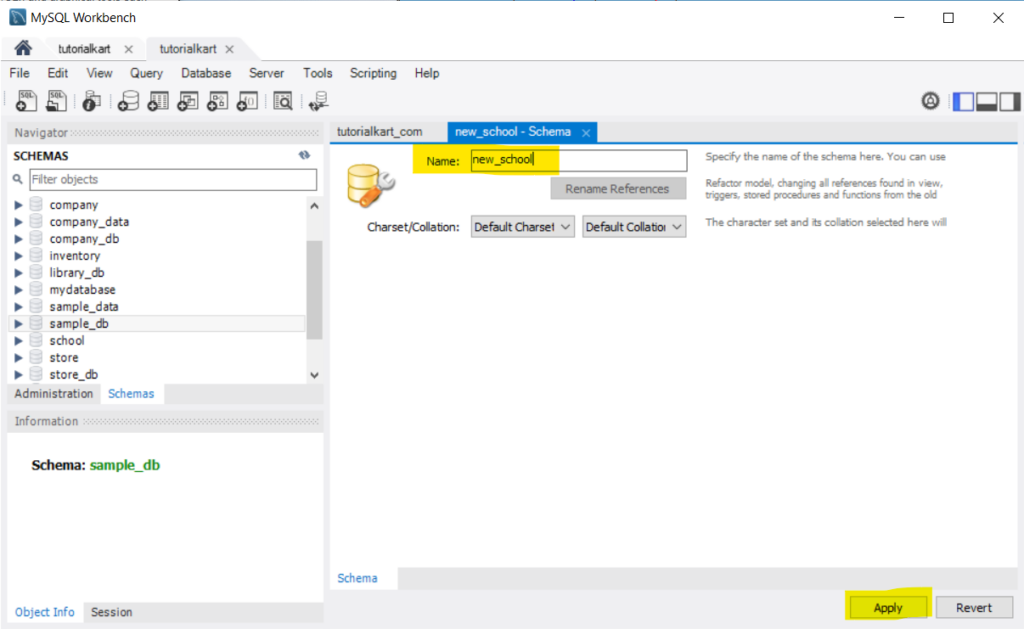
Step 4: Review and Execute
MySQL Workbench will generate the CREATE SCHEMA statement. Review the SQL code and click Apply to execute it.
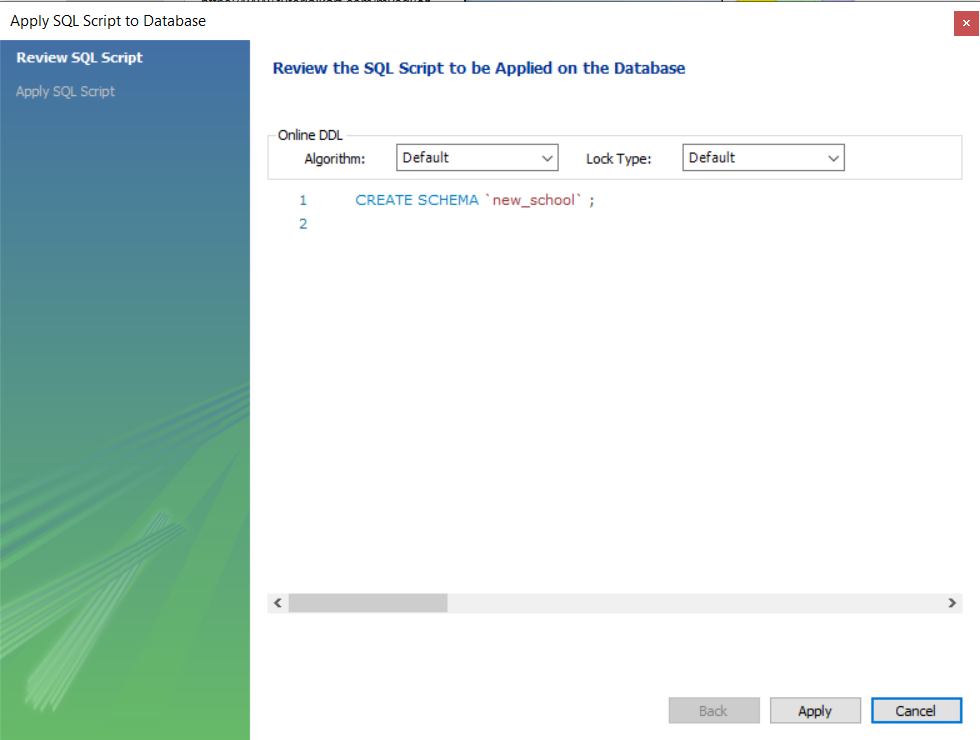
Click Apply.
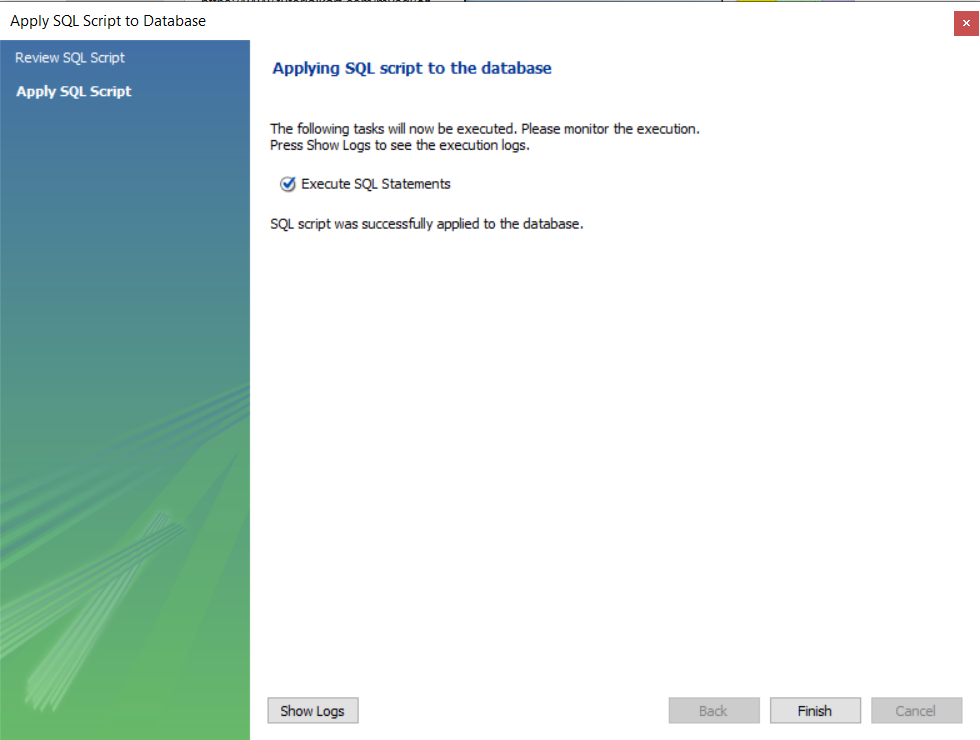
Click Finish.
Step 5: Verify the Database
Once the operation is successful, the new database will appear in the “Schemas” tab.
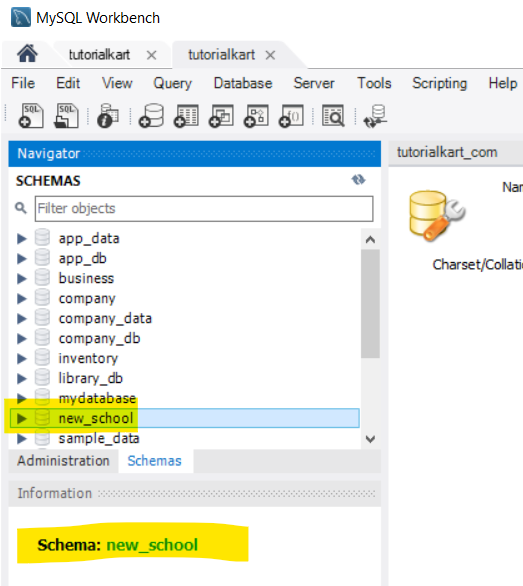
Expand the database to view its structure and start creating tables or performing other operations.