Set Border for Label in Tkinter Python
In Tkinter, the borderwidth and relief options allow you to add a border to a Label widget. The borderwidth option defines the thickness of the border, while the relief option specifies the border style.
The available relief styles are:
flat(default, no border)raised(button-like raised effect)sunken(embedded effect)ridge(grooved border)solid(simple solid border)groove(3D effect border)
In this tutorial, we will go through examples using the borderwidth and relief options to add borders to a Tkinter Label.
Examples
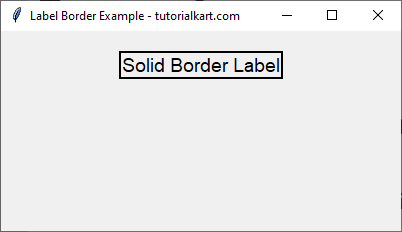
1. Label with a Simple Solid Border
In this example, we will create a Label with a solid border by setting borderwidth=2 and relief="solid".
import tkinter as tk

root = tk.Tk()
root.title("Label Border Example - tutorialkart.com")
root.geometry("400x200")

# Create a Label with a solid border
label = tk.Label(root, text="Solid Border Label", borderwidth=2, relief="solid", font=("Arial", 14))
label.pack(pady=20)

root.mainloop()
Output in Windows:
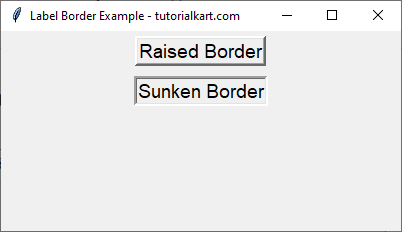
2. Label with Raised and Sunken Borders
We will create two labels, one with a raised effect and another with a sunken effect.
import tkinter as tk

root = tk.Tk()
root.title("Label Border Example - tutorialkart.com")
root.geometry("400x200")

# Create a Raised border label
label_raised = tk.Label(root, text="Raised Border", borderwidth=3, relief="raised", font=("Arial", 14))
label_raised.pack(pady=5)

# Create a Sunken border label
label_sunken = tk.Label(root, text="Sunken Border", borderwidth=3, relief="sunken", font=("Arial", 14))
label_sunken.pack(pady=5)

root.mainloop()
Output in Windows:
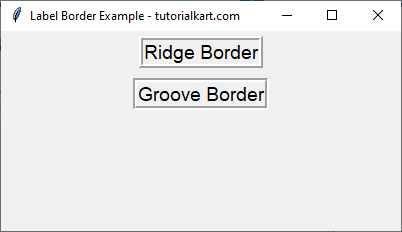
3. Label with Ridge and Groove Borders
Here, we create labels using ridge and groove border styles for a 3D effect.
import tkinter as tk

root = tk.Tk()
root.title("Label Border Example - tutorialkart.com")
root.geometry("400x200")

# Create a Ridge border label
label_ridge = tk.Label(root, text="Ridge Border", borderwidth=4, relief="ridge", font=("Arial", 14))
label_ridge.pack(pady=5)

# Create a Groove border label
label_groove = tk.Label(root, text="Groove Border", borderwidth=4, relief="groove", font=("Arial", 14))
label_groove.pack(pady=5)

root.mainloop()
Output in Windows:
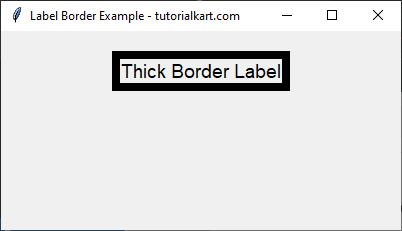
4. Label with Custom Border Width
We can customize the thickness of the border by setting a higher borderwidth value.
import tkinter as tk

root = tk.Tk()
root.title("Label Border Example - tutorialkart.com")
root.geometry("400x200")

# Create a label with a thick border
label_thick = tk.Label(root, text="Thick Border Label", borderwidth=8, relief="solid", font=("Arial", 14))
label_thick.pack(pady=20)

root.mainloop()
Output in Windows:
Conclusion
In this tutorial, we explored how to set a border for a Label in Tkinter using the borderwidth and relief options. The available border styles include:
solid– Simple solid borderraised– Raised 3D effectsunken– Embedded lookridge– Grooved 3D effectgroove– Similar toridgebut slightly different appearance
By adjusting these options, you can customize the appearance of labels in your Tkinter application.