Strike-through Text in Label in Tkinter Python
In Tkinter, the Label widget is used to display text. To apply a strike-through (strikethrough) effect on the text in a Label, we can use the font option and specify the overstrike attribute.
There are different ways to set strike-through text in Tkinter:
- Using the
overstrikeoption in the font. - Applying a
tkFontconfiguration. - Using predefined fonts with overstrike enabled.
In this tutorial, we will go through examples using the Label widget to display text with a strikethrough effect.
Examples
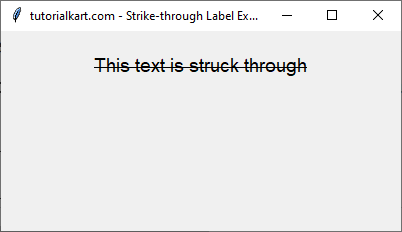
1. Applying Strike-through Text Using Font Overstrike
In this example, we will create a Tkinter window and use the overstrike option to strike through the text in a Label.
main.py
import tkinter as tk
from tkinter import font

# Create main window
root = tk.Tk()
root.title("tutorialkart.com - Strike-through Label Example")
root.geometry("400x200")

# Define font with strikethrough
strike_font = font.Font(family="Arial", size=14, overstrike=1)

# Create a label with strikethrough text
label = tk.Label(root, text="This text is struck through", font=strike_font)
label.pack(pady=20)

root.mainloop()
Output in Windows:
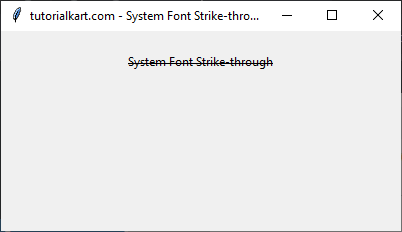
2. Using a System Font with Overstrike
In this example, we will use a system font and apply the overstrike option directly to it.
main.py
import tkinter as tk
from tkinter import font

root = tk.Tk()
root.title("tutorialkart.com - System Font Strike-through Example")
root.geometry("400x200")

# Use system font and apply overstrike
system_font = font.nametofont("TkDefaultFont")
system_font.configure(overstrike=1)

# Create a label with strikethrough text
label = tk.Label(root, text="System Font Strike-through", font=system_font)
label.pack(pady=20)

root.mainloop()
Output in Windows:
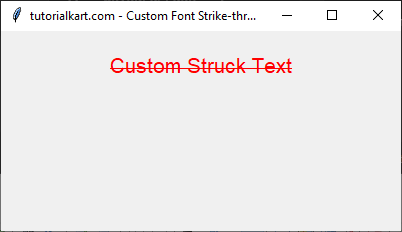
3. Strike-through Text with Custom Font and Color
In this example, we will apply a strikethrough effect to a Label with a custom font and text color.
main.py
import tkinter as tk
from tkinter import font

root = tk.Tk()
root.title("tutorialkart.com - Custom Font Strike-through")
root.geometry("400x200")

# Define a custom font with strike-through
custom_font = font.Font(family="Helvetica", size=16, overstrike=1)

# Create a label with strikethrough text and custom color
label = tk.Label(root, text="Custom Struck Text", font=custom_font, fg="red")
label.pack(pady=20)

root.mainloop()
Output in Windows:
Conclusion
In this tutorial, we explored how to apply a strike-through effect to text in a Tkinter Label widget. We used:
- The
overstrikeattribute in custom fonts. - System fonts with
configure(overstrike=1). - Strikethrough text with custom colors and fonts.
By applying these techniques, you can style text in Tkinter applications for different UI requirements.