Wrap Text in Label in Tkinter Python
In Tkinter, the Label widget is used to display text, but by default, it does not wrap long lines of text. To enable text wrapping, you can use the wraplength option, which specifies the maximum width in pixels before the text wraps to the next line.
By setting wraplength, you can ensure that long lines of text fit within a defined width, making it easier to read and improving the UI appearance.
In this tutorial, we will go through examples using the wraplength option to wrap text inside a Tkinter Label.
Examples
1. Wrapping Text in a Label
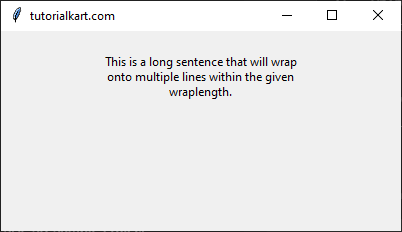
In this example, we create a Tkinter Label with a long string and set the wraplength parameter to 200 pixels.
import tkinter as tk

root = tk.Tk()
root.title("tutorialkart.com")
root.geometry("400x200")

# Create a label with wrapped text
label = tk.Label(root, text="This is a long sentence that will wrap onto multiple lines within the given wraplength.", wraplength=200)
label.pack(pady=20)

root.mainloop()
Output in Windows:
The text is wrapped within a width of 200 pixels, making it fit properly within the Label.
2. Centering Wrapped Text
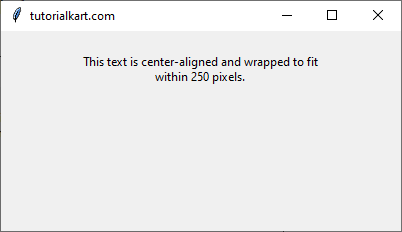
You can use the justify option to align the wrapped text. Here, we set justify="center" to center-align the text.
import tkinter as tk

root = tk.Tk()
root.title("tutorialkart.com")
root.geometry("400x200")

# Create a label with centered wrapped text
label = tk.Label(root, text="This text is center-aligned and wrapped to fit within 250 pixels.", wraplength=250, justify="center")
label.pack(pady=20)

root.mainloop()
Output in Windows:
The wrapped text appears center-aligned in the Label.
3. Left and Right Justified Wrapped Text
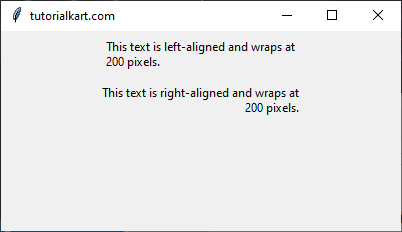
In this example, we create two labels with different justifications: one with left-aligned text and the other with right-aligned text.
import tkinter as tk

root = tk.Tk()
root.title("tutorialkart.com")
root.geometry("400x200")

# Left-aligned text
label_left = tk.Label(root, text="This text is left-aligned and wraps at 200 pixels.", wraplength=200, justify="left")
label_left.pack(pady=5)

# Right-aligned text
label_right = tk.Label(root, text="This text is right-aligned and wraps at 200 pixels.", wraplength=200, justify="right")
label_right.pack(pady=5)

root.mainloop()
Output in Windows:
One Label has left-aligned wrapped text, while the other has right-aligned wrapped text.
4. Wrapping Text with a Background Color
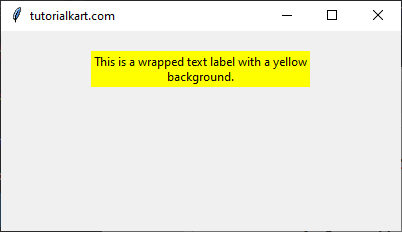
You can also customize the background color of the Label while wrapping text. In this example, we set a yellow background.
import tkinter as tk

root = tk.Tk()
root.title("tutorialkart.com")
root.geometry("400x200")

# Create a label with a background color
label = tk.Label(root, text="This is a wrapped text label with a yellow background.", wraplength=250, bg="yellow")
label.pack(pady=20)

root.mainloop()
Output in Windows:
The wrapped text appears on a yellow background.
Conclusion
In this tutorial, we explored how to wrap text in a Tkinter Label using the wraplength option. By setting the wrap length in pixels, we can ensure the text fits neatly within the Label widget. Additionally, we used the justify option to control text alignment.
wraplengthdefines the maximum width before text wraps.justifycontrols text alignment (left, center, or right).- Background color can be customized to improve readability.
By customizing these options, you can enhance the appearance of Labels in your Tkinter application.