React Class Components
React class components are one of the foundational ways to define components in React, especially before the introduction of hooks. They provide more features compared to functional components, such as state management and lifecycle methods.
1 Creating a Class Component
A class component is defined as an ES6 class that extends React.Component.
To create a class component in your program, we must import React, the React library required to use React-specific features like JSX and components, and Component which is a base class from React that allows us to create class-based components. The typical import statement to create a class component is give below.
import React, { Component } from 'react';Let us say that, we would like to create a class component named Welcome.
We create a class named Welcome, and this Welcome class extends the Component class from React, as shown in the following.
class Welcome extends Component {

}
Here, Welcome is just the name of class component. You can rename this Welcome to any other name that you need, as per your requirements.
Once we define a React class component, the next thing we have to do is to include a render method, which returns the JSX to be rendered, as shown in the following example.
App.js
import React, { Component } from 'react';

class Welcome extends Component {
  render() {
    return (
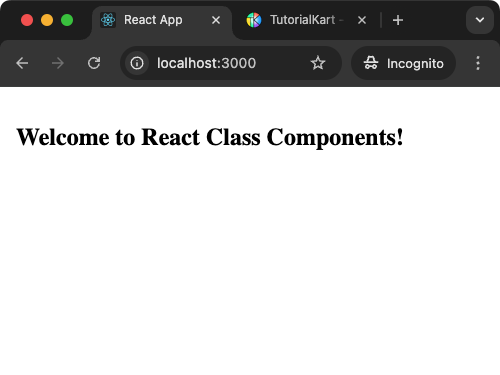
      <h2>Welcome to React Class Components!</h2>
    );
  }
}

export default Welcome;
Output:

2 Adding State to Class Components
State is a special object in class components that holds data that may change over the component’s lifecycle. State is managed internally and can be updated using the setState method.
Let us say that we would like to implement a Counter class component, that increments a counter when a button is clicked.
First, we will use constructor to initialise the state. In this initialisation, we will take a property named count in the state. This property will store the current value of the counter.
constructor() {
  super();
  this.state = {
    count: 0,
  };
}- The
constructoris called when theCountercomponent is initialized. super(): Calls the constructor of the parent class (Component) to properly set up the component.this.state: Initializes the component’s state.count: A property in the state that stores the current count. It is initially set to0.
Now we need to write the State Update Function.
increment = () => {
  this.setState({ count: this.state.count + 1 });
};incrementis an arrow function bound to the component instance, ensuringthisalways refers to theCountercomponent.this.setStateupdates the component’s state.- The
countproperty is incremented by1each time this function is called.
- The
- React automatically re-renders the component when the state changes.
We know that for a class component, we need to define render() method to return the JSX.
render() {
  return (
    <div>
      <h2>Count: {this.state.count}</h2>
      <button onClick={this.increment}>Increment</button>
    </div>
  );
}
In the render() method,
<div>: A container element for the component’s content.<h2>: Displays the current value ofthis.state.count.<button>: A clickable button with anonClickevent handler.onClick={this.increment}: Executes theincrementmethod when the button is clicked.
The following is the complete App.js program.
App.js
import React, { Component } from 'react';

class Counter extends Component {
  constructor() {
    super();
    this.state = {
      count: 0,
    };
  }

  increment = () => {
    this.setState({ count: this.state.count + 1 });
  };

  render() {
    return (
      <div>
        <h2>Count: {this.state.count}</h2>
        <button onClick={this.increment}>Increment</button>
      </div>
    );
  }
}

export default Counter;
Output Video:
3 Class Component Lifecycle Methods
Class components provide lifecycle methods that allow developers to execute code at specific points in a component’s lifecycle, such as mounting, updating, or unmounting.
In the following example, we define a Timer class component that displays the number of seconds elapsed since the component was mounted. It demonstrates the use of state, lifecycle methods, and cleanup.
App.js
import React, { Component } from 'react';

class Timer extends Component {
  constructor() {
    super();
    this.state = {
      seconds: 0,
    };
  }

  componentDidMount() {
    this.interval = setInterval(() => {
      this.setState({ seconds: this.state.seconds + 1 });
    }, 1000);
  }

  componentWillUnmount() {
    clearInterval(this.interval);
  }

  render() {
    return <h2>Elapsed Time: {this.state.seconds} seconds</h2>;
  }
}

export default Timer;
We already know about the imports for a class component, then how to define a class component, the constructor, and the render method. In the constructor, we initialize the component’s state with seconds set to 0.
Let us understand the other two methods: componentDidMount and componentWillUnmount.
componentDidMount
- This method executes after the component is mounted (rendered for the first time).
- Inside this method, we set up a timer using
setIntervalthat runs every 1 second. - We increment the
secondsstate by1each second usingthis.setState. And it automatically re-renders the component in UI, as the state changes.
componentWillUnmount
- This method executes just before the component is removed (unmounted).
- It clears the interval set by
setIntervalusingclearInterval(this.interval). - This cleanup prevents memory leaks and ensures the timer stops when the component is no longer displayed.
4 Passing Props between Components
Props are used to pass data from parent components to child components. They are read-only and cannot be modified by the child component.
Let us create an example application, that has two components: Greeting and App. Of course Greeting is a class component. App.js of the application is give below.
App.js
import React, { Component } from 'react';

class Greeting extends Component {
  render() {
    return <h2>Hello, {this.props.name}!</h2>;
  }
}

function App() {
  return (
    <div>
      <Greeting name="Arjun" />
      <Greeting name="Ram" />
    </div>
  );
}

export default App;
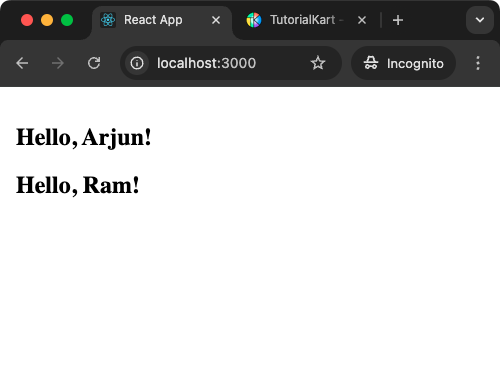
Here, the name prop is passed from the parent App component to the child Greeting component. Inside the Greeting component, props are automatically available via this.props. This allows the component to dynamically display different names based on the value of the name prop passed to it.
For example:
- If
name="Arjun"is passed, it will display:Hello, Arjun!. - If
name="Ram"is passed, it will display:Hello, Ram!
Output:

Conclusion
React class components provide a powerful way to manage state, handle lifecycle events, and build dynamic user interfaces. While hooks have largely replaced class components in modern React, understanding them is essential for working with legacy codebases and React’s evolution.
