What is React JSX?
JSX stands for JavaScript XML. It is a syntax extension for JavaScript that allows you to write HTML-like code in React components.
Basically, JSX makes it easier to create React elements and manage the component structure visually.
A Simple JSX Example
The following is a simple example of JSX, where we write a H2 element in JavaScript code.
App.js
import React from 'react';

function App() {
  return (
      <h2>Hello World</h2>
  );
}

export default App;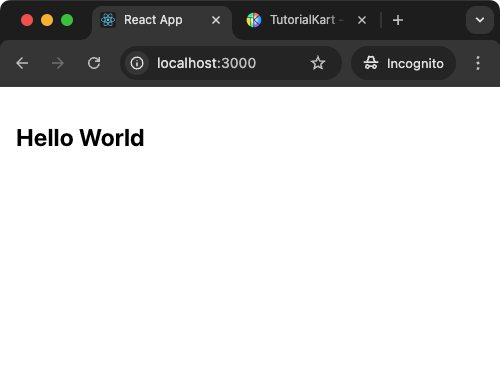
Why Use JSX?
- Improved Readability: JSX syntax closely resembles HTML, making it intuitive for developers familiar with web development.
- Integration of Logic and Markup: Allows embedding JavaScript expressions within the markup, facilitating dynamic content rendering.
- Enhanced Tooling: Provides better error messages and debugging experiences due to its strict syntax and integration with tools like Babel.
JSX Syntax and Rules
1 Embedding Expressions
JSX allows embedding JavaScript expressions within curly braces {}. This feature enables dynamic content rendering based on variables or functions.
import React from 'react';

function App() {
  const user = 'Arjun';
  return (
    <div>
      <h1>Welcome, {user}!</h1>
    </div>
  );
}

export default App;
In this example, the value of user is embedded within the <h1> tag, resulting in a personalised greeting.
2 Attributes in JSX
Attributes in JSX are similar to HTML but follow camelCase naming conventions. For instance, class becomes className, and tabindex becomes tabIndex.
App.js
import React from 'react';

function App() {
  const user = 'Arjun';
  return (
    <div className="container">
      <h1>Welcome, {user}!</h1>
    </div>
  );
}

export default App;
Here, className and tabIndex are used as attributes in JSX.
index.css
body {
  margin: 0;
  padding: 1rem;
}

.container {
  padding: 1rem;
  background-color: yellow;
}
Output

3 Self-Closing Tags
Elements without children must be self-closed in JSX, similar to XML syntax.
App.js
import React from 'react';

function App() {
  return (
    <div>
      <img src="logo192.png" alt="Logo" />
      <br />
    </div>
  );
}

export default App;
Both <img /> and <br /> are self-closing tags in this example.
Output

4 Conditional Rendering
JSX doesn’t support if-else statements directly within the markup. Instead, use ternary operators or logical && operators for conditional rendering.
import React from 'react';
function App() {
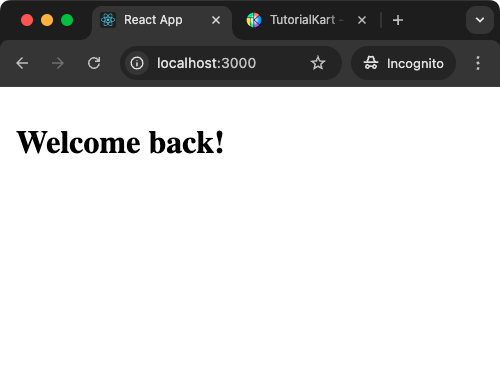
const isLoggedIn = true;
return (
<div>
{isLoggedIn ? (
<h1>Welcome back!</h1>
) : (
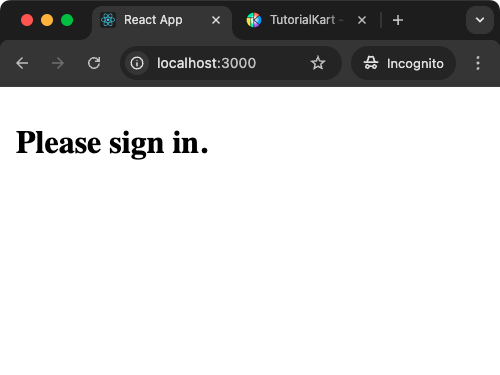
<h1>Please sign in.</h1>
)}
</div>
);
}
export default App;Depending on the value of isLoggedIn, a different message is displayed.
Output
Change const isLoggedIn = false; and you would get the following output.
5 Lists and Keys
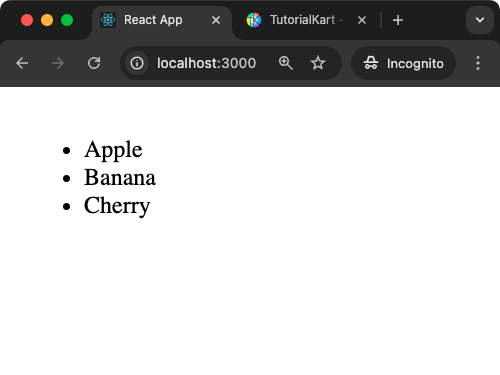
When rendering lists of elements, each item should have a unique key attribute to help React identify which items have changed, been added, or removed.
App.js
import React from 'react';

function App() {
  const fruits = ['Apple', 'Banana', 'Cherry'];
  return (
    <ul>
      {fruits.map((fruit, index) => (
        <li key={index}>{fruit}</li>
      ))}
    </ul>
  );
}

export default App;
Each <li> element is assigned a unique key based on its index in the array.
Output
6 Event Handling
Event handlers in JSX are written in camelCase and passed as functions. For example, onclick in HTML becomes onClick in JSX.
App.js
import React from 'react';

function App() {
  const handleClick = () => {
    alert('Button clicked!');
  };

  return (
    <button onClick={handleClick}>Click Me</button>
  );
}

export default App;
Clicking the button triggers the handleClick function, displaying an alert with the message ‘Button clicked!’.
Output