SwiftUI – Calculator Application
In this tutorial, we will build a simple calculator application using SwiftUI. This application will allow users to perform basic arithmetic operations like addition, subtraction, multiplication, and division through an intuitive and interactive user interface.

The calculator app will feature a display area to show the input and result, and buttons to represent numbers and operations. This tutorial will cover the design approach, SwiftUI components used, and provide a complete implementation of the app.
What This Application Does
The calculator application allows users to:
- Input numbers using on-screen buttons.
- Perform basic operations such as addition, subtraction, multiplication, and division.
- Clear the display or reset the calculation.
- Show the result of calculations dynamically.
It simulates the functionality of a basic calculator, focusing on usability and an appealing UI.
Approach to Building the Calculator
To implement the calculator, the following approach is used:
- Design the UI layout using a vertical stack (
VStack) for the display and button grid. - Use a grid of buttons for digits and operations, aligned using
LazyVGrid. - Manage the calculator’s logic, including input handling, operations, and result display, using Swift’s state management (
@State).
We’ll divide the application into two main sections:
- Display Section: A text area that shows the current input or result.
- Button Grid: A grid of buttons for numbers and operations.
Implementation Using SwiftUI Views
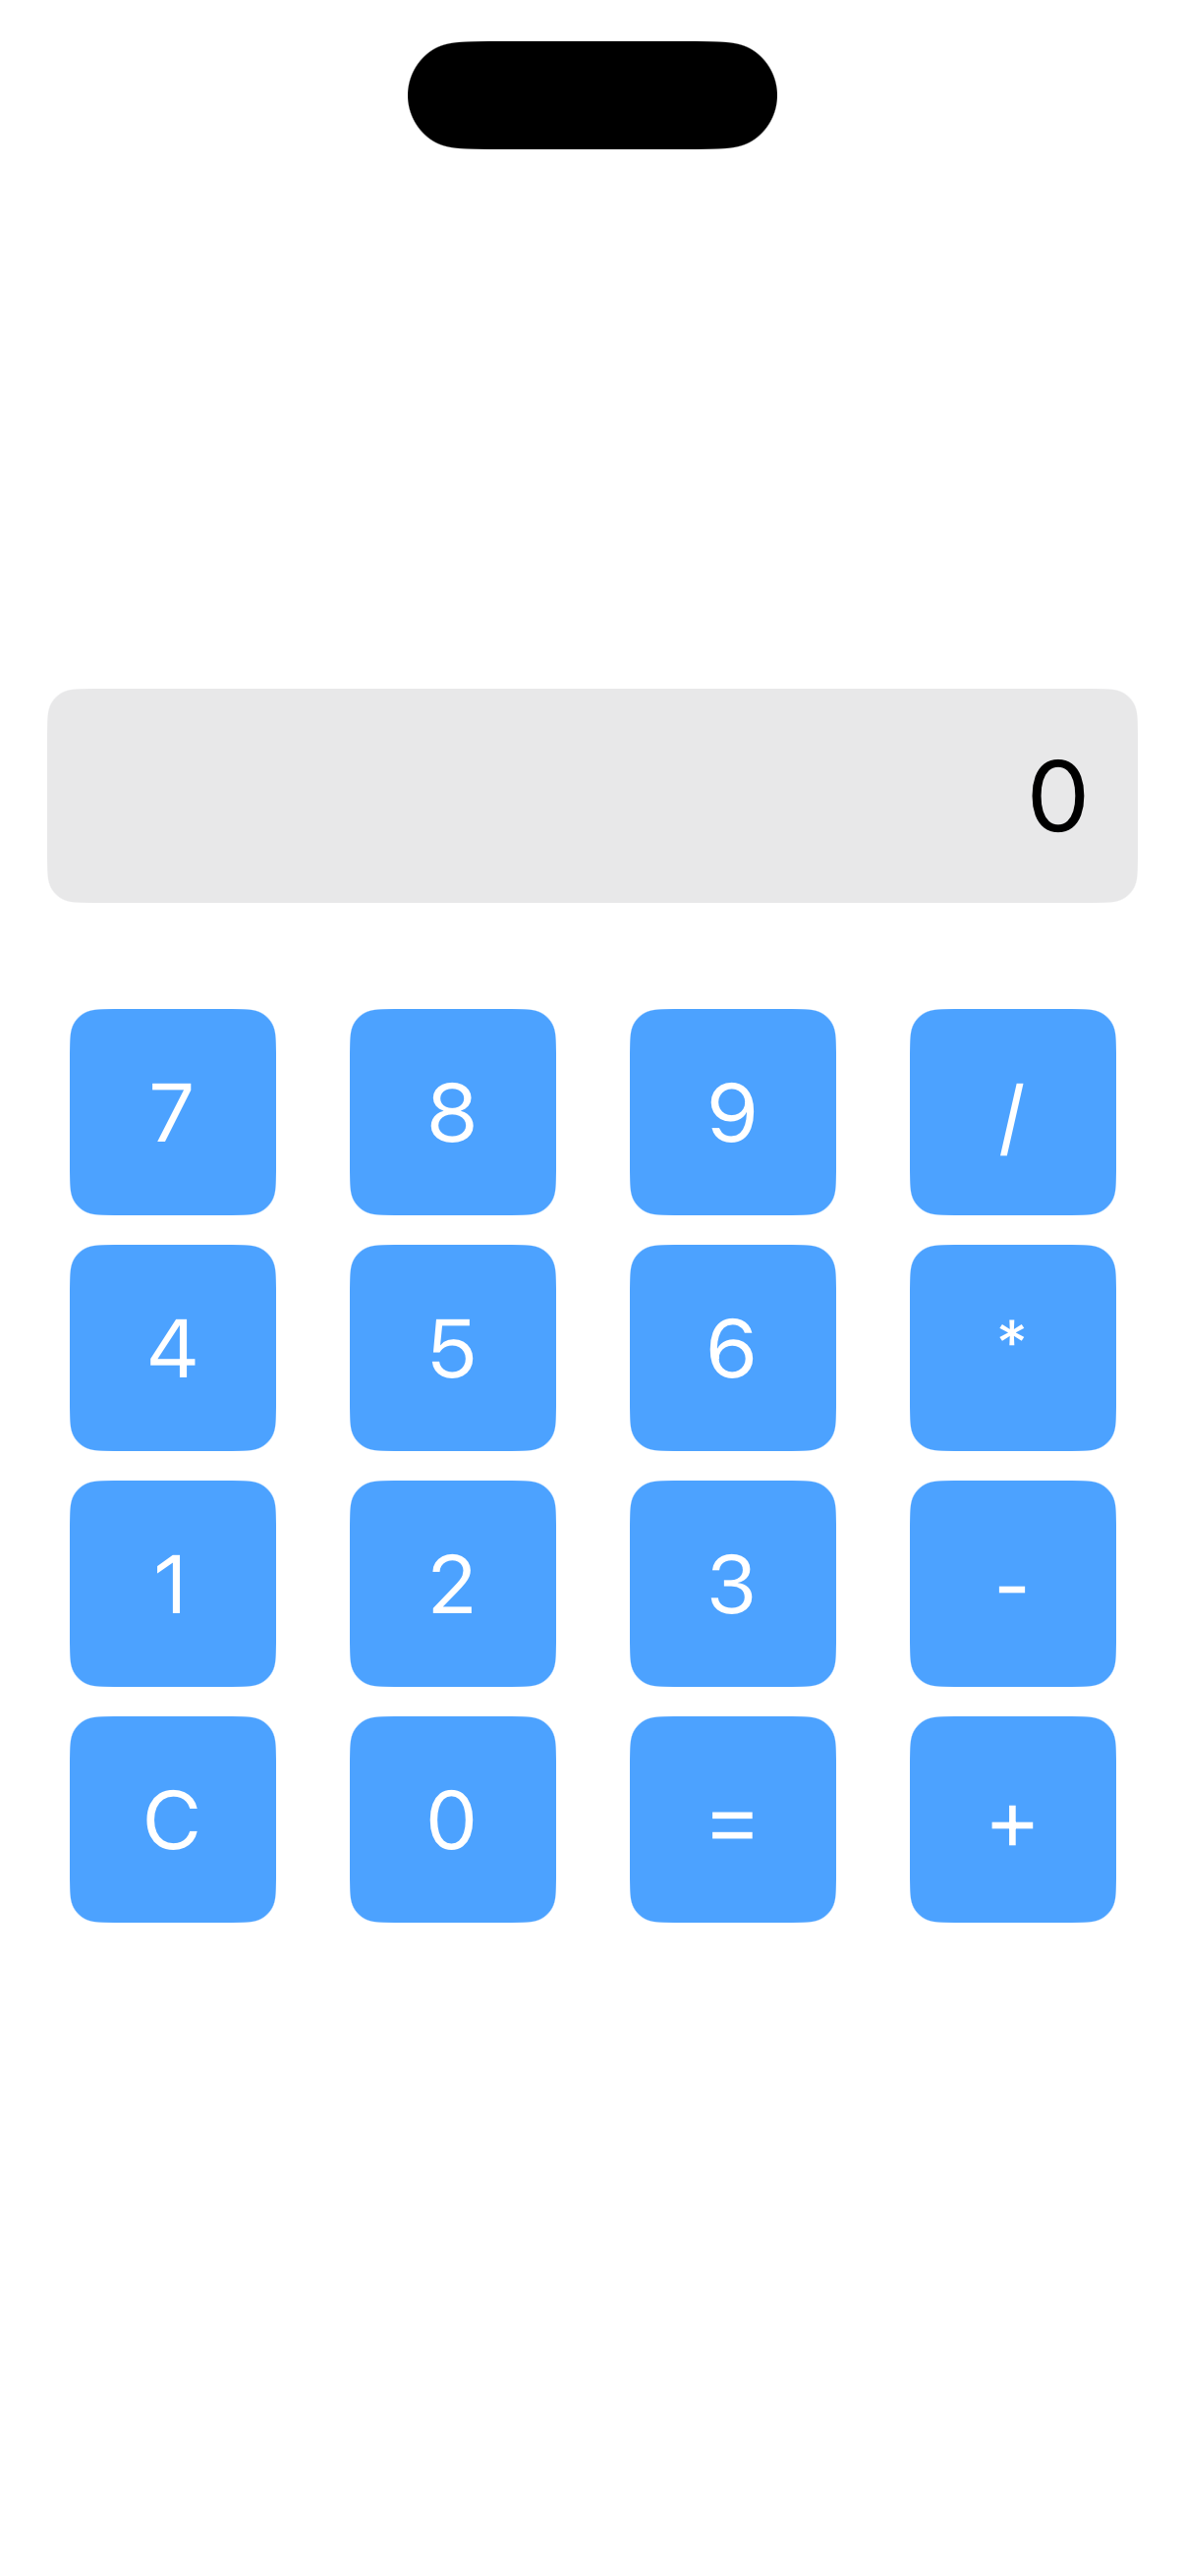
Here’s how SwiftUI views are used to implement the calculator shown in the following screenshot:

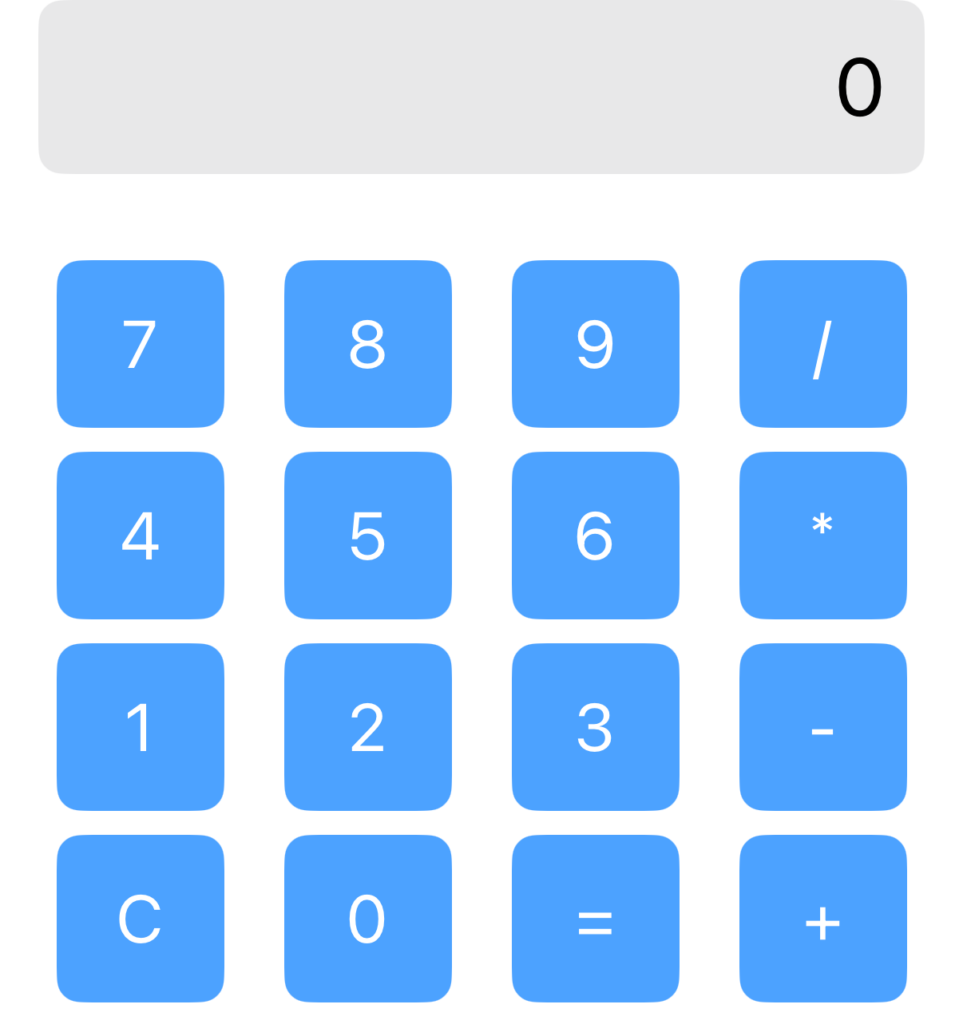
VStack: Used for the overall layout, stacking the display and button grid vertically. The following is the VStack from the iPhone Screenshot.

Text: Displays the input or result in the display area.

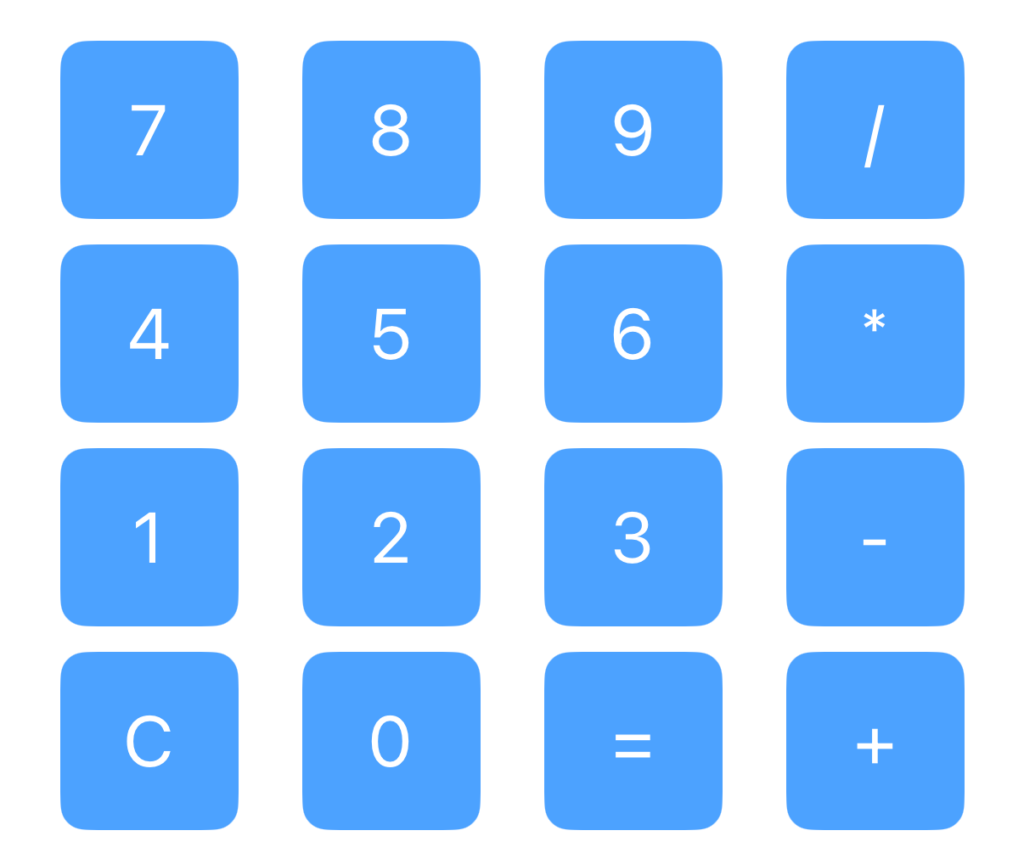
LazyVGrid: Creates a responsive grid layout for buttons.

Button: Handles user input for numbers and operations. Each Button wraps a Text view that displays the number (0, 1, 2, 3, …, 9) or other texts (*, /, -, etc.).

State variables (@State) are used to manage the input, current operation, and result.
Complete Program for Calculator
The structure of the SwiftUI project in Xcode is shown in the following.

SwiftUICalculatorApp
import SwiftUI

@main
struct CalculatorApp: App {
  var body: some Scene {
    WindowGroup {
      ContentView()
    }
  }
}
ContentView
import SwiftUI

struct ContentView: View {
  @State private var display: String = "0"
  @State private var firstOperand: Double? = nil
  @State private var secondOperand: Double? = nil
  @State private var currentOperation: String? = nil

  let buttons = [
    ["7", "8", "9", "/"],
    ["4", "5", "6", "*"],
    ["1", "2", "3", "-"],
    ["C", "0", "=", "+"]
  ]

  var body: some View {
    VStack(spacing: 20) {
      // Display Section
      Text(display)
        .font(.largeTitle)
        .frame(maxWidth: .infinity, alignment: .trailing)
        .padding()
        .background(Color.gray.opacity(0.2))
        .cornerRadius(10)
        .padding(.horizontal)

      // Button Grid Section
      LazyVGrid(columns: Array(repeating: GridItem(.flexible(), spacing: 10), count: 4), spacing: 10) {
        ForEach(buttons.flatMap { $0 }, id: \.self) { button in
          Button(action: {
            buttonTapped(button)
          }) {
            Text(button)
              .font(.title)
              .frame(width: 70, height: 70)
              .background(Color.blue.opacity(0.7))
              .foregroundColor(.white)
              .cornerRadius(10)
          }
        }
      }
      .padding()
    }
  }

  func buttonTapped(_ button: String) {
    if let digit = Double(button) {
      // Append digits to the display
      if display == "0" || (currentOperation != nil && firstOperand != nil && display == "0") {
        display = button
      } else {
        display += button
      }
    } else if button == "C" {
      clearAll() // Clear the display and reset the state
    } else if button == "=" {
      performCalculation() // Perform the calculation
    } else {
      setOperation(button) // Set the current operation
    }
  }


  func setOperation(_ operation: String) {
    if let value = Double(display) {
      firstOperand = value
      currentOperation = operation
      display = "0" // Reset the display for the second operand
    }
  }

  func performCalculation() {
    if let first = firstOperand, let second = Double(display), let operation = currentOperation {
      switch operation {
      case "+":
        display = "\(first + second)"
      case "-":
        display = "\(first - second)"
      case "*":
        display = "\(first * second)"
      case "/":
        display = second != 0 ? "\(first / second)" : "Error"
      default:
        break
      }
      firstOperand = nil
      currentOperation = nil
    }
  }

  func clearAll() {
    display = "0"
    firstOperand = nil
    secondOperand = nil
    currentOperation = nil
  }
}

#Preview {
    ContentView()
}
Demo Video of the Application:
Explanation of Code:
- State Variables:
displayshows the current input or result, whilefirstOperand,secondOperand, andcurrentOperationhandle calculations. - Button Grid: Each button triggers the
buttonTappedfunction. - Calculator Logic: The logic is split into functions to handle operations, reset, and calculations.
Conclusion
The SwiftUI calculator demonstrates how to build an interactive app with basic arithmetic functionality. By utilising SwiftUI’s declarative syntax and views like VStack, LazyVGrid, and Button, you can create a clean and responsive user interface.
Extend this app by adding advanced features like memory functions, additional operations, or scientific modes to further enhance its functionality.
