SwiftUI Link
In SwiftUI, a Link is a built-in view used to create tappable links that navigate to a specified URL. Links are commonly used to direct users to external websites, open email links, or handle other URL-based actions.
This tutorial covers the basic usage of the SwiftUI Link view, including examples for creating styled and dynamic links.
Syntax for SwiftUI Link
The basic syntax for creating a link in SwiftUI is:
Link("Label", destination: URL(string: "https://example.com")!)Here:
"Label": The text or content displayed for the link.destination: A validURLobject that the link navigates to when tapped.
The URL must be wrapped in URL(string:) and force-unwrapped if you are confident that the URL is valid.
Examples of SwiftUI Link
Let’s explore different examples to demonstrate how to use and style SwiftUI links.
Example 1: Basic Link
This example shows a simple link that opens a URL:
Code Example:
import SwiftUI

struct ContentView: View {
    var body: some View {
        VStack {
            Link("Visit Example.com", destination: URL(string: "https://example.com")!)
                .font(.headline)
                .foregroundColor(.blue)
                .padding()
        }
    }
}
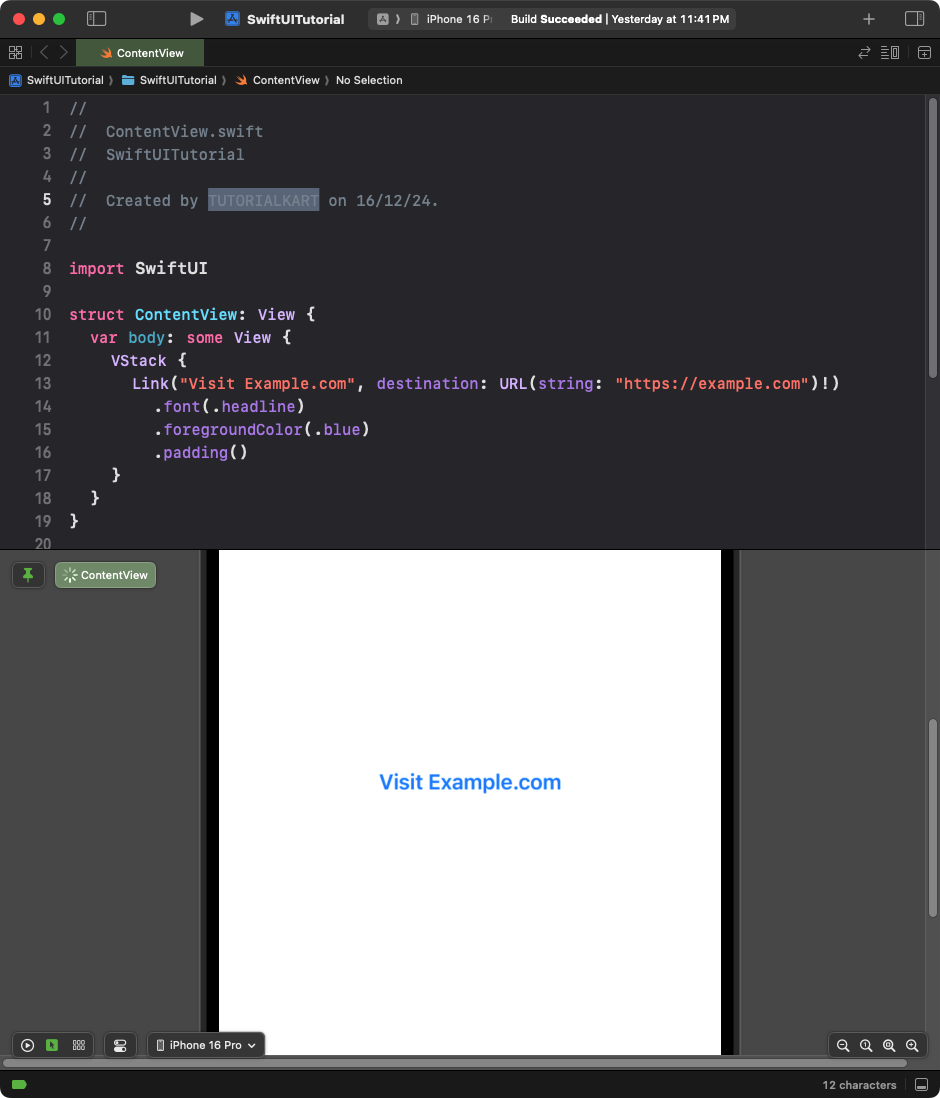
Xcode Screenshot:

Explanation:
- The
Linkdisplays “Visit Example.com” as the tappable text. - When tapped, it opens
https://example.comin the system browser. - The
.font(.headline)and.foregroundColor(.blue)modifiers style the link text.
Result: A styled link that navigates to the example.com website.
Example 2: Link with Custom Content
This example demonstrates how to use custom views, such as images and text, as a link label:
Code Example:
import SwiftUI

struct ContentView: View {
    var body: some View {
        Link(destination: URL(string: "https://apple.com")!) {
            HStack {
                Image(systemName: "applelogo")
                    .foregroundColor(.black)
                Text("Visit Apple")
                    .font(.title2)
                    .foregroundColor(.blue)
            }
            .padding()
            .background(Color.gray.opacity(0.2))
            .cornerRadius(10)
        }
    }
}
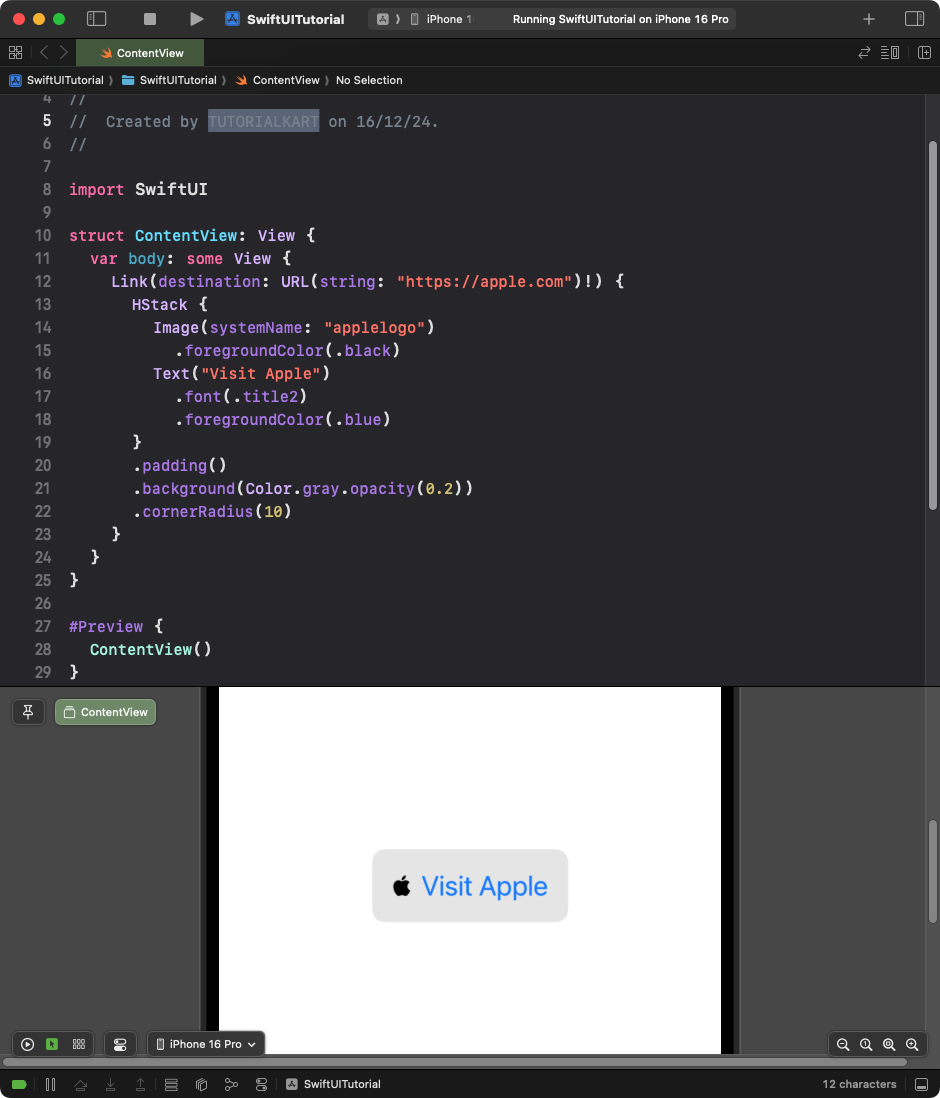
Xcode Screenshot:

Explanation:
- The
Linkuses a custom label with anHStackcontaining an image and text. - The Apple logo (
applelogo) is added using SF Symbols. - The link is styled with a background, padding, and rounded corners for better visual appearance.
Result: A link styled with a custom label that includes an icon and text.
Example 3: Dynamic Links
This example demonstrates how to create a dynamic list of links using a ForEach loop:
Code Example:
import SwiftUI

struct ContentView: View {
    let websites = [
        ("Apple", "https://apple.com"),
        ("Swift", "https://swift.org"),
        ("GitHub", "https://github.com")
    ]

    var body: some View {
        VStack(alignment: .leading, spacing: 15) {
            ForEach(websites, id: \.1) { site in
                Link(site.0, destination: URL(string: site.1)!)
                    .font(.body)
                    .foregroundColor(.blue)
            }
        }
        .padding()
    }
}
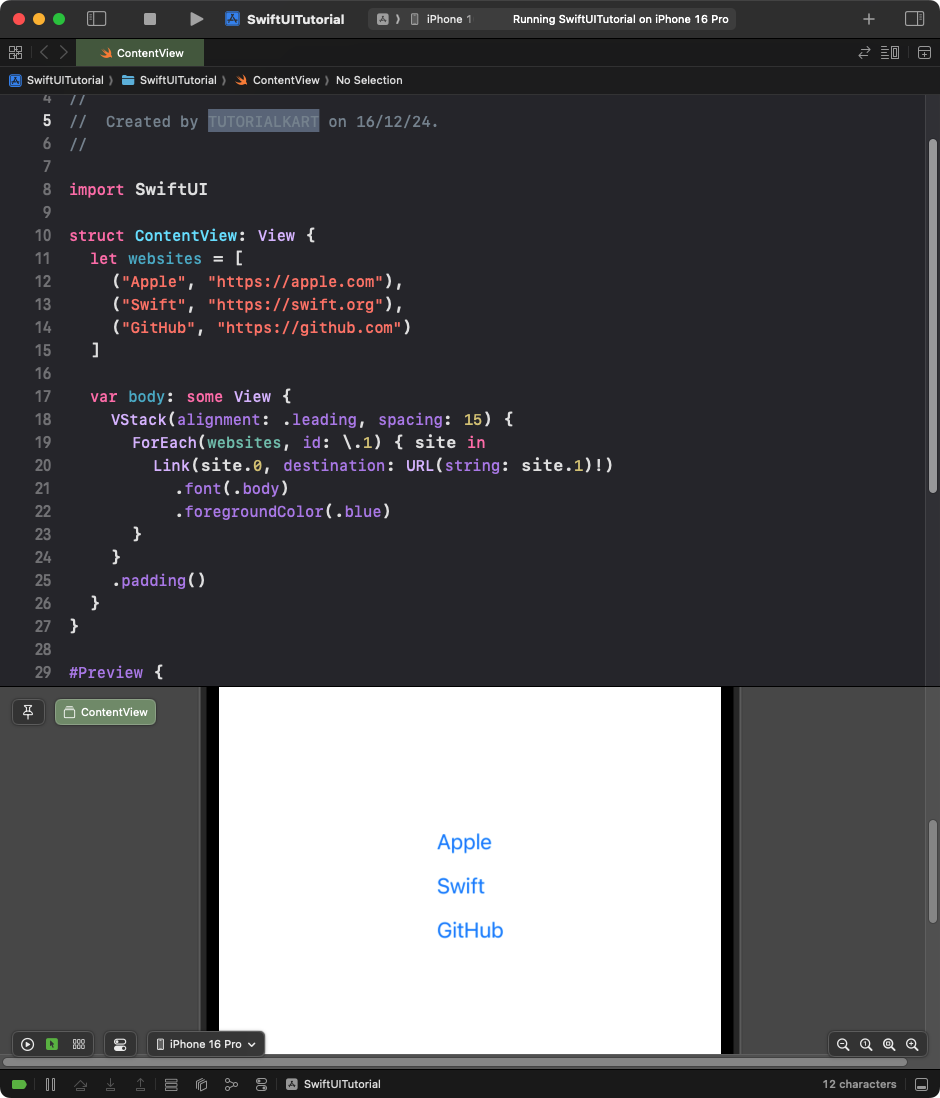
Xcode Screenshot:

Explanation:
- The
websitesarray holds pairs of names and URLs. - A
ForEachloop dynamically creates links for each website. - The first value of each pair is displayed as the label, and the second value is used as the destination URL.
Result: A list of links dynamically generated from an array.
Example 4: Open Email Link
This example shows how to use a link to open an email client with a pre-filled email address:
Code Example:
import SwiftUI

struct ContentView: View {
    var body: some View {
        Link("Contact Support", destination: URL(string: "mailto:support@example.com")!)
            .font(.headline)
            .foregroundColor(.blue)
            .padding()
    }
}
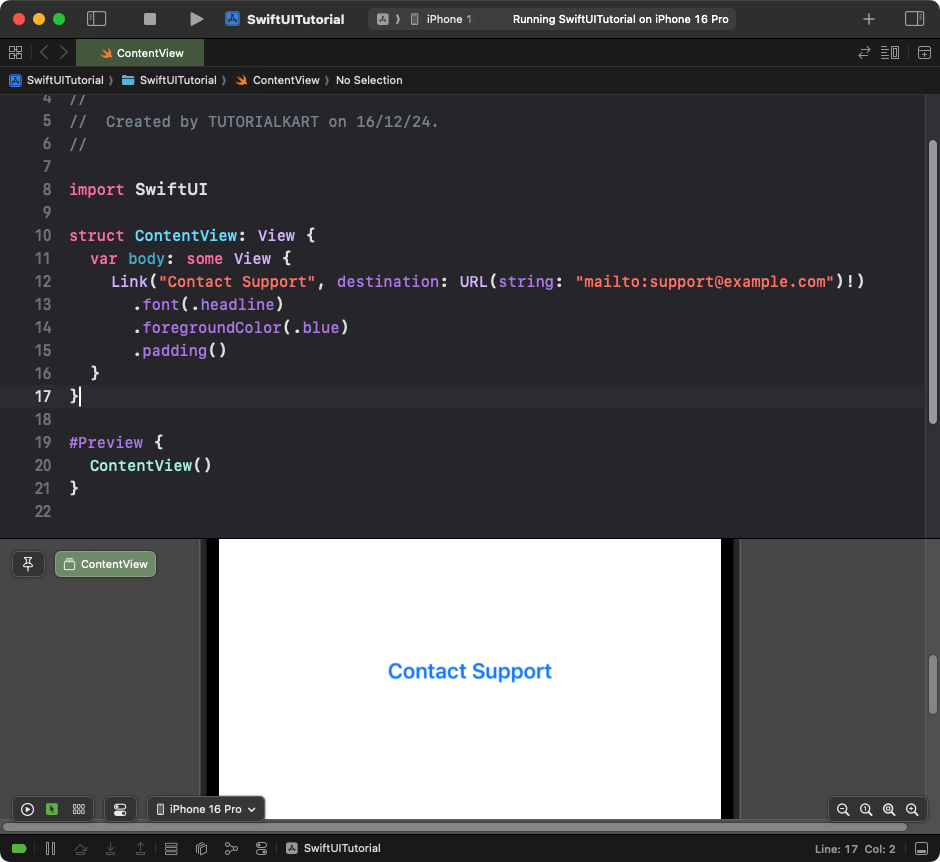
Xcode Screenshot:

Explanation:
- The
mailto:URL scheme opens the default email client with a pre-filled recipient address. - The link text is styled with a headline font and blue color.
Result: A tappable link opens the email client with the specified recipient.
Conclusion
SwiftUI’s Link view allows you to create tappable links that navigate to URLs, open emails, or link dynamically to external resources. With the ability to customise link labels and integrate images, you can enhance the user experience and seamlessly integrate navigation into your app.
