SwiftUI – List
In SwiftUI, the List view provides a scrollable, table-like container for displaying rows of content. It’s a powerful and flexible way to show dynamic or static data, allowing for easy customization and interaction. With List, you can display text, images, and even complex views in rows, all while supporting features like row selection, editing, and grouping.

This SwiftUI tutorial covers the basics of using List, including dynamic data, static rows, and customisation options.
Basic Syntax for List
The basic syntax for creating a List is:
List(items) { item in
    // Row content for each item
}
Here:
items: A collection of data that the list iterates over.item: A single item from the collection, used to create a row in the list.
Alternatively, for static content, you can directly define rows inside the List.
List {
    Text("Row 1")
    Text("Row 2")
}
Examples
Let’s explore different ways to use the List in SwiftUI.
Example 1: Static List
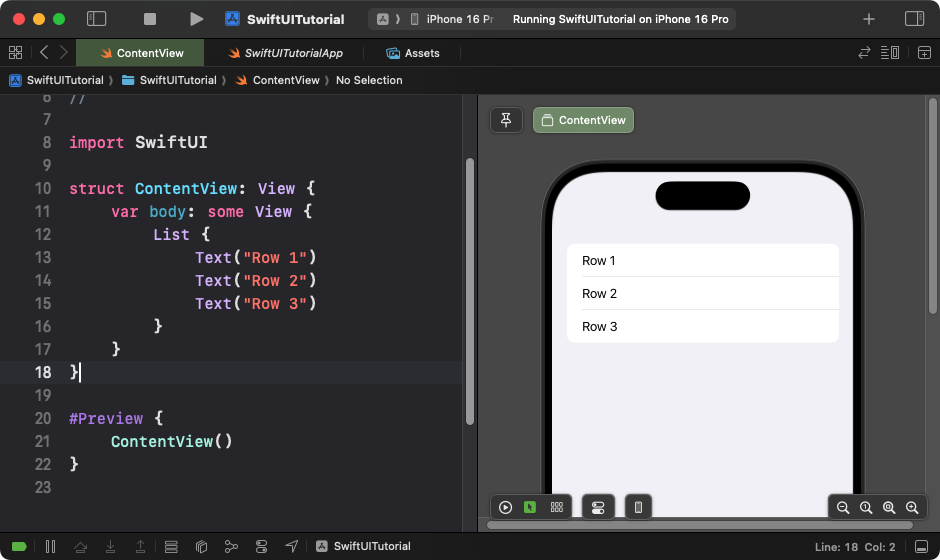
This example demonstrates a static list with predefined rows:
Code Example:
import SwiftUI

struct ContentView: View {
    var body: some View {
        List {
            Text("Row 1")
            Text("Row 2")
            Text("Row 3")
        }
    }
}
Explanation:
- The
Listcontains static rows with hardcodedTextviews. - Each row is rendered as a separate item in the list.
Result: A list with three rows is displayed, each containing the text “Row 1”, “Row 2”, and “Row 3”.
Example 2: Dynamic List with Data
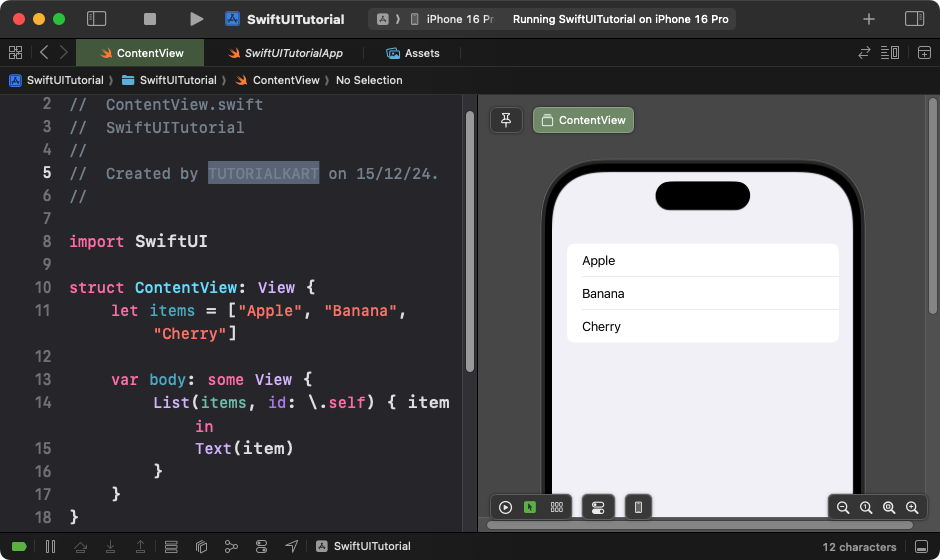
You can create a list dynamically from an array of data:
Code Example:
import SwiftUI

struct ContentView: View {
    let items = ["Apple", "Banana", "Cherry"]

    var body: some View {
        List(items, id: \.self) { item in
            Text(item)
        }
    }
}
Explanation:
- The
itemsarray contains the data to be displayed in the list. - The
Listiterates over theitemsarray and creates a row for each item. - The
id: \.selfuniquely identifies each item in the list.
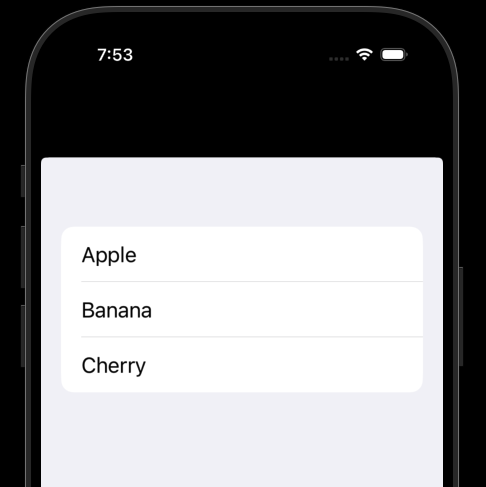
Result: A list with rows labeled “Apple”, “Banana”, and “Cherry” is displayed.
Example 3: List with Custom Row Content
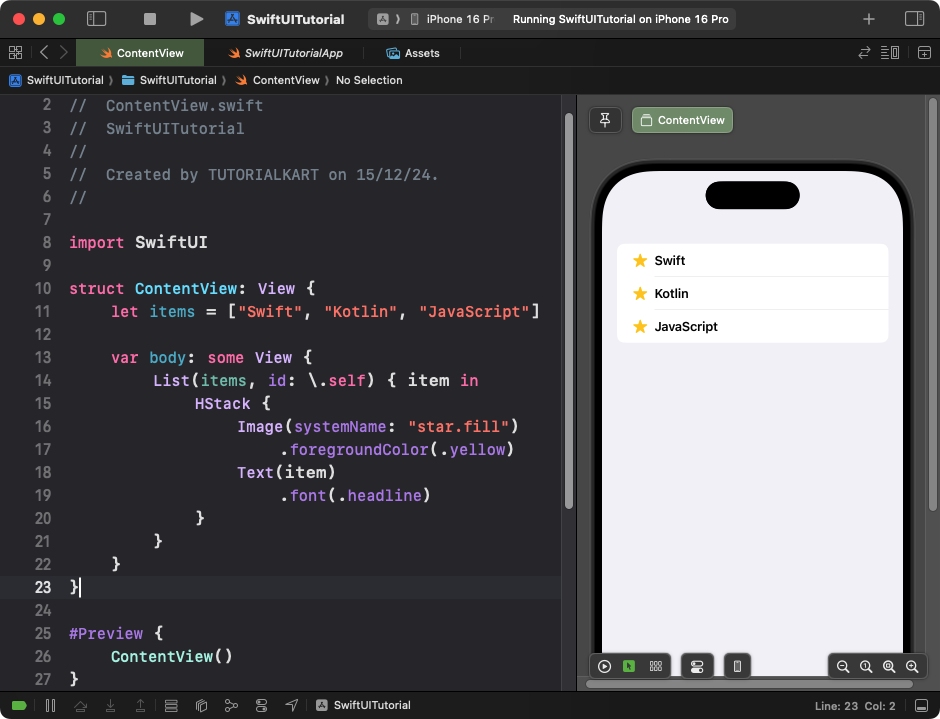
Each row in the list can contain more complex views:
Code Example:
import SwiftUI

struct ContentView: View {
    let items = ["Swift", "Kotlin", "JavaScript"]

    var body: some View {
        List(items, id: \.self) { item in
            HStack {
                Image(systemName: "star.fill")
                    .foregroundColor(.yellow)
                Text(item)
                    .font(.headline)
            }
        }
    }
}
Explanation:
- Each row contains an
HStackwith an icon and a text label. - The
Imagedisplays a star icon, styled with a yellow color. - The
Textis styled as a headline font.
Result: A list is displayed with rows containing a star icon and the corresponding text from the array.
Conclusion
The List view in SwiftUI is a powerful and flexible way to display data in rows. Whether you’re working with static content, dynamic data, or custom row layouts, the List view provides all the tools you need to create scrollable, organised interfaces in your app.
