SwiftUI – ScrollView
In SwiftUI, the ScrollView is a container view that enables users to scroll through its child views. It’s particularly useful for displaying large amounts of content or handling layouts that don’t fit within the visible screen area. With ScrollView, you can scroll vertically, horizontally, or both, depending on your requirements.
In this SwiftUI tutorial, we explain the basic usage of ScrollView, its configuration, and practical examples to help you integrate scrollable content into your SwiftUI app.
Basic Syntax for ScrollView
The basic syntax for creating a ScrollView is:
ScrollView([axes], showsIndicators: Bool) {
    // Content goes here
}
Here:
axes: Specifies the scrolling direction (.vertical,.horizontal, or both).showsIndicators: A Boolean value that determines whether scroll indicators are displayed. Default istrue.- The content block contains the views to be scrolled.
Examples
Let’s explore how to use ScrollView with some practical examples.
Example 1: Vertical Scrolling
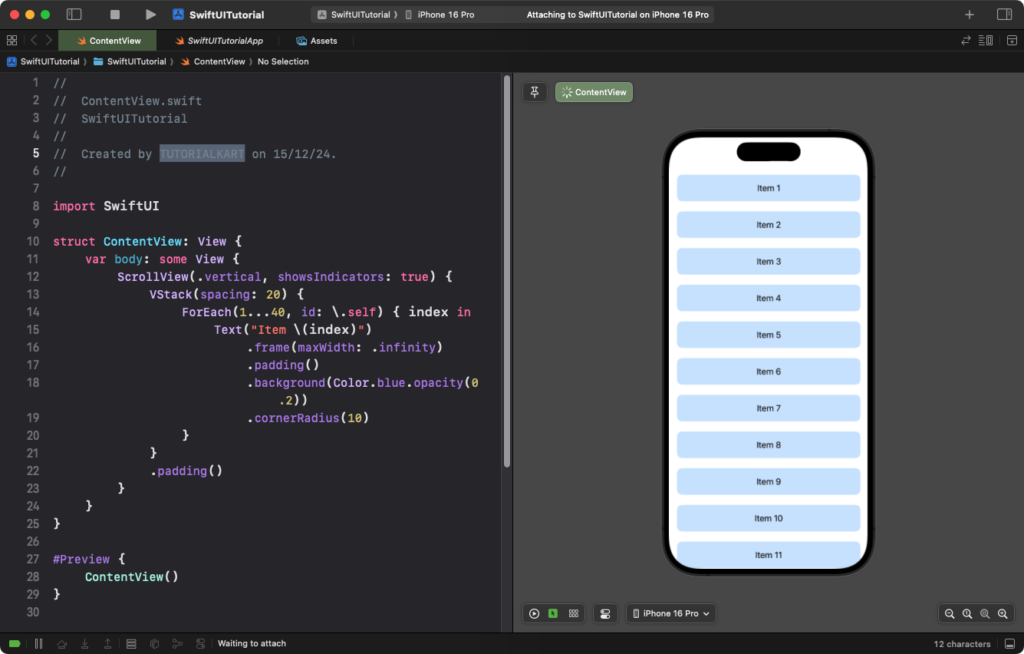
This example demonstrates how to create a scrollable vertical list:
Code Example:
import SwiftUI

struct ContentView: View {
    var body: some View {
        ScrollView(.vertical, showsIndicators: true) {
            VStack(spacing: 20) {
                ForEach(1...40, id: \.self) { index in
                    Text("Item \(index)")
                        .frame(maxWidth: .infinity)
                        .padding()
                        .background(Color.blue.opacity(0.2))
                        .cornerRadius(10)
                }
            }
            .padding()
        }
    }
}
Explanation:
ScrollView(.vertical): Enables vertical scrolling.VStack: Arranges the items vertically with spacing between them.ForEach: Dynamically generates 40 items labeled “Item 1” through “Item 40”.
Result: A vertically scrollable list of 40 items is displayed, with each item styled as a rounded box.
Example 2: Horizontal Scrolling
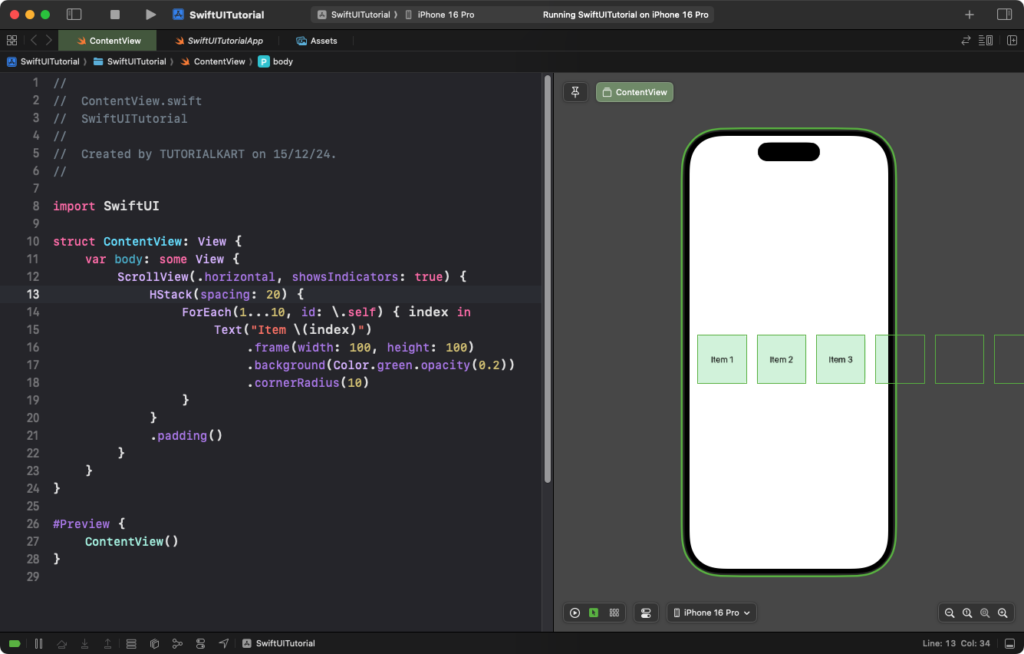
This example demonstrates a horizontal scrolling view:
Code Example:
import SwiftUI

struct ContentView: View {
    var body: some View {
        ScrollView(.horizontal, showsIndicators: true) {
            HStack(spacing: 20) {
                ForEach(1...10, id: \.self) { index in
                    Text("Item \(index)")
                        .frame(width: 100, height: 100)
                        .background(Color.green.opacity(0.2))
                        .cornerRadius(10)
                }
            }
            .padding()
        }
    }
}
Explanation:
ScrollView(.horizontal): Enables horizontal scrolling.HStack: Arranges the items horizontally with spacing between them.ForEach: Dynamically generates 10 items labeled “Item 1” through “Item 10”.
Result: A horizontally scrollable list of 10 items is displayed, with each item styled as a green rounded box.
Example 3: Both Directions Scrolling
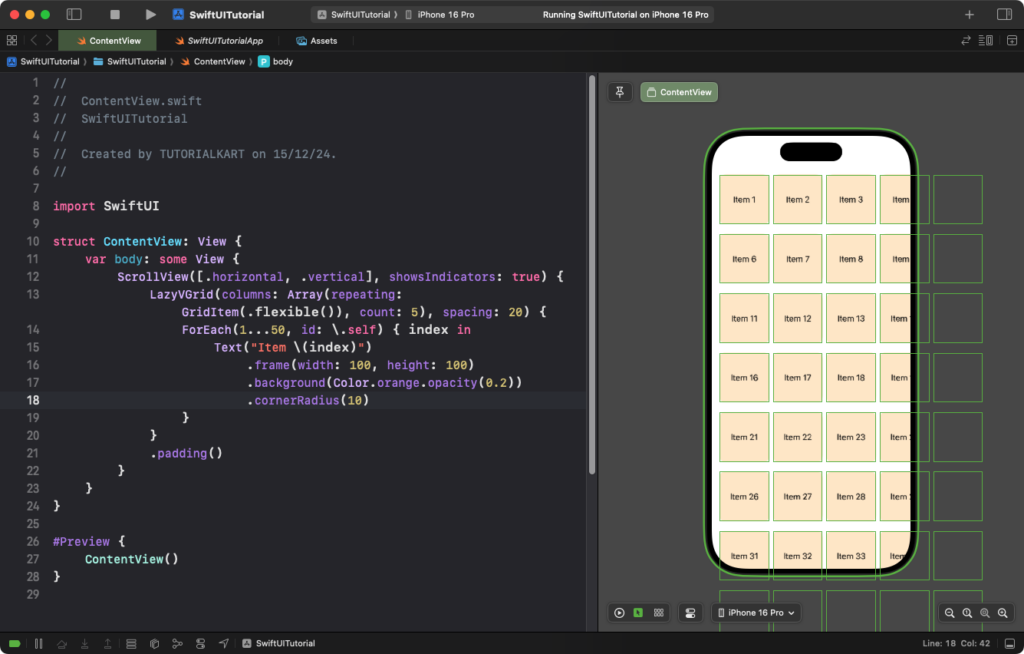
You can create a scrollable grid by enabling both horizontal and vertical scrolling:
Code Example:
import SwiftUI

struct ContentView: View {
    var body: some View {
        ScrollView([.horizontal, .vertical], showsIndicators: true) {
            LazyVGrid(columns: Array(repeating: GridItem(.flexible()), count: 5), spacing: 20) {
                ForEach(1...50, id: \.self) { index in
                    Text("Item \(index)")
                        .frame(width: 100, height: 100)
                        .background(Color.orange.opacity(0.2))
                        .cornerRadius(10)
                }
            }
            .padding()
        }
    }
}
Explanation:
ScrollView([.horizontal, .vertical]): Enables scrolling in both directions.LazyVGrid: Arranges items in a grid with five columns.ForEach: Dynamically generates 50 items styled as orange rounded boxes.
Result: A scrollable grid with 50 items is displayed, allowing the user to scroll horizontally and vertically.
Conclusion
The ScrollView in SwiftUI is a versatile and essential component for displaying content that exceeds the available screen space. Whether for lists, grids, or custom layouts, ScrollView provides the flexibility to create smooth and user-friendly scrolling experiences in your apps.
