SwiftUI – Text Strikethrough
In SwiftUI, the .strikethrough(_:color:) modifier allows you to apply a strikethrough effect to a Text view. A strikethrough draws a line through the middle of the text, which is commonly used to indicate deletion, discounts, or changes in values.

In this SwiftUI tutorial, we will explore how to add a strikethrough effect with different configurations, including controlling its visibility and customizing the line color.
Syntax for Text Strikethrough
The basic syntax for adding a strikethrough to a Text view is:
Text("Your text here")
    .strikethrough(true, color: Color)
Here:
"Your text here": The content of theTextview.true: A Boolean value that specifies whether the text should have a strikethrough. Usefalseto disable the strikethrough.Color: Optional. Specifies the color of the strikethrough line. If omitted, the line will use the default text color.
By default, the strikethrough line matches the text color unless a specific color is provided.
Examples
Let’s dive into some examples to understand how to apply and customize the strikethrough effect in SwiftUI.
Example 1: Basic Strikethrough
This example shows how to add a simple strikethrough to text:
Code Example:
import SwiftUI

struct ContentView: View {
    var body: some View {
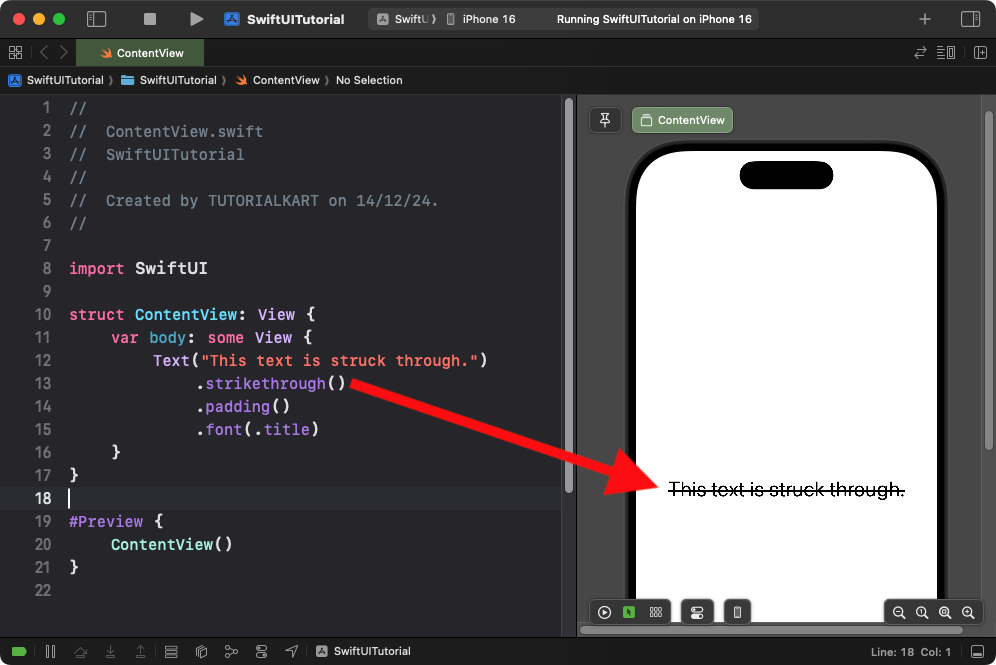
        Text("This text is struck through.")
            .strikethrough()
            .padding()
            .font(.title)
    }
}
Explanation:
- The
.strikethrough()modifier applies a default strikethrough using the text color. - The
.font(.title)makes the text larger for better visibility.
Result: The text is displayed with a line struck through its middle, matching the text color.
Example 2: Custom Strikethrough Color
Here’s how to use a custom color for the strikethrough line:
Code Example:
import SwiftUI

struct ContentView: View {
    var body: some View {
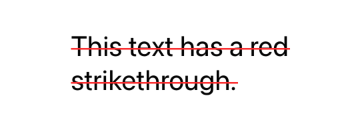
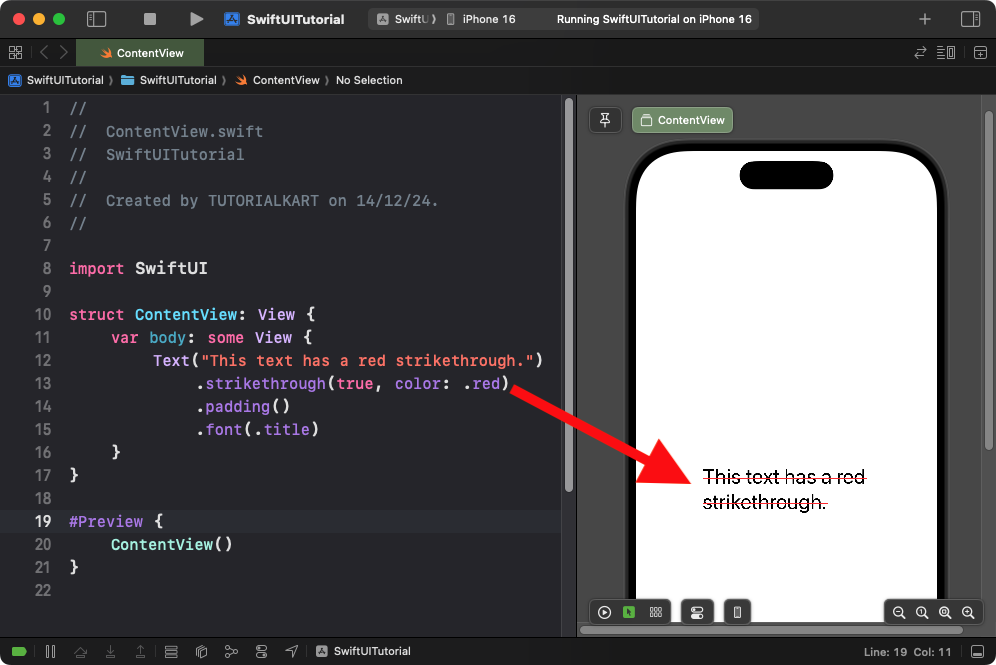
        Text("This text has a red strikethrough.")
            .strikethrough(true, color: .red)
            .padding()
            .font(.title)
    }
}
Explanation:
- The
.strikethrough(true, color: .red)applies a strikethrough line in red. - The
.font(.title)makes the text larger for better visibility.
Result: The text is underlined with a bold red line, creating a strong visual emphasis.
Example 3: Conditional Strikethrough
Strikethrough can be conditionally applied based on a state value. Here’s an example:
Code Example:
import SwiftUI

struct ContentView: View {
    @State private var isStruckThrough = false

    var body: some View {
        VStack {
            Text("Tap the button to toggle strikethrough.")
                .strikethrough(isStruckThrough, color: .blue)
                .padding()

            Button("Toggle Strikethrough") {
                isStruckThrough.toggle()
            }
            .padding()
            .background(Color.gray.opacity(0.2))
            .cornerRadius(8)
        }
    }
}
Explanation:
- The
isStruckThroughstate controls whether the strikethrough is applied. - The
.strikethrough(isStruckThrough, color: .blue)dynamically applies or removes the strikethrough line based on the state value. - The button toggles the state, enabling or disabling the strikethrough effect.
Result: The strikethrough can be toggled on or off dynamically by interacting with the button.
Conclusion
The .strikethrough modifier in SwiftUI is a versatile way to add emphasis or indicate changes in text content. Whether you’re applying a simple strikethrough or customizing it with a specific color, this modifier makes it easy to achieve the desired visual effect.
