SwiftUI – Text Underline
In SwiftUI, you can add an underline to a Text view using the .underline(_:color:) modifier. This modifier allows you to control whether the text is underlined and specify the color of the underline.
In this SwiftUI tutorial, we will explore how to use the .underline modifier with examples for both simple and styled text.
Syntax for Text Underline
The basic syntax for adding an underline to a Text view is:
Text("Your text here")
    .underline(true, color: Color)
Here:
"Your text here": The content of theTextview.true: A Boolean value indicating whether the text should be underlined. Set tofalseto disable underlining.Color: Optional. Specifies the color of the underline. If omitted, the underline will use the default text color.
By default, the .underline modifier uses the current text color for the underline.
Examples
Let’s explore some examples to see how to apply and customize text underlines in SwiftUI.
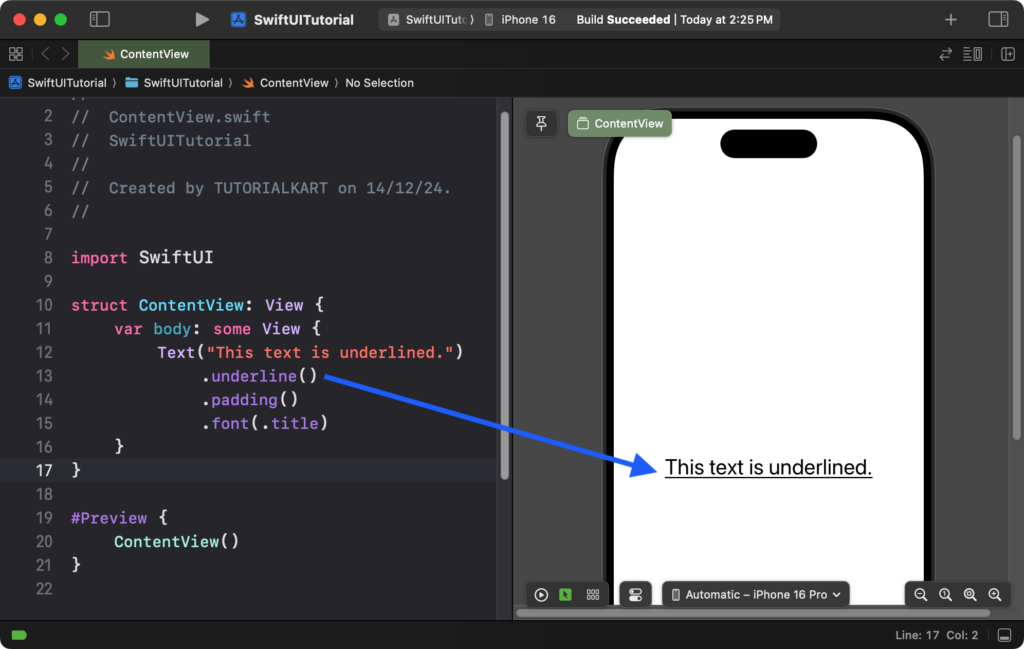
Example 1: Adding a Basic Underline
Here’s how to add a simple underline to text:
Code Example:
import SwiftUI

struct ContentView: View {
    var body: some View {
        Text("This text is underlined.")
            .underline()
            .padding()
            .font(.title)
    }
}
Explanation:
- The
.underline()modifier adds an underline using the default text color. - The
.font(.title)makes the text larger for better visibility.
Result: The text is displayed with a default underline.
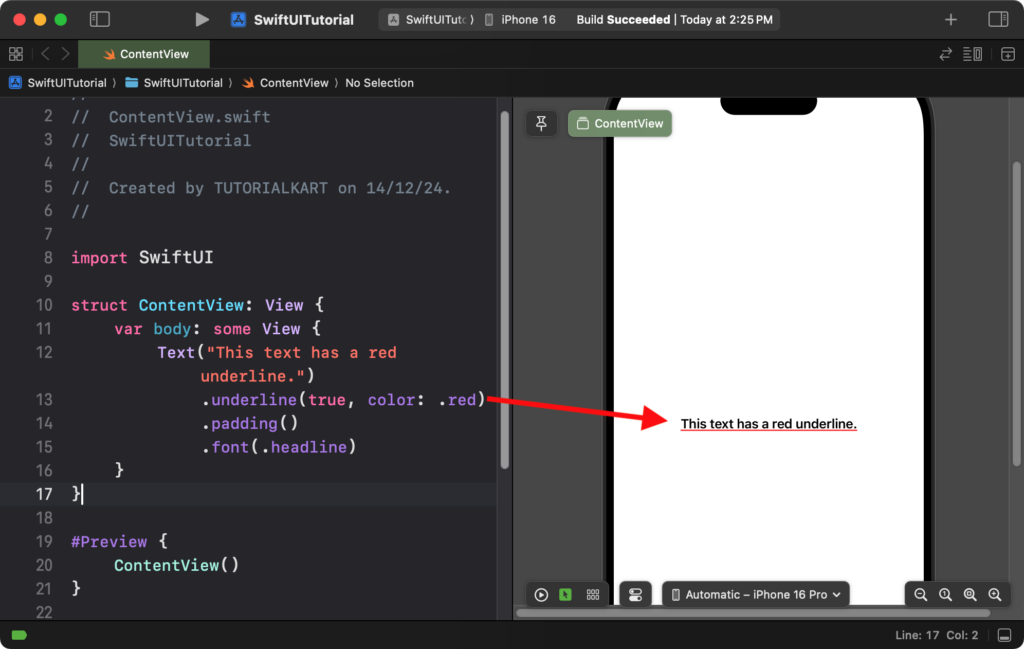
Example 2: Adding an Underline with a Custom Color
You can specify a custom color for the underline as follows:
Code Example:
import SwiftUI

struct ContentView: View {
    var body: some View {
        Text("This text has a red underline.")
            .underline(true, color: .red)
            .padding()
            .font(.headline)
    }
}
Explanation:
- The
.underline(true, color: .red)adds a red underline to the text. - The
.font(.headline)adjusts the font size to a smaller, bold style.
Result: The text is underlined with a red line, creating a strong visual emphasis.
Example 3: Conditional Underlining
Here’s how to conditionally underline text based on a Boolean value:
Code Example:
import SwiftUI

struct ContentView: View {
    @State private var isUnderlined = true

    var body: some View {
        VStack {
            Text("Conditional Underline")
                .underline(isUnderlined, color: .blue)
                .padding()
                .font(.body)

            Button("Toggle Underline") {
                isUnderlined.toggle()
            }
            .padding()
        }
    }
}
Explanation:
- The
isUnderlinedstate controls whether the text is underlined. - The
.underline(isUnderlined, color: .blue)dynamically applies the underline based on the state. - The button toggles the value of
isUnderlined, enabling or disabling the underline.
Result: The underline is added or removed dynamically when the button is pressed.
Conclusion
The .underline modifier in SwiftUI is a simple and effective way to add emphasis to text. Whether you’re using the default underline or customizing its color, it allows you to create visually distinct typography in your app’s interface.
