It is advanced to filter T/r. Router T/r returns both True and False Values, but the true values are returned to User defined Group whereas False Values are returned to Default group. We can create any number of user defined groups. The data which is not satisfying any user group will go default group.
Router Transformation in Informatica is an ‘active transformation’ and it is advanced to filter transformation, Router transformation takes single input data (source) into multiple targets based on data condition applied for each group. Router Transformation returns both True and False Values, but the true values are returned to User defined Group whereas False Values are returned to Default group. We can create any number of user defined groups. The data which is not satisfying any user group will go default group.
Router Transformation can be created by 2 types of groups :
- Input group : Input group receives the data from source pipeline and have only one i/p group.
- Output group : User defined and default are the two types of O/P group.
Router Transformation in Informatica
Router Transformation has an advantage over using multiple filter condition because in Router transformation, a row is read once into the input group but evaluated multiple times based on the number of groups.
| Filter | Router |
| Single Condition | Multiple Conditions |
| Single Target | multiple targets |
| Rejected record can’t be captured. | Default group caches the rejected records. |
Route Transformation mapping diagram.
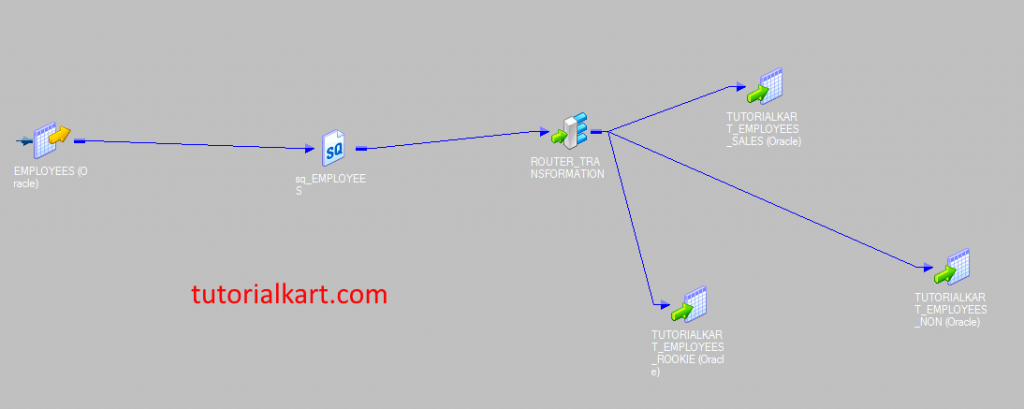
In this Informatica tutorial, we will learn about router transformation. Here we are going to create a mapping, where a row can be sent to one of the three different target tables ().
- Source table : EMPLOYEES.
- Target tables : TUTORIALKART_EMPLOYEES_SALES, TUTORIALKART_EMPLOYEES_NON_SALES, TUTORIALKART_EMPLOYEES_ROOKIE.
Router condition.
- Sales group : JOB_ID = ‘ST_CLERK’.
- Non Sales group : JOB_ID = ‘FI_ACCOUNT’ OR JOB_ID = ‘IT_PROG’ OR JOB_ID = ‘FI_MGR’
- Rookie group : DATE_DIFF (SESSSTARTTIME, HIRE_DATE, ‘dd’) > 730
Creating Router transformation.
To create router transformation in Informatica, we must create ‘Mapping’. Before creating mapping, we must import source and target tables using source and target Analyzer.
Creating Source Definition.
Connect to Informatica Repository service by proving Informatica admin console credentials. Source definition (source table) can be created using Source analyzer. Open Informatica PowerCenter Designer | Tools | Source Analyzer and import source table into Workspace.
Creating Target definition.
Target definition(target table) can be created using Target Designer. Open target designer and create target table TUTORIALKART_EMPLOYEES_SALES, TUTORIALKART_EMPLOYEES_NON_SALES, TUTORIALKART_EMPLOYEES_ROOKIE.
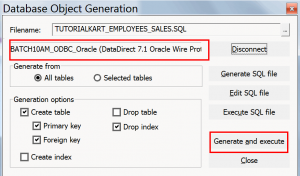
Creating Mapping for Router transformation.
To create new mapping in Informatica PowerCenter, navigate to Mapping designer available in tools and click on create option. A new window will be opened, enter mapping name and click on OK button.
Now, drag and drop source definition from source folder to Mapping workspace. Source qualifier is created automatically by designer.
Creating Router Transformation in Informatica 10.0.1.
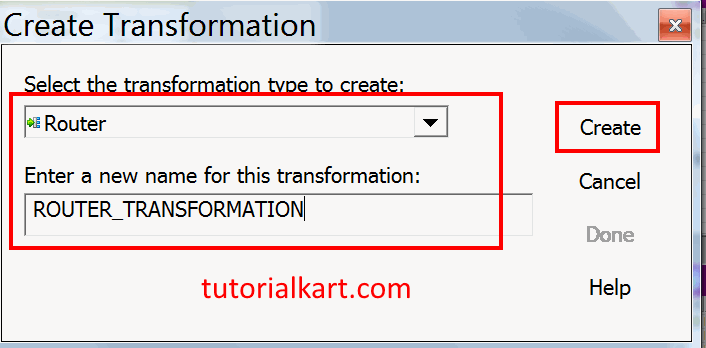
To create router transformation in Informatica, go to transformation tab and select create option. Now a new window will be opened, enter unique name and click on OK button.
- Select required ports in source qualifier and drop those ports in Router transformation, connect the source definition with transformation using link column icon in the tool bar.
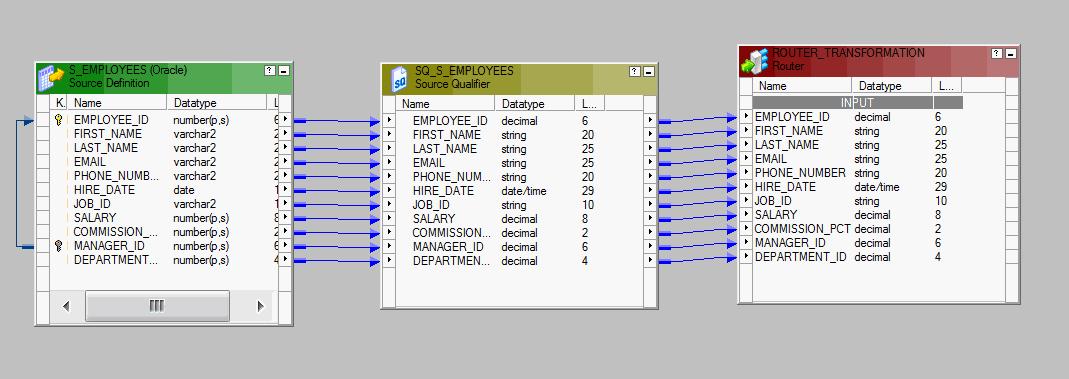
To add groups in router transformation, double click on header and select groups tab to add new groups.
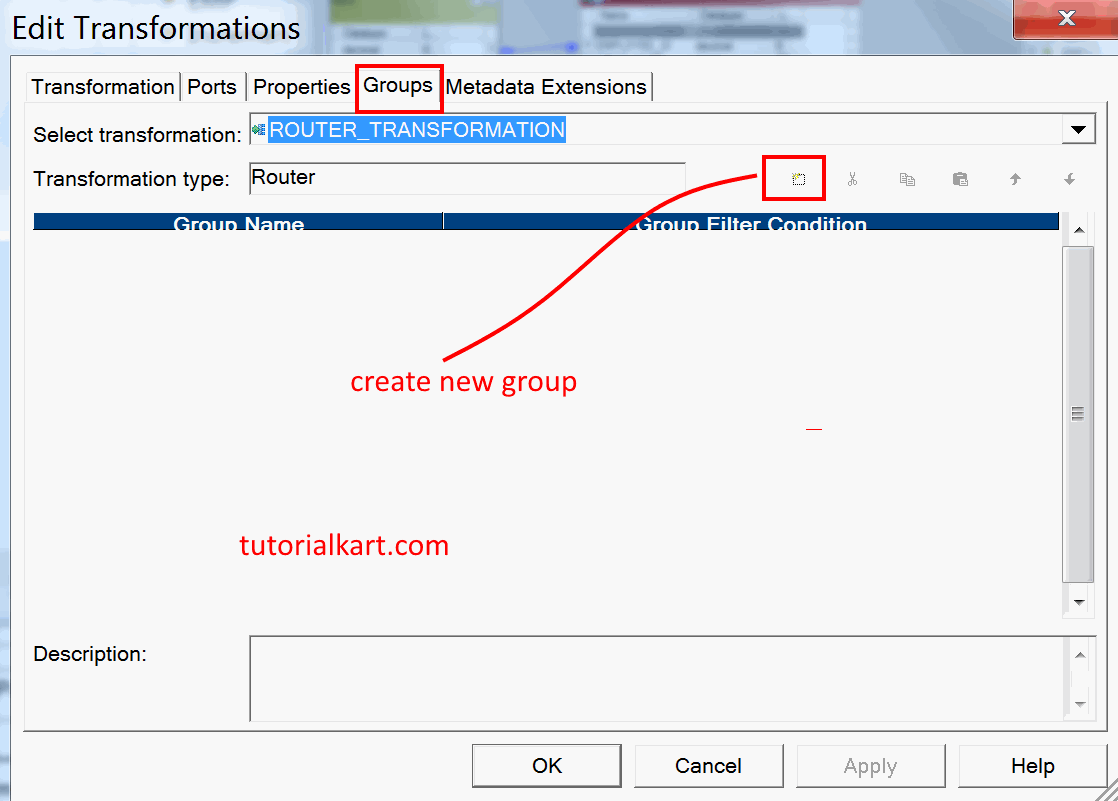
- Ignore default group and add three new groups and add filter condition as shown below.
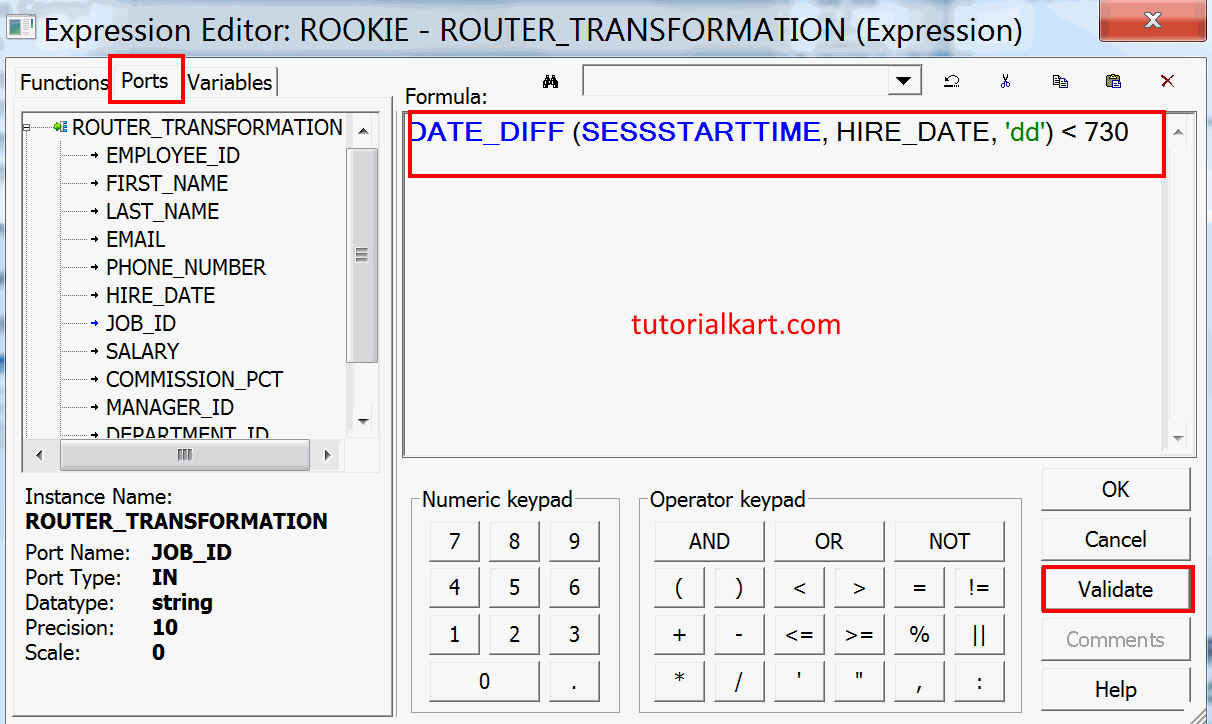
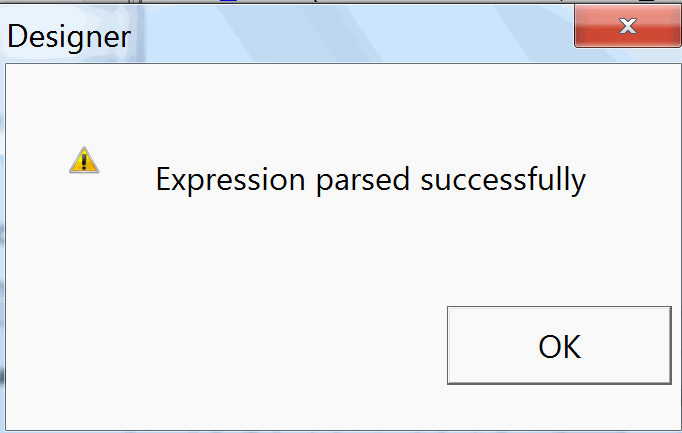
- Click on validate button to check entered condition is valid or not.
- Enter group filter condition for sales, non sales and rookie groups as shown below.
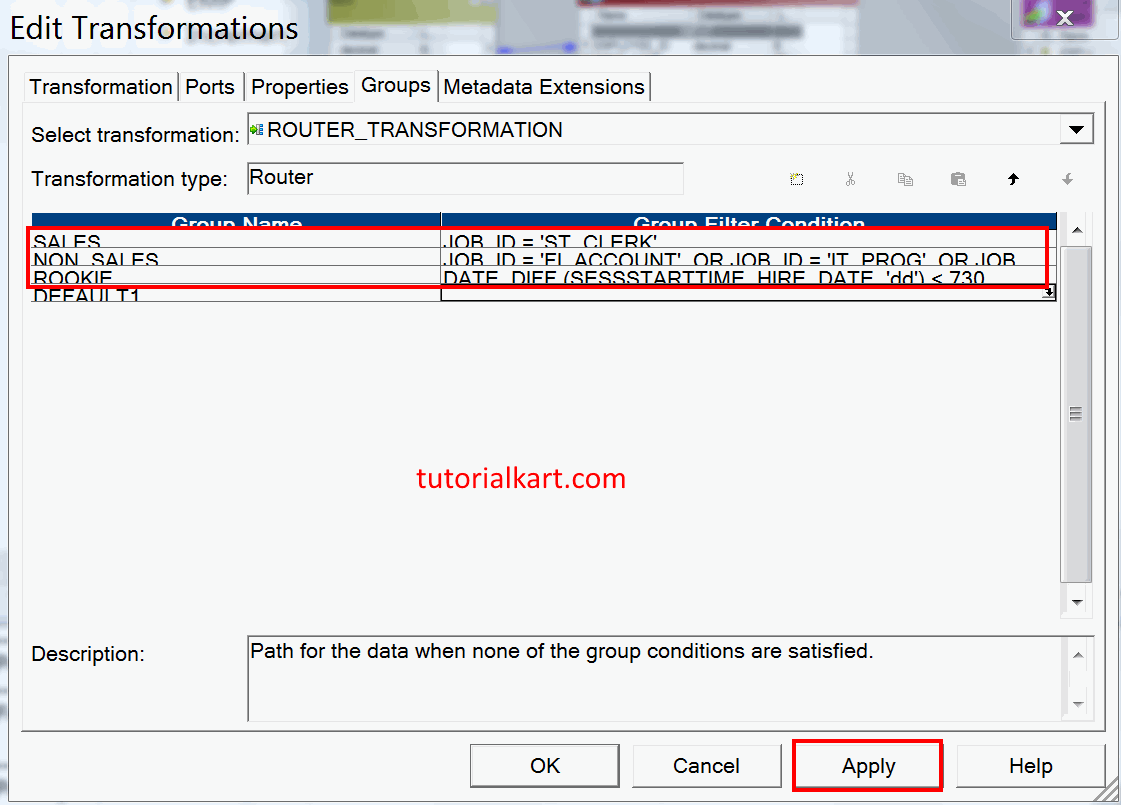
- Click on Apply button and Ok.
Now add all three target definition tables to the mapping and link the target definition from the corresponding groups in router transformation as shown below.
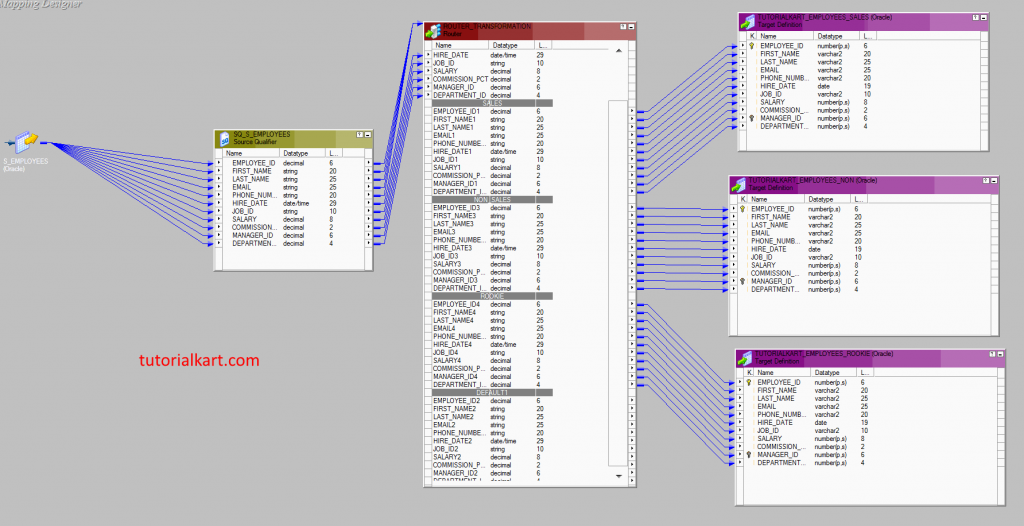
- Save the Mapping.
Create and run Workflow
After creating Mapping Successfully, we have to create and run workflow. Open Informatica PowerCenter Workflow manager and create new workflow.
Creating Session.
A session task must be created for our mapping, go to tasks tab and select create option. Enter name and click on Done.
- Select a mapping to associate with the session, here we selected M_TUTORIALKART_EMPLOYEES .
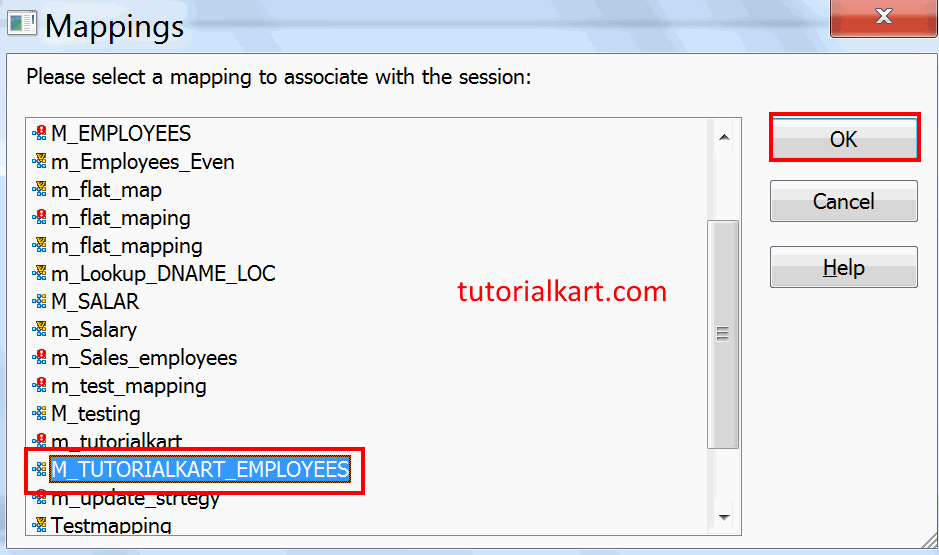
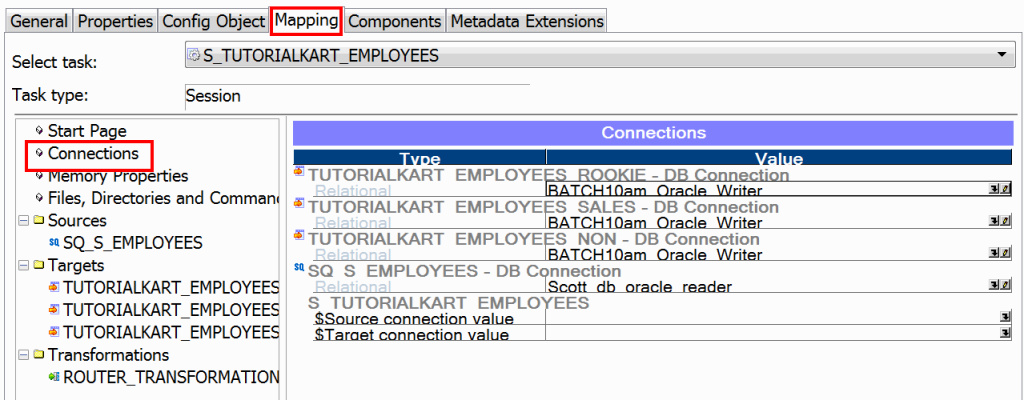
Next, we must configure session connections by editing session. Double click on session, navigate to Mapping tab and select connections.
- Click on down arrow and select relational database connections for sources and targets as shown below.
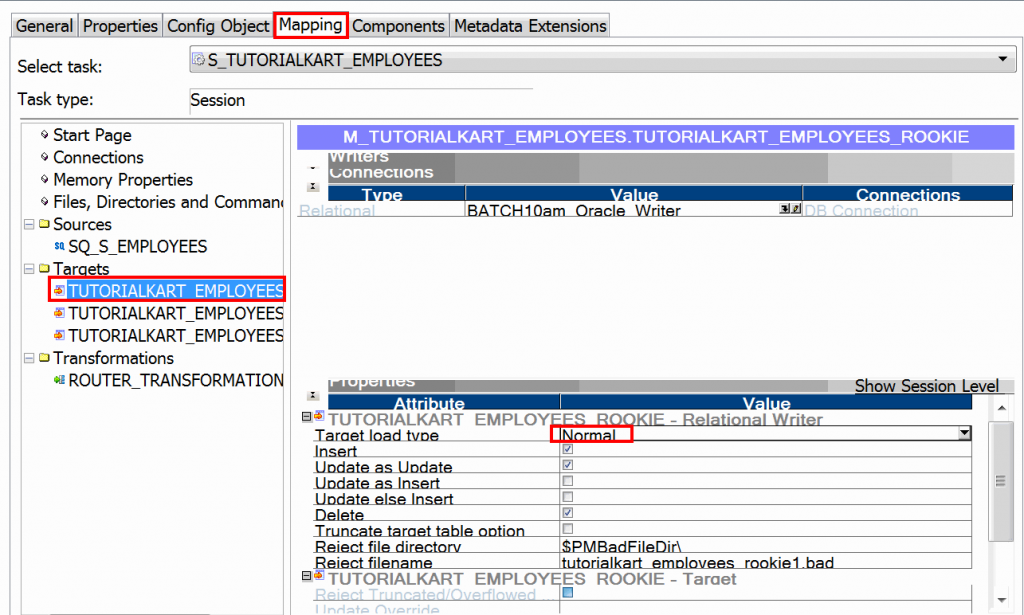
- Under Properties, the Target load type should be defaulted to Normal.
- Click OK to close the Edit Tasks dialog box.
- Link Start to session as shown below.
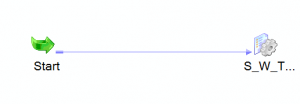
- Save the workflow and click on run workflow.
Monitoring Workflow.
To monitor the status of the workflow, open Informatica PowerCenter workflow monitor and the status.

