How to Create Database in MySQL using Java
This tutorial will guide you through creating a MySQL database using Java. We’ll cover starting the MySQL server, setting up a connection in Java, writing the Java code to create a database, and verifying it in MySQL Workbench.
Prerequisites
- MySQL installed and configured
- Java Development Kit (JDK) installed
- MySQL Connector/J (JDBC Driver) downloaded
- MySQL Workbench to verify the database creation
Step 1: Start MySQL Server
Before running any MySQL commands or connecting to MySQL from Java, make sure the MySQL server is running. Here are the steps to start the MySQL server:
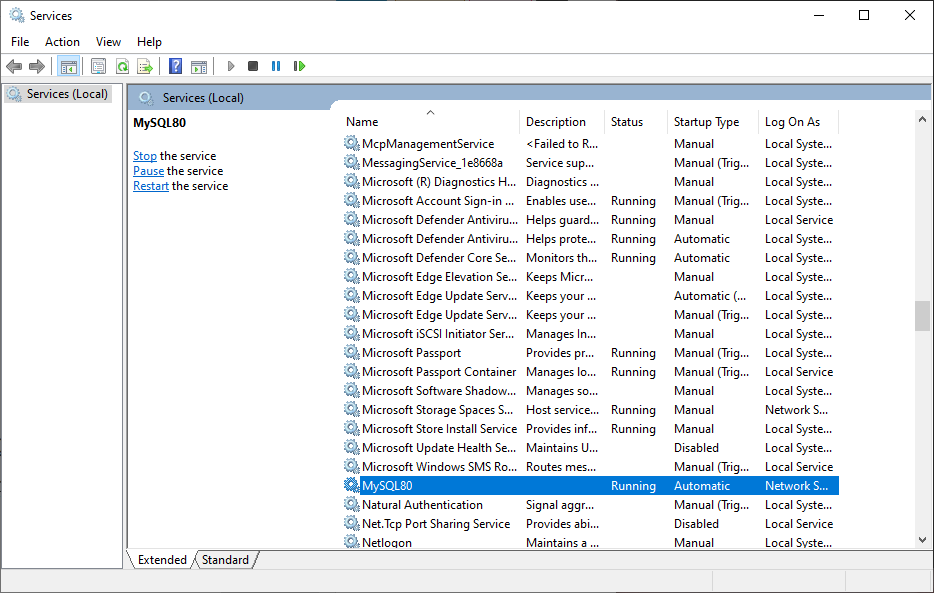
1. Start MySQL Server on Windows
Open the Start menu and search for Services.
In the Services window, find MySQL or MySQL80 (or the version name) in the list.
Right-click on it and select Start to start the MySQL server.
2. Start MySQL Server on macOS
Open System Preferences and click on MySQL.
Click Start MySQL Server to start the server.
3. Start MySQL Server on Linux
Open a terminal and type the following command:
sudo systemctl start mysqlThis command starts the MySQL server on most Linux distributions.
Step 2: Set Up MySQL Connection in Java
To connect to MySQL from Java, you need the MySQL Connector/J library. Add this library to your Java project to establish the connection.
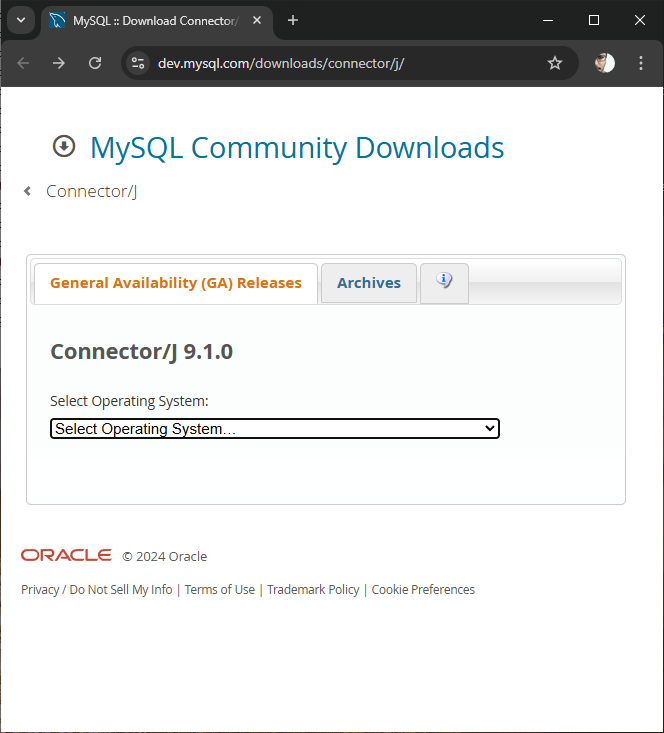
1. Download MySQL Connector/J
Go to the official MySQL Connector/J download page, download the connector, and add the JAR file to your Java project’s classpath.
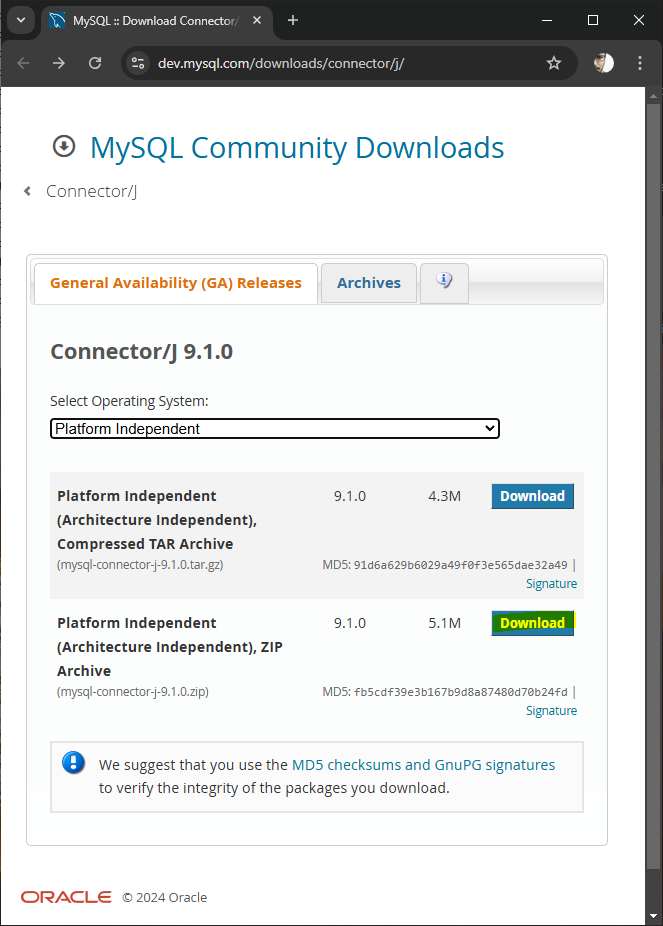
Click on the Download button.
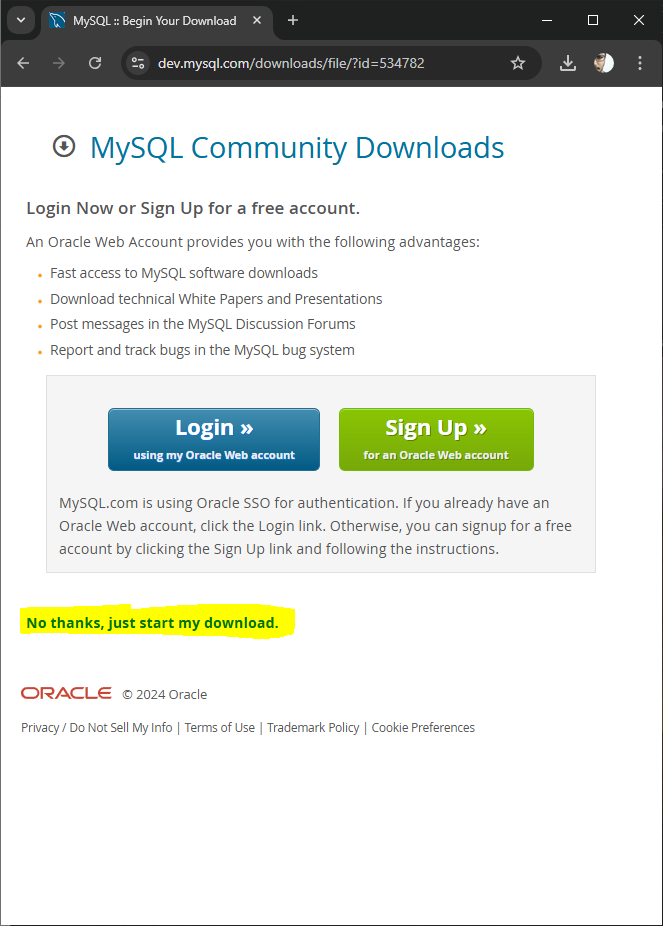
You may click No thanks, just start my download.
In the downloaded package, there should be a jar file.
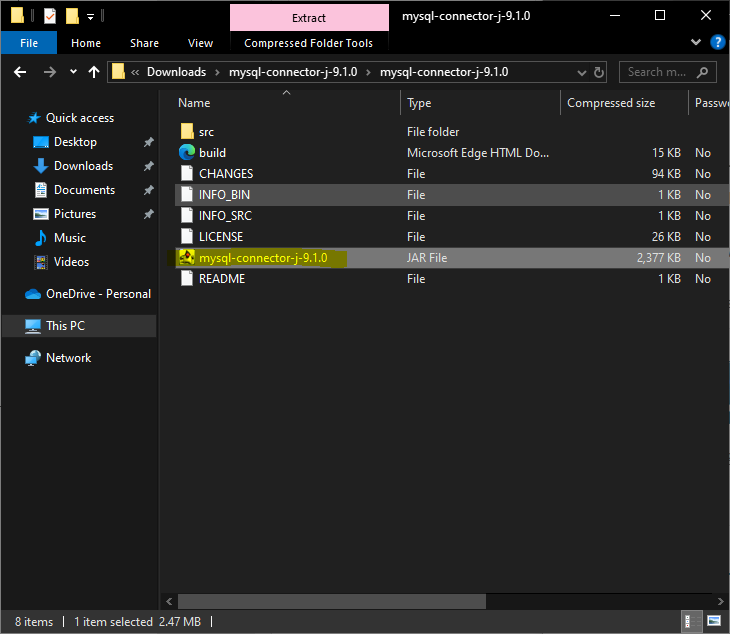
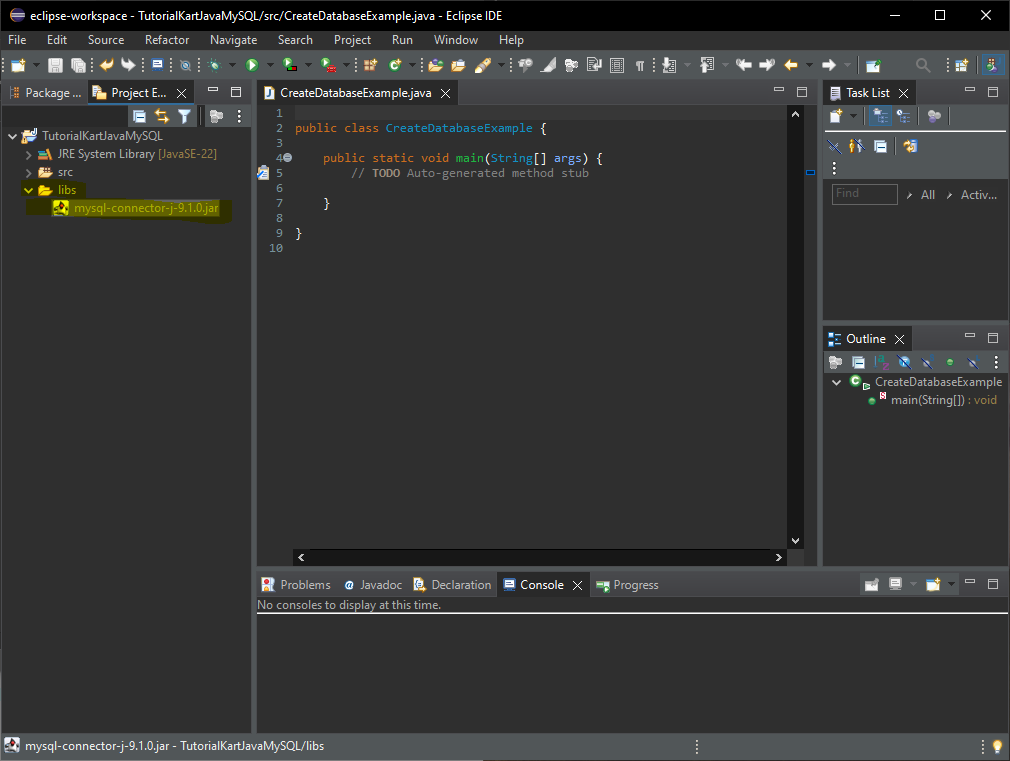
2. Add the Connector to Your Java Project
For the sake of convenience, let us copy the jar file to libs folder in the Java Project.
Right-click on your Java project and go to Properties.
Select Java Build Path > Libraries.
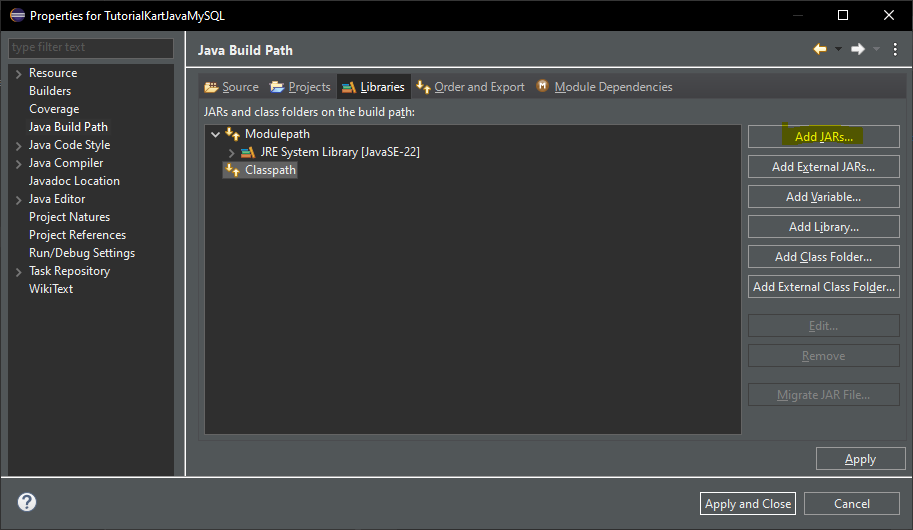
Add the MySQL Connector/J JAR file you downloaded.
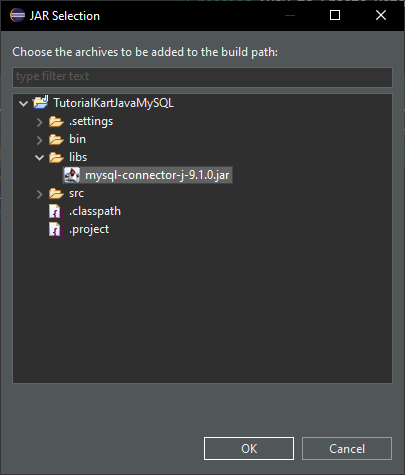
Click OK.
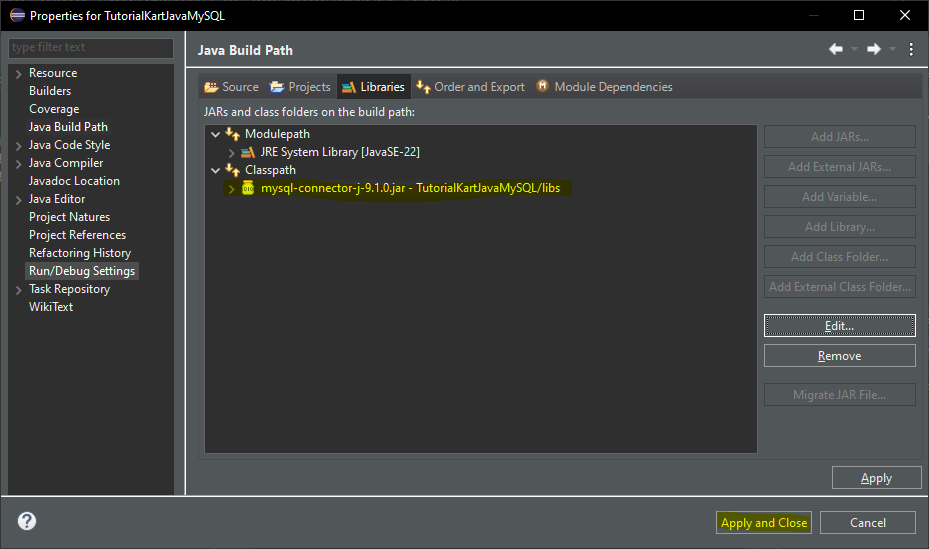
Click Apply and Close.
Step 3: Write Java Code to Create a MySQL Database
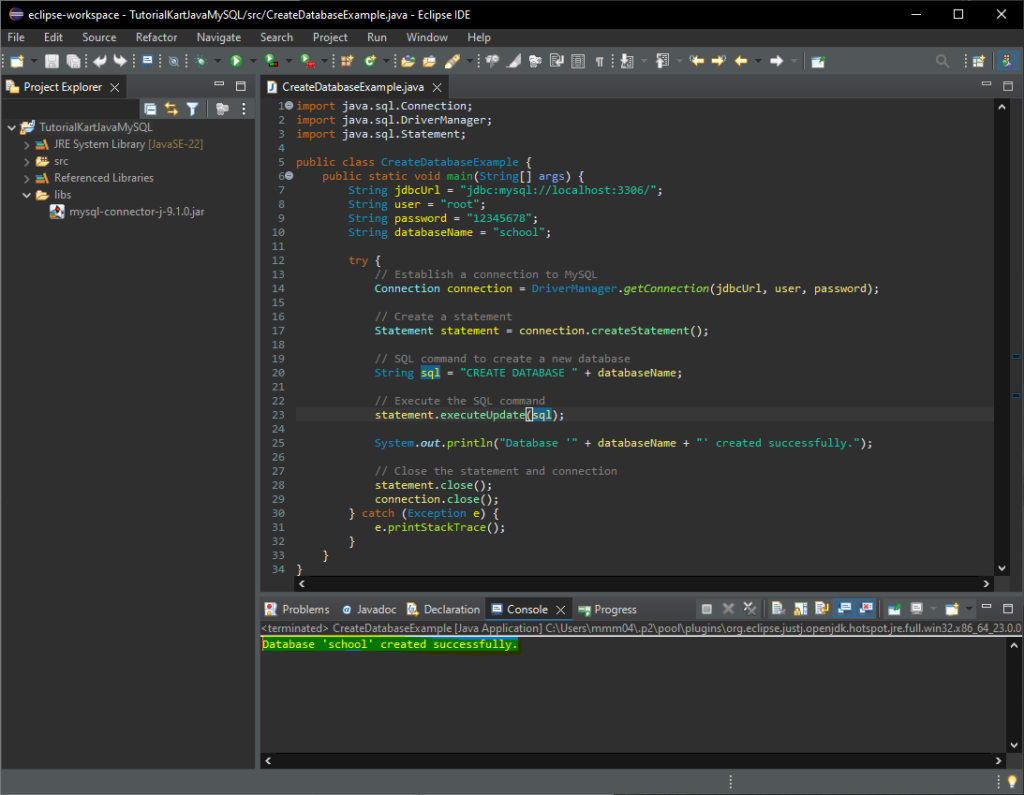
Now, we’ll write a Java program that connects to MySQL and creates a new database. Here’s the code:
Java Program to Create a Database
import java.sql.Connection;
import java.sql.DriverManager;
import java.sql.Statement;

public class CreateDatabaseExample {
    public static void main(String[] args) {
        String jdbcUrl = "jdbc:mysql://localhost:3306/";
        String user = "root";
        String password = "your_password";
        String databaseName = "school";

        try {
            // Establish a connection to MySQL
            Connection connection = DriverManager.getConnection(jdbcUrl, user, password);

            // Create a statement
            Statement statement = connection.createStatement();

            // SQL command to create a new database
            String sql = "CREATE DATABASE " + databaseName;

            // Execute the SQL command
            statement.executeUpdate(sql);

            System.out.println("Database '" + databaseName + "' created successfully.");

            // Close the statement and connection
            statement.close();
            connection.close();
        } catch (Exception e) {
            e.printStackTrace();
        }
    }
}
Explanation of the Code
- jdbcUrl: The URL to connect to MySQL. Replace
localhost:3306with your MySQL server address if different. - user and password: Your MySQL credentials. Replace
your_passwordwith the actual password. - Statement statement: Used to execute the SQL command to create the database.
Step 4: Run the Java Program
Compile and run the Java program in your IDE or from the command line:
Command Line
javac CreateDatabaseExample.java
java CreateDatabaseExample
If the program executes successfully, you’ll see the following message in the console:
Step 5: Verify Database Creation in MySQL Workbench
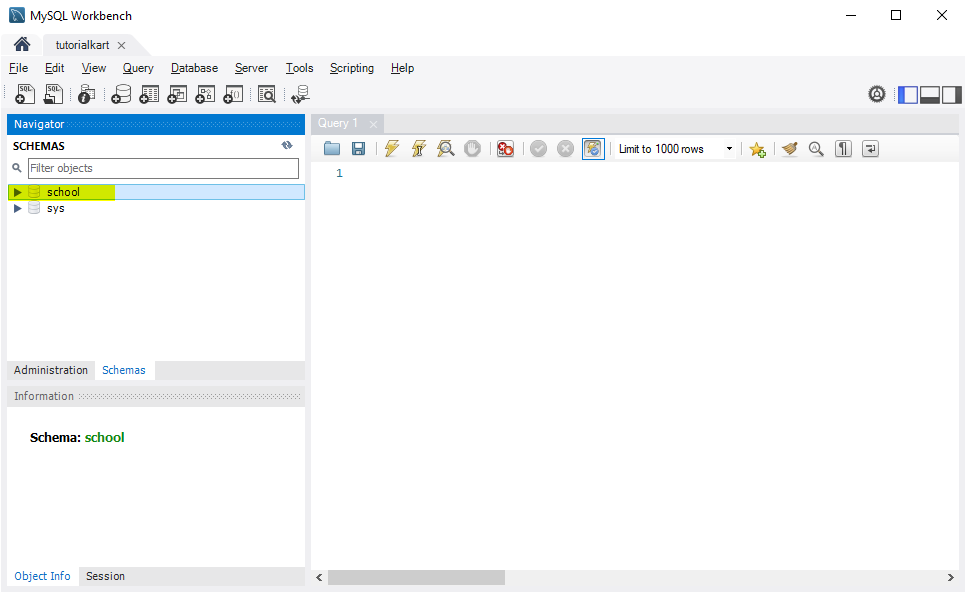
After running the Java program, open MySQL Workbench to verify that the database was created:
- Open MySQL Workbench and connect to your MySQL server.
- Refresh the list of databases by right-clicking on the “Schemas” tab and selecting Refresh All.
- You should see the new
schooldatabase in the list of databases.
Troubleshooting Common Issues
Here are some common issues you may encounter and how to fix them:
- SQLException: Access denied: Ensure that your MySQL username and password are correct and that the user has permission to create databases.
- ClassNotFoundException: com.mysql.cj.jdbc.Driver: Make sure the MySQL Connector/J JAR file is added to your project’s classpath.
- SQLException: No suitable driver found: Verify that the JDBC URL is correctly formatted as
jdbc:mysql://localhost:3306/.
Conclusion
This tutorial provided a step-by-step guide to create a MySQL database using Java. By ensuring the MySQL server is running, setting up a connection in Java, and verifying the creation in MySQL Workbench, you can programmatically manage databases through Java applications.