JavaFX ImageView
JavaFX ImageView is used to display an image in UI.
In this tutorial, we will learn how to display an image in UI using ImageView class.
Step 1: Read image as FileInputStream and using this stream, prepare an Image object.
Step 2: Pass the Image object as argument to the ImageView() constructor.
Example 1 – JavaFX ImageView in UI
In the following example, we shall read an image present in the images folder of the Java project.
JavaFxImageViewTutorial.java
</>
Copy
import java.io.FileInputStream;
import javafx.application.Application;
import javafx.scene.Scene;
import javafx.scene.image.Image;
import javafx.scene.image.ImageView;
import javafx.scene.layout.TilePane;
import javafx.stage.Stage;
public class JavaFxImageViewTutorial extends Application {
public static void main(String[] args) {
launch(args);
}
@Override
public void start(Stage primaryStage) {
try {
// set title
primaryStage.setTitle("JavaFX ImageView Tutorial - tutorialkart.com");
//read image as stream
FileInputStream input = new FileInputStream("images/camera.png");
//prepare image object
Image image = new Image(input);
//create ImageView object
ImageView imageView = new ImageView(image);
// stack pane
TilePane tilePane = new TilePane();
// add ImageView to the tile pane
tilePane.getChildren().add(imageView);
//set up scene
Scene scene = new Scene(tilePane, 450, 300);
primaryStage.setScene(scene);
primaryStage.show();
} catch(Exception e) {
e.printStackTrace();
}
}
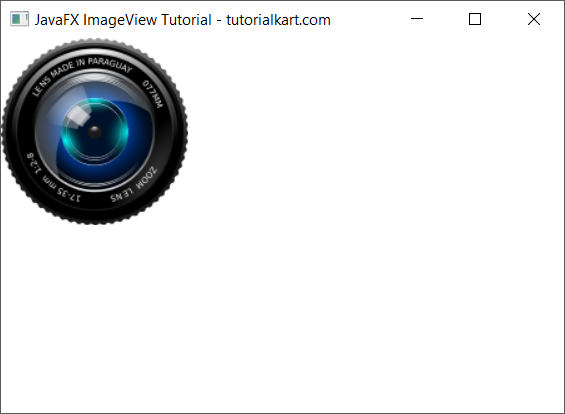
}Run this Java Application, and you should see a UI as shown below.
Conclusion
In this JavaFX Tutorial, we learned how to use ImageView in GUI application.