Connect to a Database Server in pgAdmin 4
pgAdmin 4 is a powerful and user-friendly tool for managing PostgreSQL database servers. One of the first tasks you will need to perform when using pgAdmin 4 is connecting to a database server. This tutorial provides a detailed step-by-step guide on how to connect to a database server in pgAdmin 4.
Connecting to a server is essential for managing databases, running queries, and performing other operations. Follow the instructions below to establish a successful connection.
Step 1: Launch pgAdmin 4
Begin by opening pgAdmin 4. Depending on your setup, you can launch pgAdmin from your applications menu or access it via your web browser if it is configured as a web-based tool.
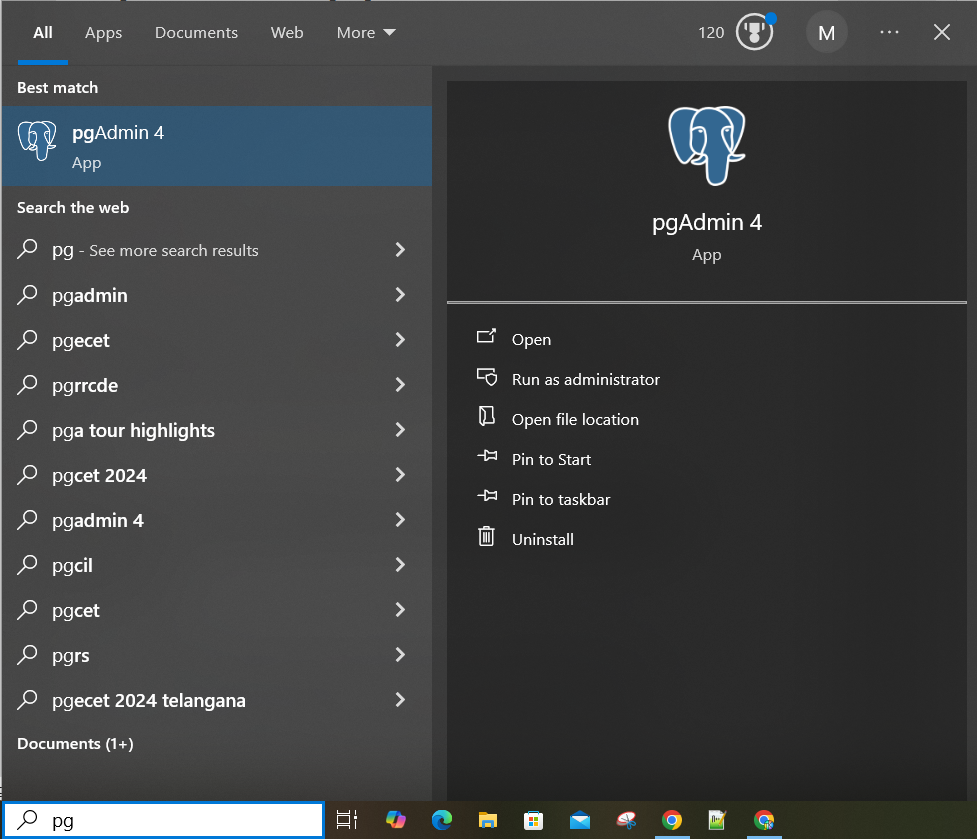
Once launched, you will be greeted with the pgAdmin 4 dashboard, which provides a central interface for managing PostgreSQL servers and databases.
The dashboard displays a tree structure on the left-hand side, showing available server groups and connected servers. If this is your first time using pgAdmin, the server tree may appear empty.
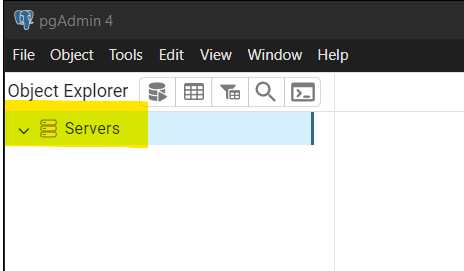
Step 2: Add a New Server
To connect to a new PostgreSQL server, you must first add it to pgAdmin:
In the left-hand navigation panel, right-click on the “Servers” node and select Register, then choose Server....
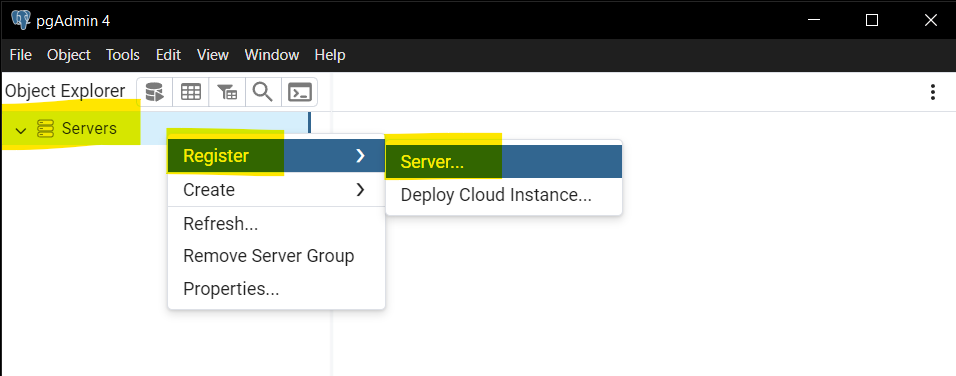
This action will open the “Register – Server” dialog box, where you can configure the connection details for your server.
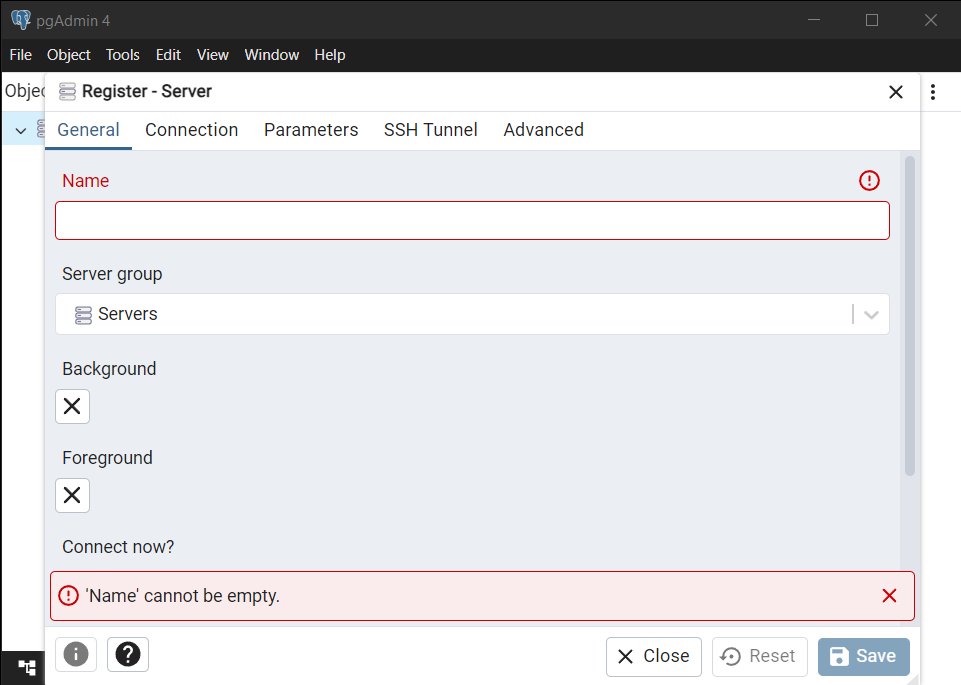
Step 3: Configure Server Connection Details
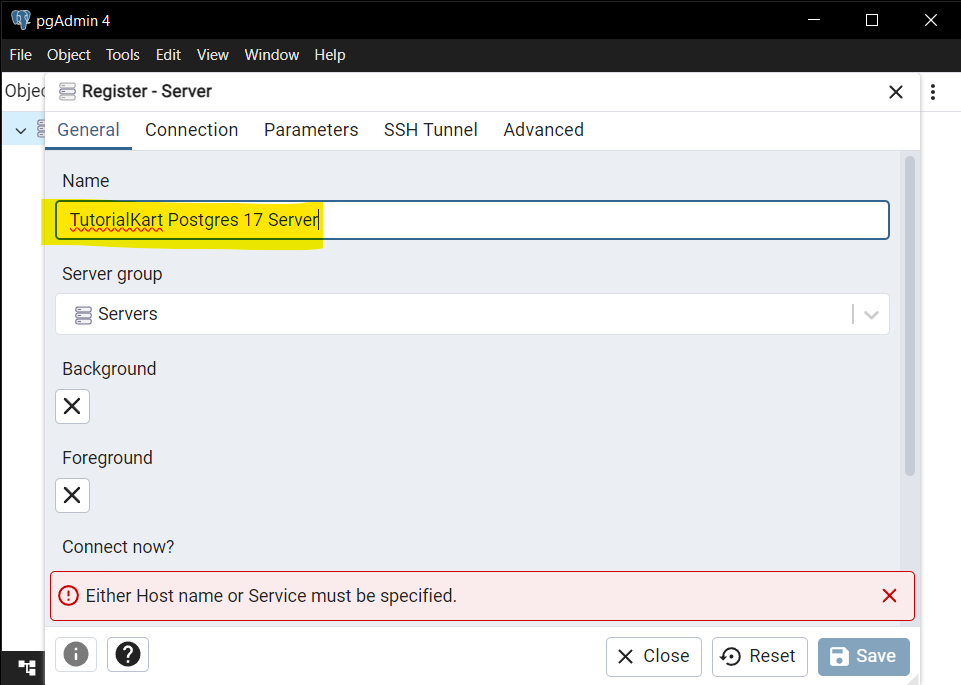
In the “Create – Server” dialog box, you will need to fill in the required details:
General Tab: In the Name field, enter a name for the server connection. This name will appear in the server tree for easy identification. The name does not need to match the actual server name and can be anything meaningful, such as My PostgreSQL Server.
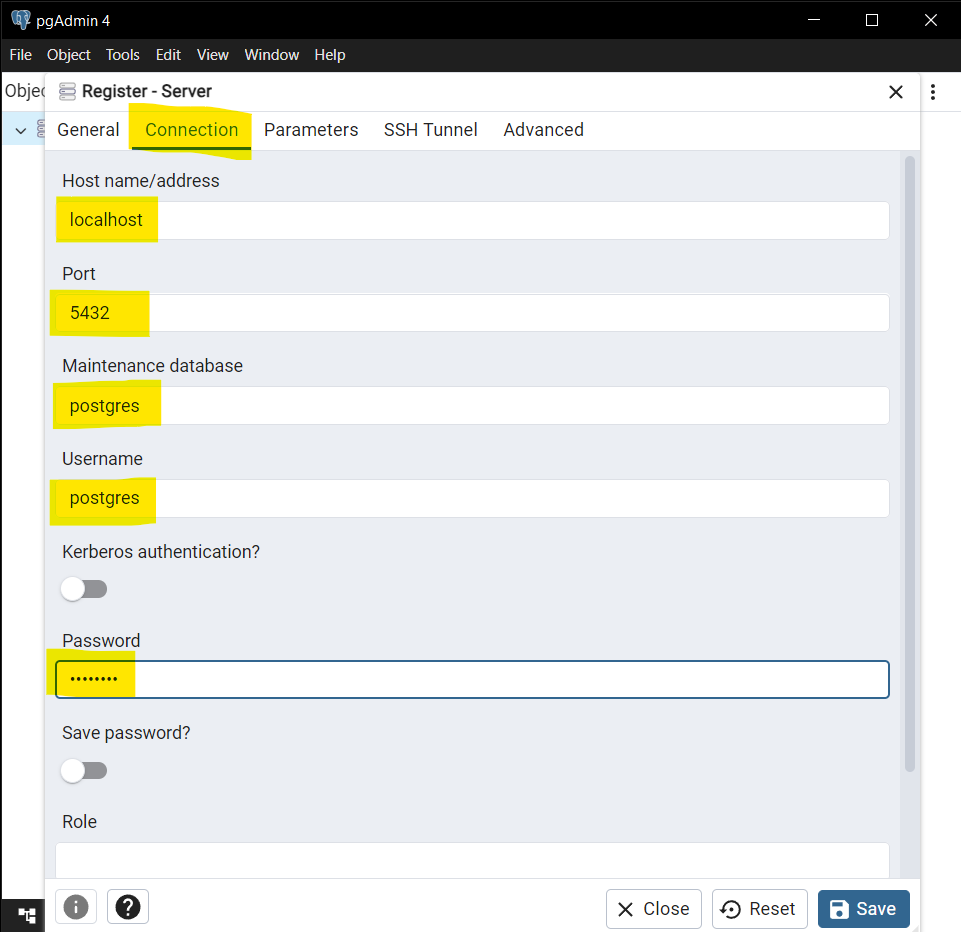
Connection Tab: This is where you configure the actual connection details for the PostgreSQL server:
Host name/address: Enter the IP address or hostname of the PostgreSQL server (e.g., localhost for a local server or a remote server address).
Port: Enter the port number for the PostgreSQL server. The default is 5432.
Maintenance database: Enter the name of the database to connect to for administrative purposes. Typically, this is postgres.
Username: Enter the username for the server. The default administrative username is postgres.
Password: Enter the password for the specified username. This field is required to authenticate the connection.
After filling in these details, click Save to create the server connection. The server will now appear in the server tree under the “Servers” node.

Step 4: Connect to the Server
To connect to the server, locate it in the server tree under the “Servers” node. Right-click on the server name and select Connect. If the server requires authentication, a prompt will appear asking for the password. Enter the password you specified in the “Create – Server” dialog and click OK.
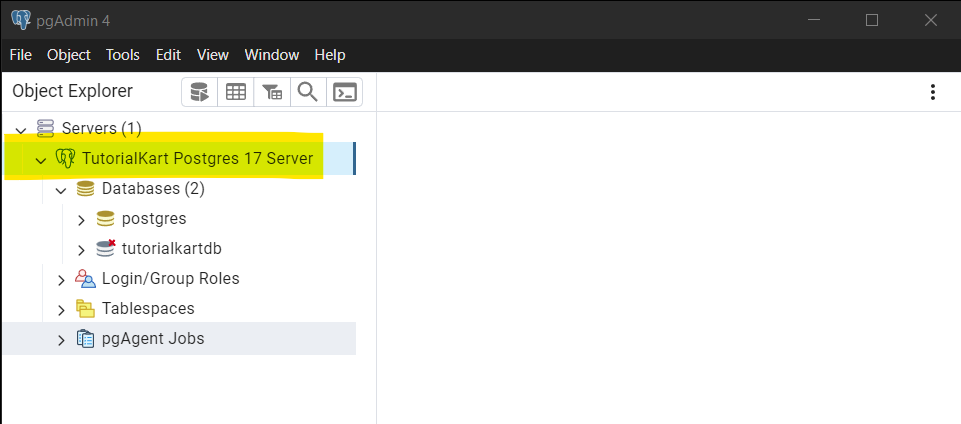
If the connection is successful, the server node will expand, displaying its databases, schemas, and other components. You are now connected to the PostgreSQL server and can begin managing your databases.
Step 5: Verify the Connection
To verify that the connection is working correctly, expand the server node in the tree structure. You should see a list of databases available on the server. You can click on a database to view its properties, run queries, or manage its objects such as tables, schemas, and functions.
If the server node does not expand or you encounter an error, double-check the connection details (hostname, port, username, and password) and ensure that the PostgreSQL server is running. You may also need to adjust the server’s firewall or PostgreSQL configuration to allow connections.
Conclusion
Connecting to a database server in pgAdmin 4 involves adding the server, entering connection details, and authenticating the connection. Once connected, you can manage your PostgreSQL databases, execute queries, and perform various administrative tasks. Ensure you have the correct connection information and administrative privileges to avoid issues during the setup process.
