Rename a Database in pgAdmin 4
Renaming a database in PostgreSQL can be done easily using pgAdmin 4, a user-friendly graphical user interface (GUI) for managing PostgreSQL databases.
In this tutorial, we go through a detailed step-by-step guide on renaming a database in pgAdmin 4, along with important considerations and precautions to ensure the process is smooth and error-free.
Note that renaming a database is a significant operation, as it can affect connected applications or users relying on the database. Always ensure no active connections exist and have proper backups before proceeding.
Prerequisites
Before renaming a database, ensure the following:
You have administrative privileges or ownership of the database you intend to rename. Ensure no active connections exist to the database, as PostgreSQL will not allow renaming a database with active connections. Backup any critical data to avoid accidental loss during the renaming process.
Step 1: Launch pgAdmin 4
Begin by opening pgAdmin 4. You can launch it from your applications menu or access it via your web browser if running as a web-based application.
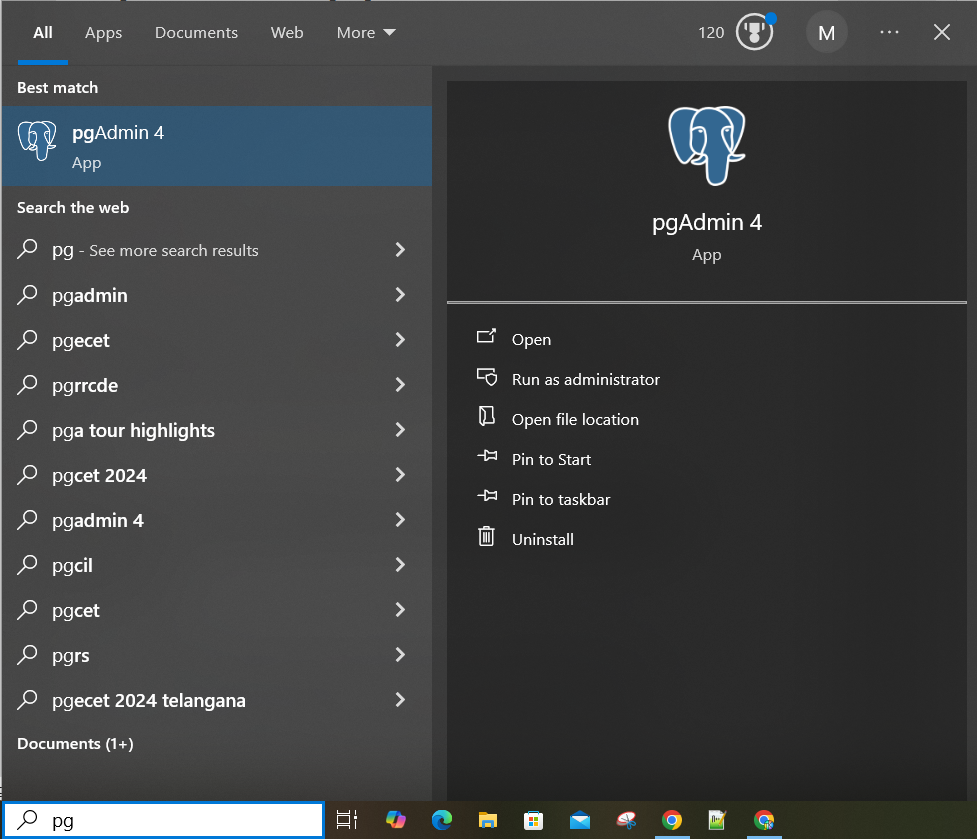
Once opened, the dashboard will display the available server groups and connected PostgreSQL servers.
The dashboard serves as the central interface for managing your databases, schemas, and other PostgreSQL objects.
Step 2: Connect to Your PostgreSQL Server
In the left-hand navigation panel, locate the server hosting the database you want to rename.
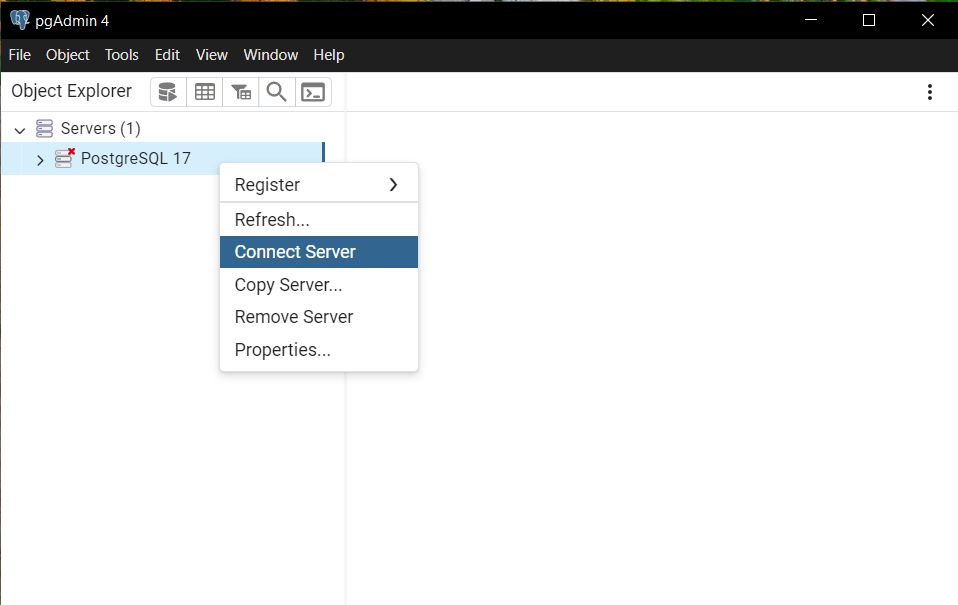
If the server is not already connected, right-click on it and select Connect. Enter the server’s password if prompted, and click OK.
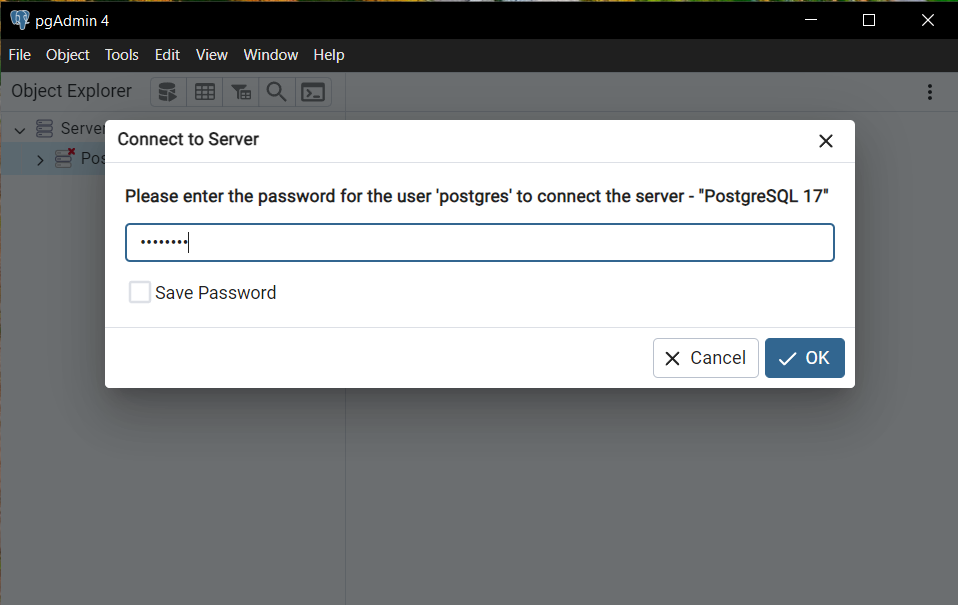
Once connected, the server node will expand to display its databases and other components.
Ensure you have administrative privileges or ownership rights for the database to proceed with the renaming operation.
Step 3: Locate the Database to Rename and Terminal Active Connections
Under the connected server, expand the Databases node to view the list of available databases. Scroll through the list to find the database you wish to rename. Click on the database name to view its properties and ensure it is the correct database.
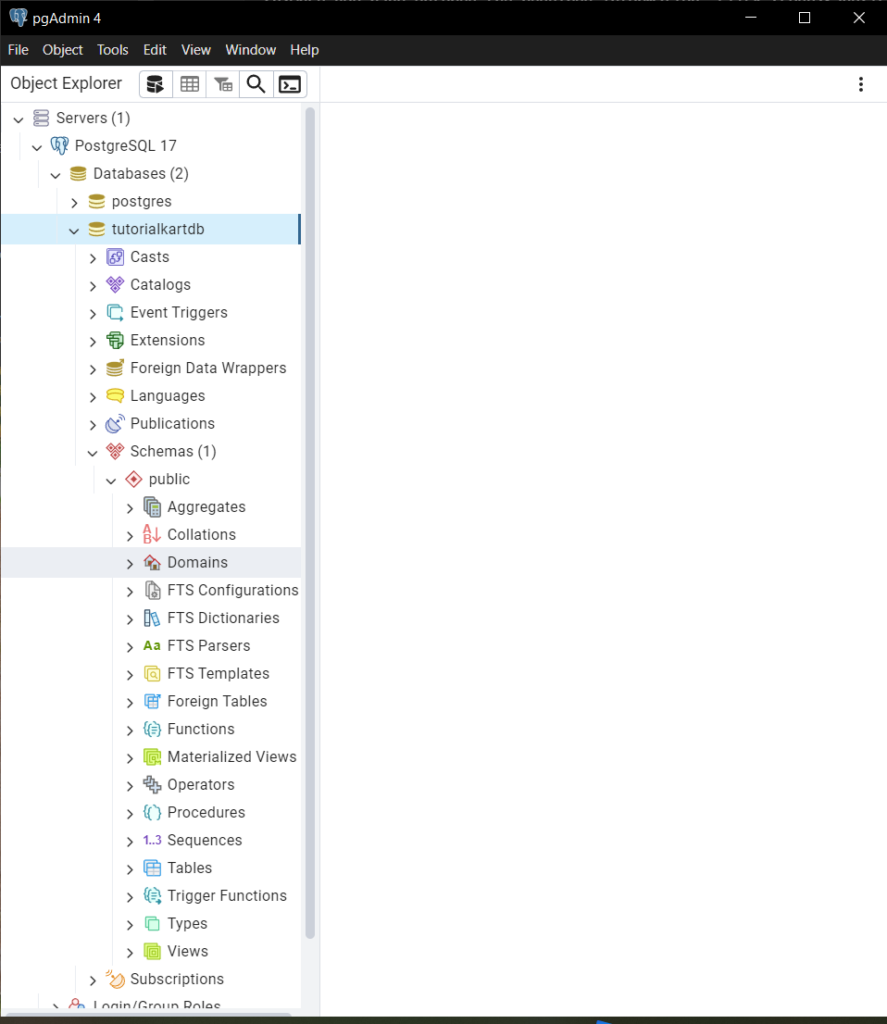
Make sure no active connections exist to the database. You cannot rename a database while it is in use. If there are active connections, you will need to terminate them before proceeding.
To check and terminate active connections, use the pg_stat_activity system view in a query tool connected to a different database:
SELECT pid, pg_terminate_backend(pid)
FROM pg_stat_activity
WHERE datname = 'your_database_name';
Replace 'your_database_name' with the name of the database you intend to rename. In this case, since we are deleting tutorialkartdb, we shall specify the same.
We shall open the Query Tool from a different database, say postgres, and run the following command.
SELECT pid, pg_terminate_backend(pid)
FROM pg_stat_activity
WHERE datname = 'tutorialkartdb';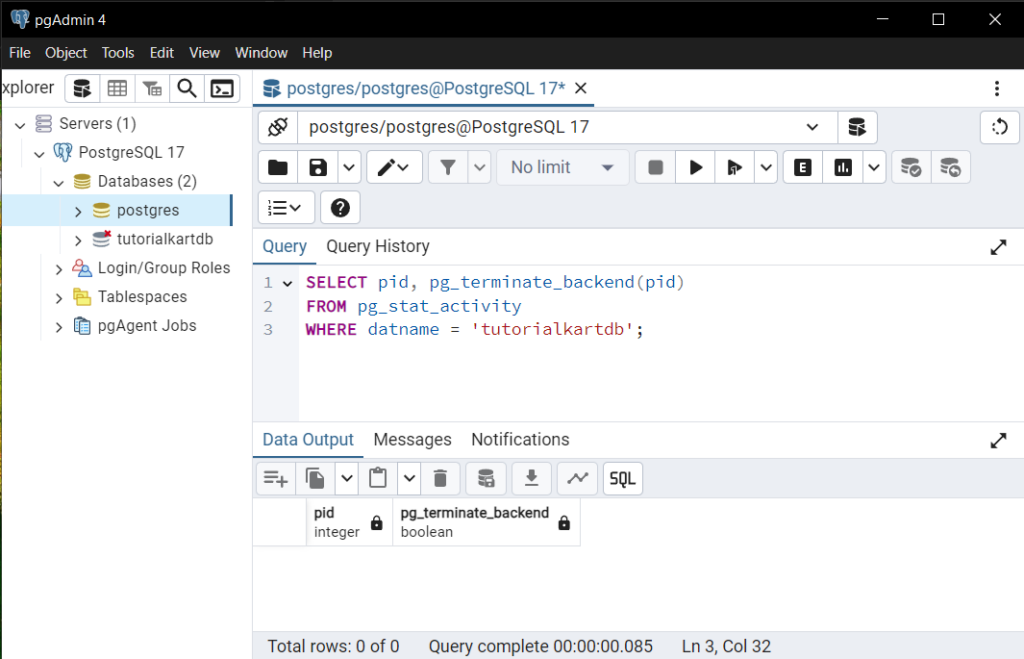
Step 4: Rename the Database
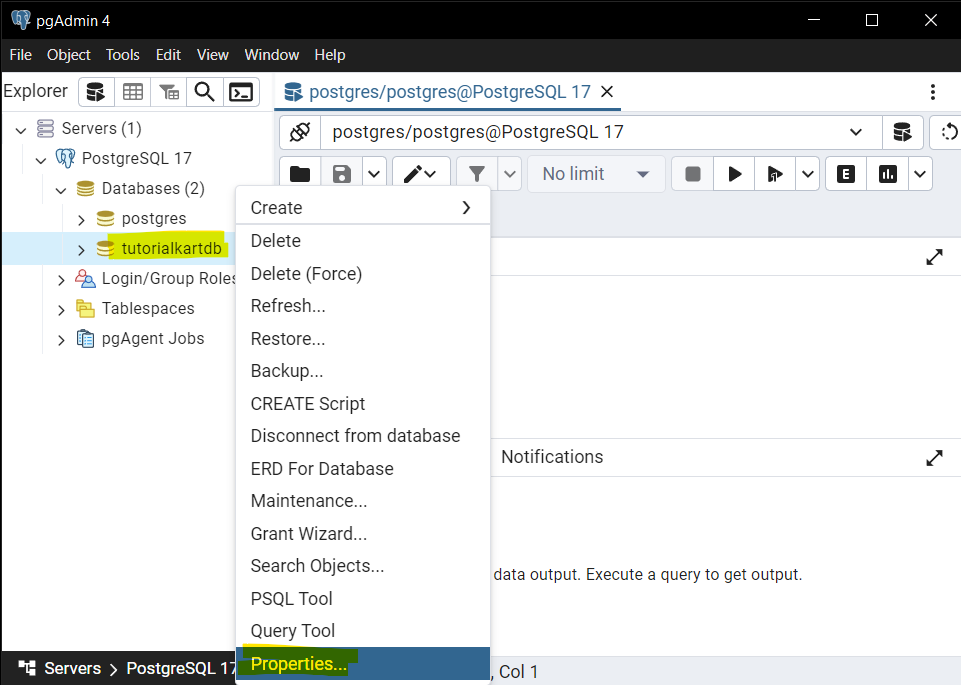
Once all connections to the database are terminated, right-click on the database name in the left-hand navigation panel. From the context menu, select Properties. The “Properties” dialog box for the database will appear.
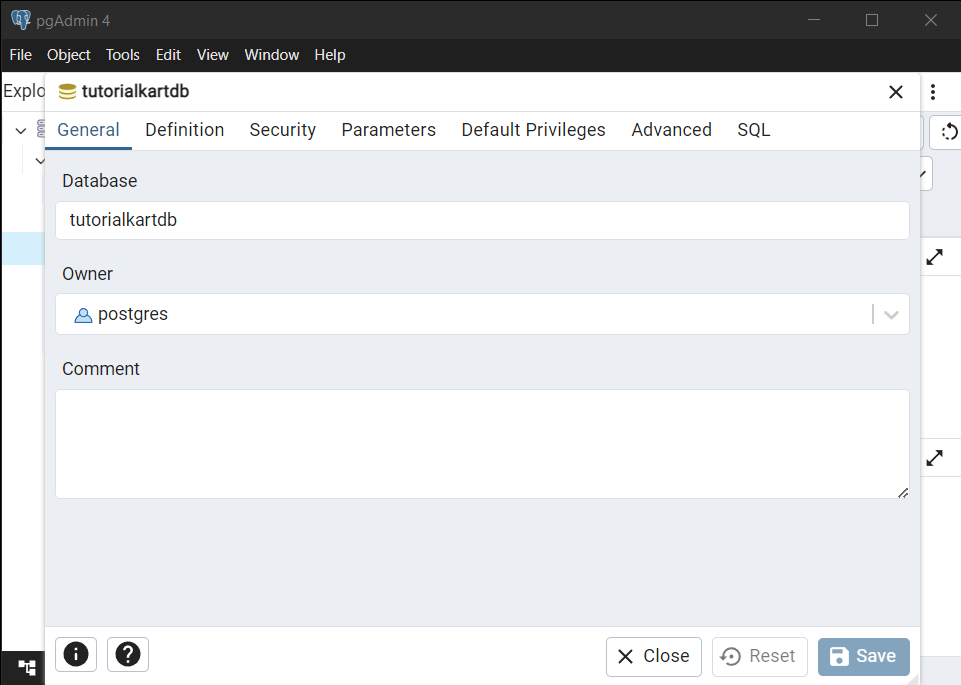
In the dialog box, find the Database field, which displays the current name of the database.
Update this field with the new name you want for the database. After entering the new name, click Save to apply the changes.
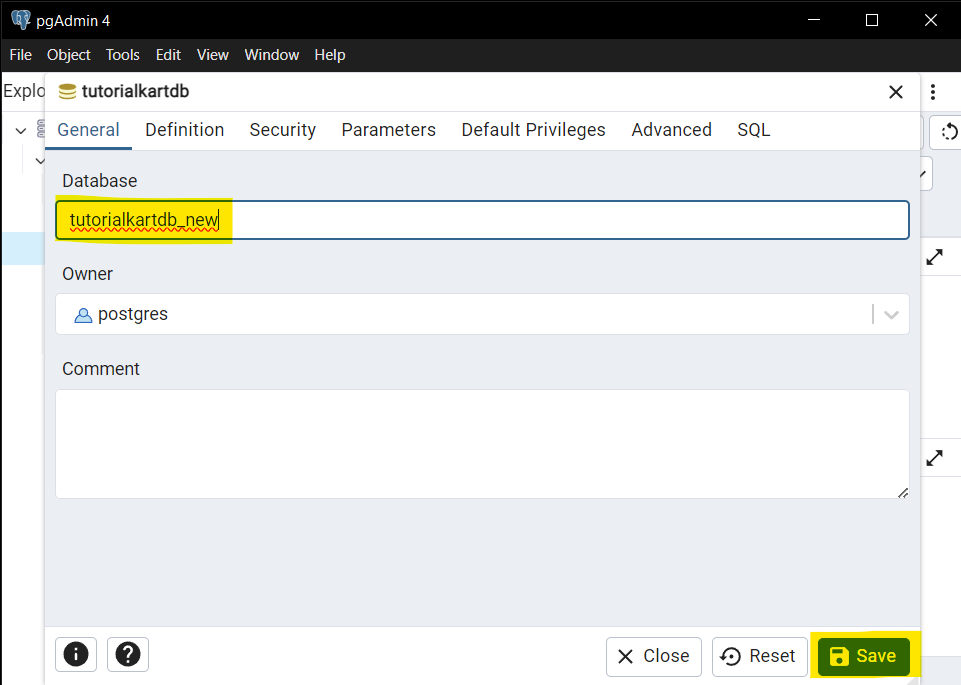
pgAdmin 4 will execute the necessary SQL command to rename the database:
ALTER DATABASE old_database_name RENAME TO new_database_name;Replace old_database_name with the current name of the database and new_database_name with the desired new name.
Step 5: Verify the Renaming
To ensure the database has been renamed successfully, refresh the Databases node in the left-hand navigation panel. Right-click on the “Databases” node and select Refresh. The renamed database should now appear with its new name.
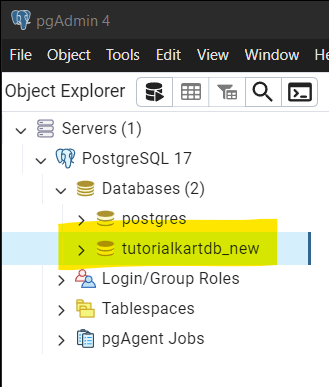
Click on the renamed database to confirm its details and verify that all data and settings remain intact.
Conclusion
Renaming a database in pgAdmin 4 is a simple process. Ensure no active connections exist to the database, and always back up critical data before making significant changes. By following this guide, you can efficiently rename databases while minimizing the risk of disruptions to your applications or users.
