Create a Database in pgAdmin 4
In this tutorial, we will walk through the detailed steps to create a new database in pgAdmin 4.
Step 1: Open pgAdmin 4
First, launch pgAdmin 4 on your system. You can find it in your applications menu or access it via your browser if it is running as a web-based application.

Once pgAdmin 4 is open, you will see the dashboard, which serves as the central interface for managing servers and databases. It displays the server groups and the PostgreSQL servers available on your system.
Step 2: Connect to Your PostgreSQL Server
If your PostgreSQL server is not already connected, navigate to the left-hand navigation panel under the “Servers” section. Locate the server you want to work with. Right-click on the server and select the Connect option from the context menu. A dialog box may appear asking for the server password.
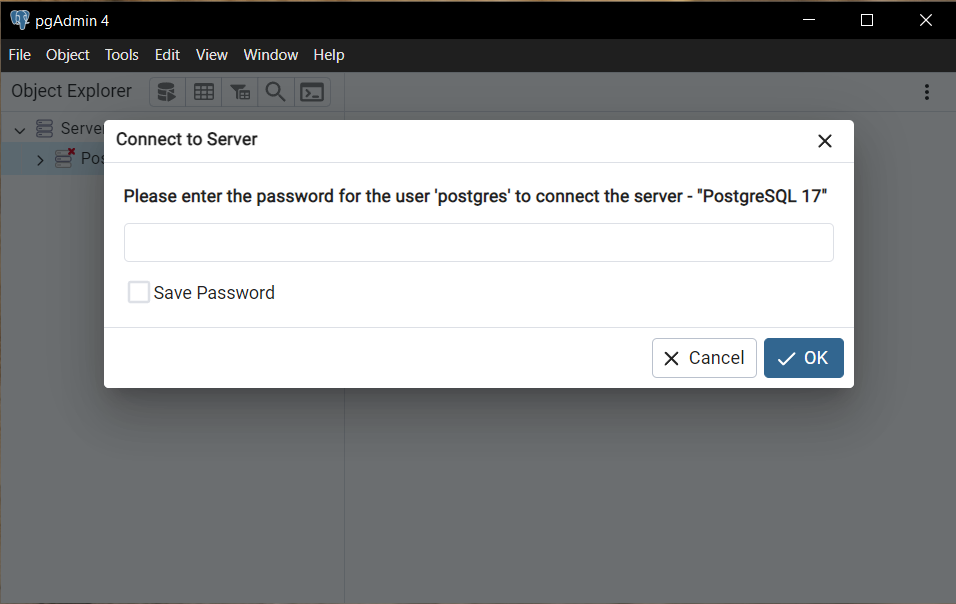
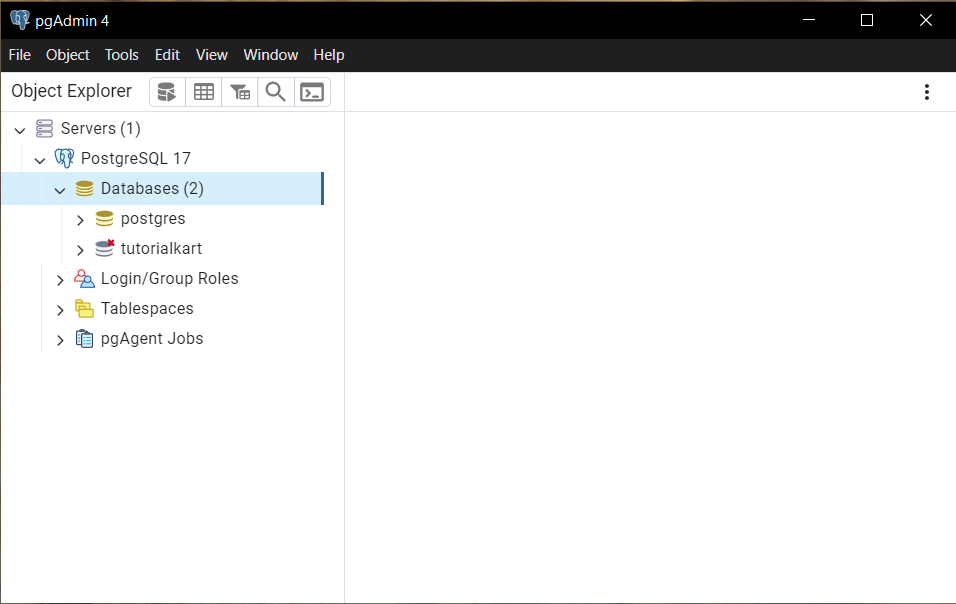
Enter the password and click OK. Once connected, the server node will expand, displaying its associated databases, schemas, and other components.
Step 3: Open the Create Database Dialog
In the left-hand navigation panel, expand the server node to view the available databases. Right-click on the Databases node and select the Create option, followed by Database....
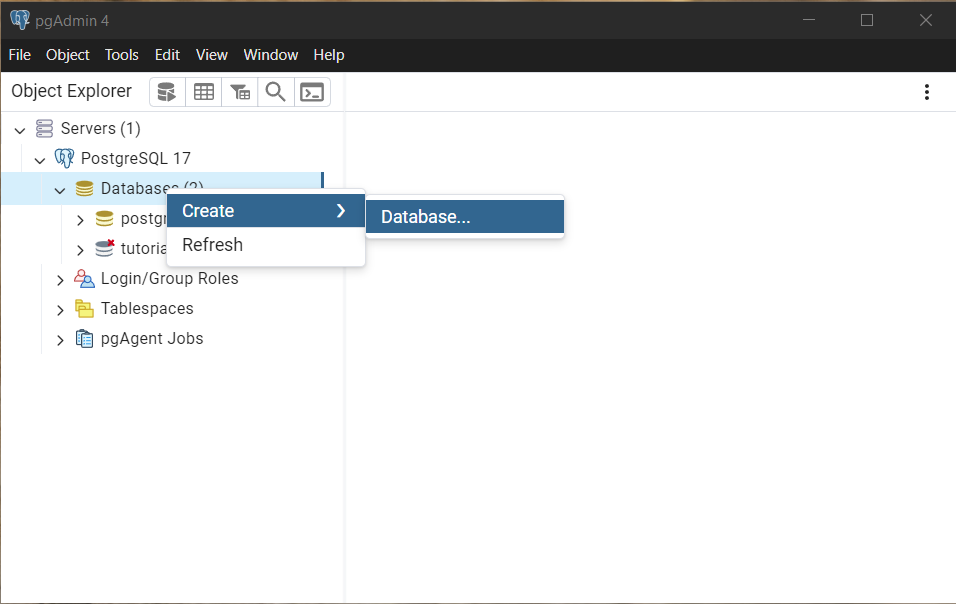
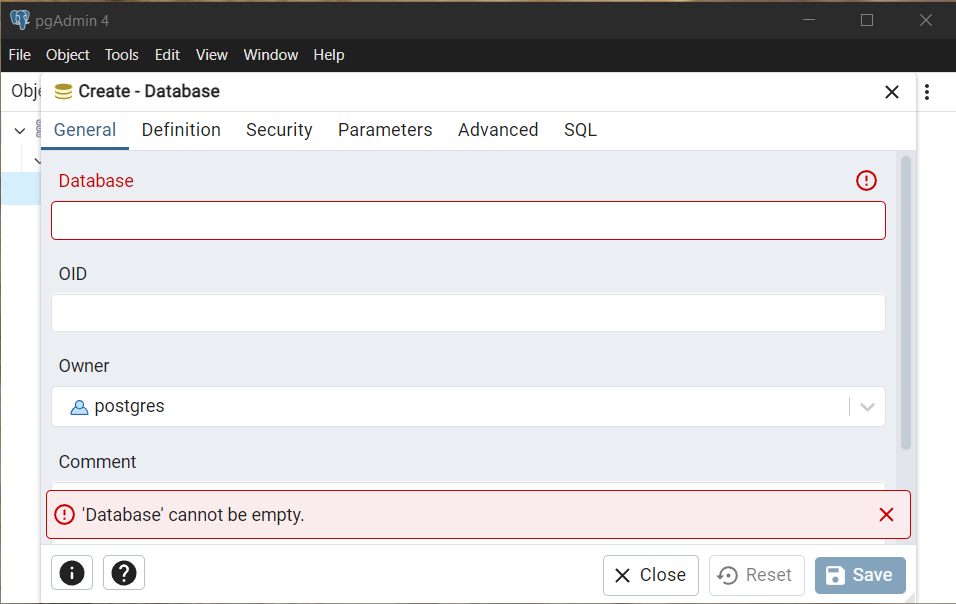
This action will open the “Create – Database” dialog box, where you can specify the details for the new database.
Step 4: Configure the New Database
In the “Create – Database” dialog, you need to fill in the details for the new database. Start by entering the name of the database in the Database field.
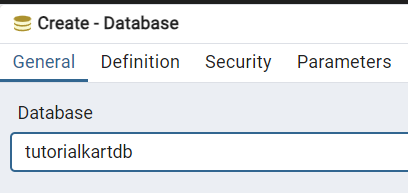
The name should be unique within the server and adhere to PostgreSQL naming conventions.
Next, specify the database owner in the Owner field. By default, the owner is set to the user you are currently logged in as, but you can choose another role if needed. For most scenarios, you can leave the default options under the “Definition” and “Security” tabs as they are.
Once you have entered the required information, click Save to create the database. The dialog box will close, and you will see the new database listed under the “Databases” node in the navigation panel.
Step 5: Verify the New Database
To verify that the database has been successfully created, expand the “Databases” node in the navigation panel.
Locate and click on the name of the newly created database. The database’s details, including schemas, tables, and other components, will be displayed in the main panel.
At this point, the database is ready for use, and you can start creating tables, inserting data, and performing queries.

Conclusion
Creating a database in pgAdmin 4 is a straightforward process that involves connecting to your PostgreSQL server, opening the “Create Database” dialog, and entering the necessary details. By following these steps, you can quickly set up a new database.
