PostgreSQL – Install on Windows
PostgreSQL is a powerful open-source relational database management system. This guide will walk you through installing PostgreSQL on a Windows operating system.
Step 1: Download the PostgreSQL Installer
Visit the PostgreSQL Windows Download Page.
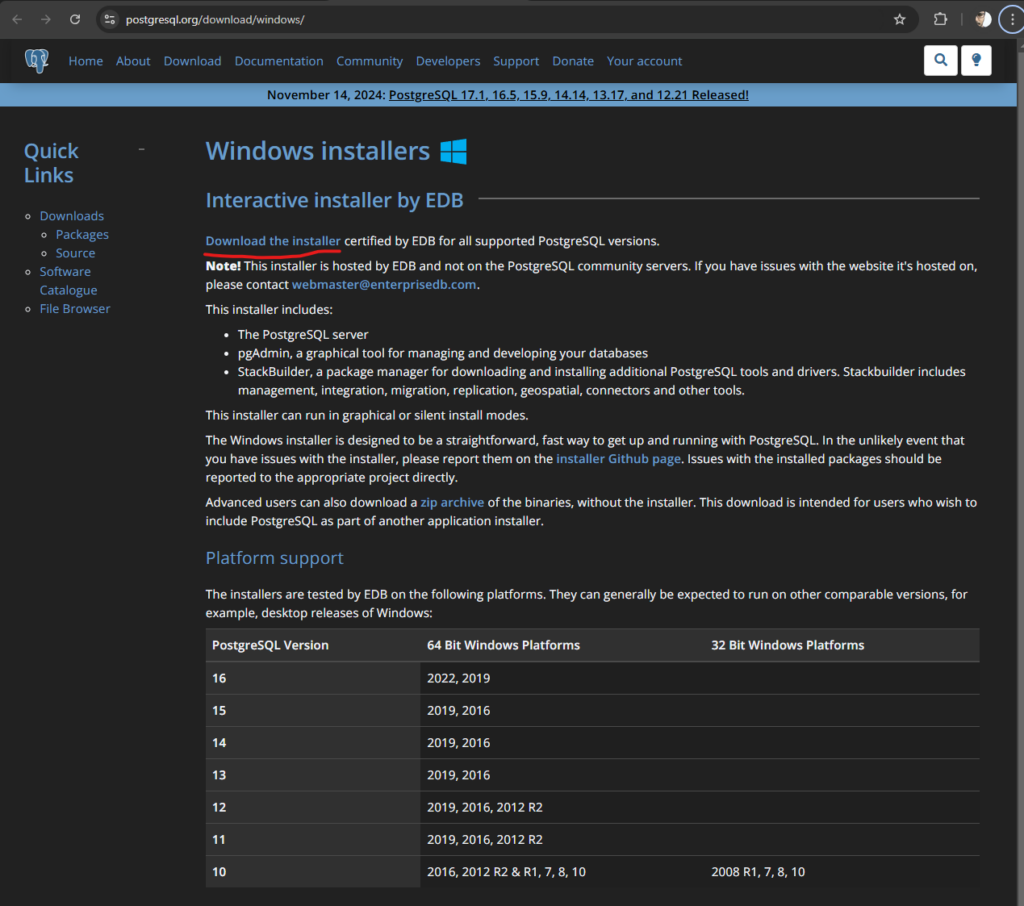
Click on the “Download the installer” link to navigate to the EDB installer page.
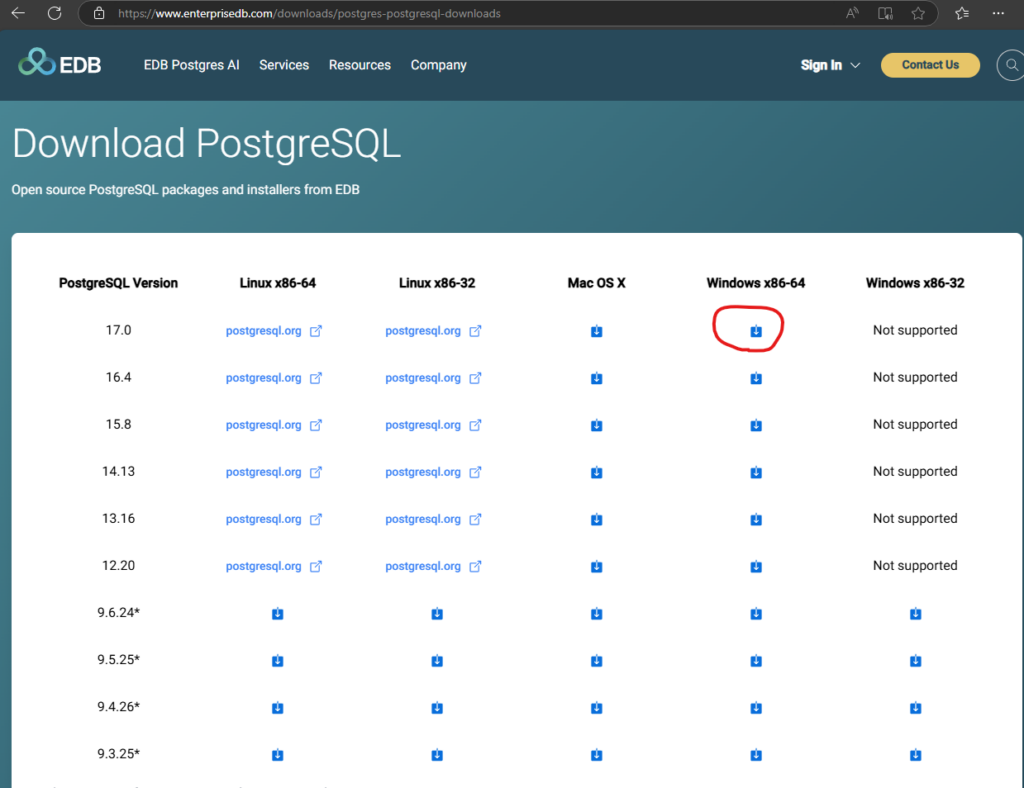
Choose the appropriate version and architecture (32-bit or 64-bit) for your system, then download the installer.
Step 2: Run the PostgreSQL Installer
Locate the downloaded file and double-click it to start the installation process.


Follow the installation wizard:
Step 3: Configure PostgreSQL
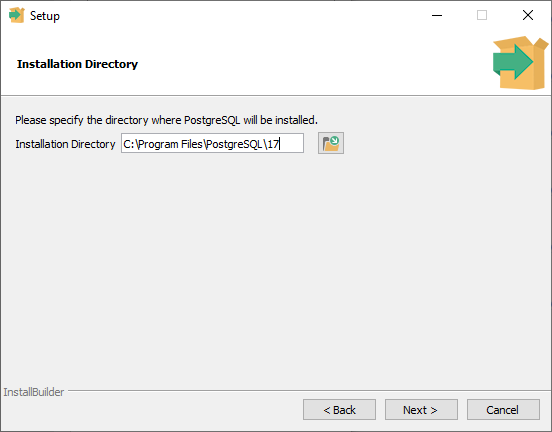
Choose the installation directory (default is usually fine).
Select the components to install (keep defaults: PostgreSQL server, pgAdmin, Stack Builder, etc.).

Click “Next” to proceed through the setup steps.
Data Directory: The folder where database files will be stored. Leave the default or specify a custom location.

Set Password: Enter a secure password for the `postgres` user (superuser). Let us go with 12345678 for the sake of tutorials, you may use your own password.

Port Number: By default, PostgreSQL uses port 5432. Ensure this port is not used by other services.

Locale: Choose a suitable locale for your database (default is usually fine)

Pre installation summary is shown. Click Next.

Setup is now ready to begin. Click Next.

Unpacking starts.


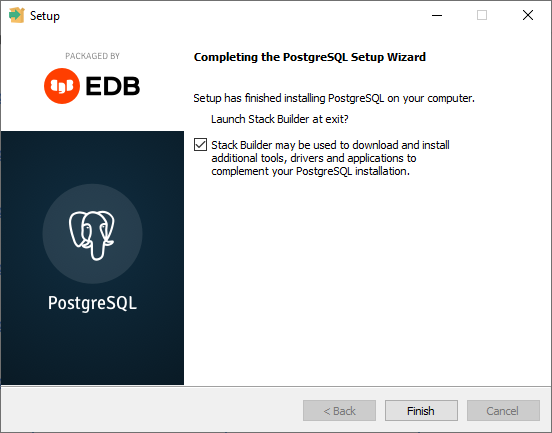
The setup is finish. Uncheck the option, and Click Finish.
Step 4: Complete Installation
- Once all configurations are set, the installer will copy files and set up PostgreSQL.
- After installation, you’ll see the option to launch Stack Builder. This tool can install additional components like extensions and drivers. You can skip this step for now if you don’t need them.
- Click “Finish” to complete the installation process.
Step 5: Verify Installation
Open the pgAdmin tool from the Start menu to access the PostgreSQL graphical interface.
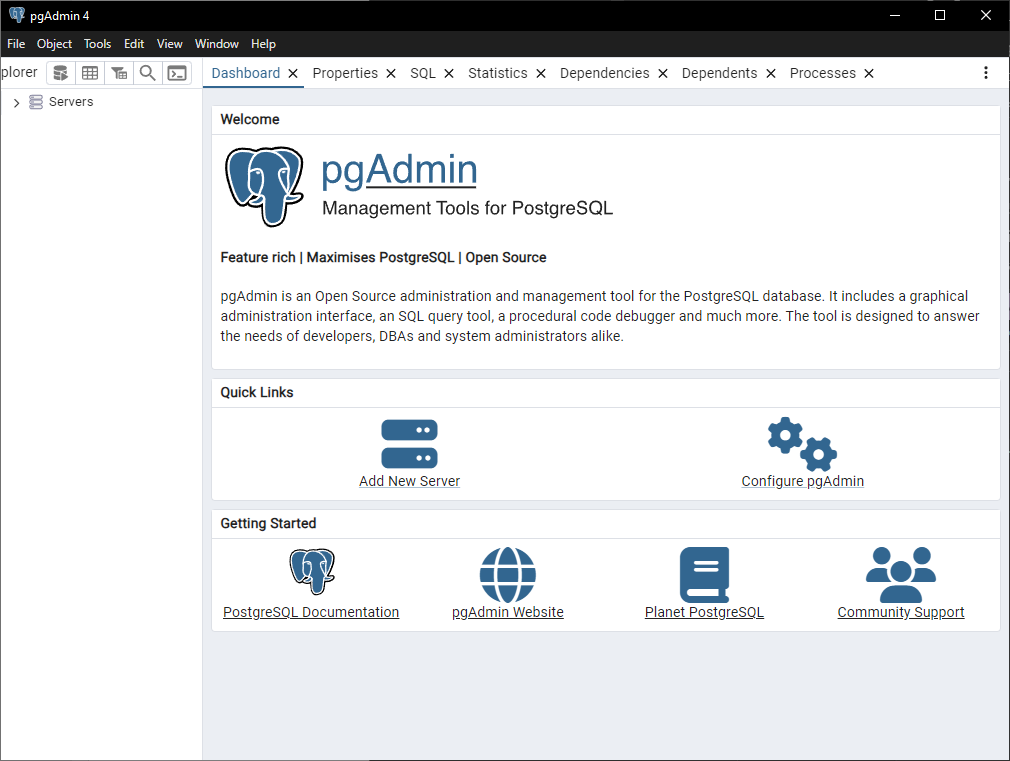
Log in using the `postgres` username and the password you set during installation.

Create a new database or run a query to confirm the server is working as expected.
Step 6: Access PostgreSQL via Command Line
- Open the Command Prompt and navigate to the PostgreSQL `bin` directory. Example:
cd "C:\Program Files\PostgreSQL\\bin" Replace <version> with the installed version of PostgreSQL.
- Access the PostgreSQL shell with:
psql -U postgresEnter the password you set earlier to connect.
Conclusion
You’ve successfully installed PostgreSQL on your Windows machine. You can now use pgAdmin or the command-line interface to manage your databases and start developing with PostgreSQL.
