When you install PostgreSQL, you get SQL Shell (psql) installed.
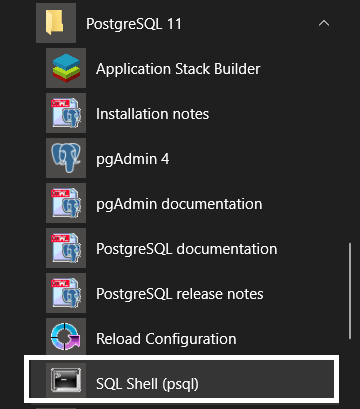
When you click on this program, PostgreSQL SQL Shell or in short psql is opened as shown below.
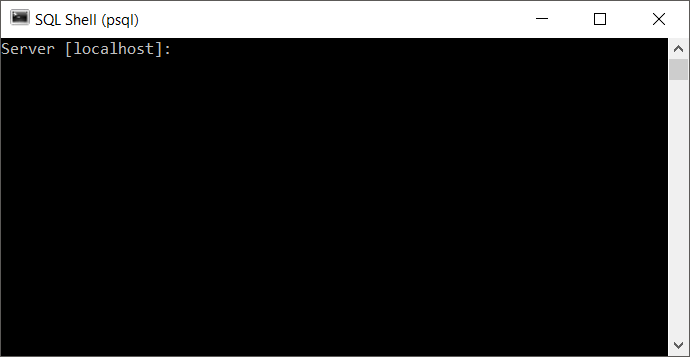
You have to select the server on which the PostgreSQL is running. By default, localhost is selected. If PostgreSQL server is running on a different machine, you can provide the server name here. Else, just click enter button on the keyboard to go with default server: localhost.
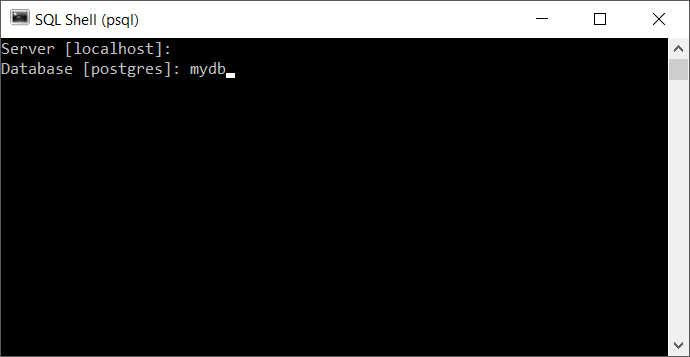
Now, you need to select a database. During postgres installation, a database is created with the name postgres. You can either go with this default database, or select one of the database you already created. We have a database created already with the name mydb. We will select this database.
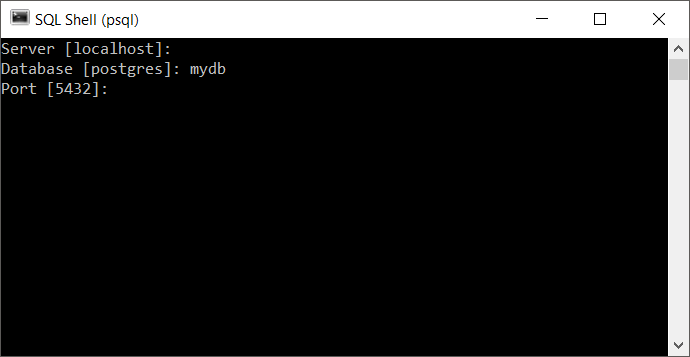
Now the port. By default, PostgreSQL server runs on the port 5432, unless you change it during installation. If you changed the port number, you can provide the same here.
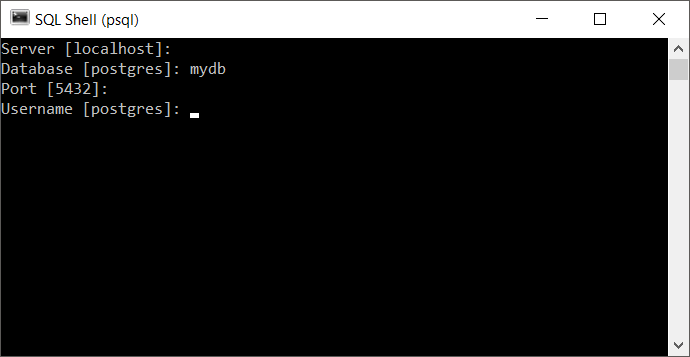
Provide the username. We will go with the default user postgres.
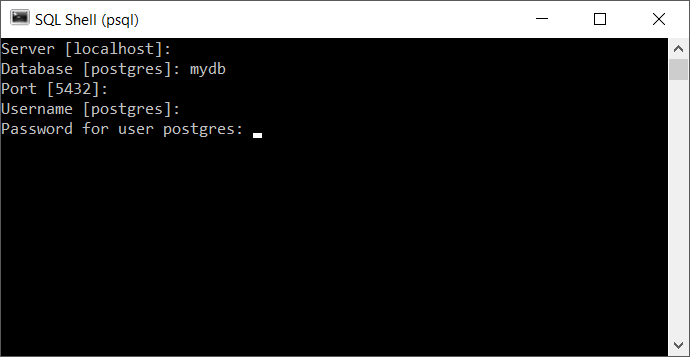
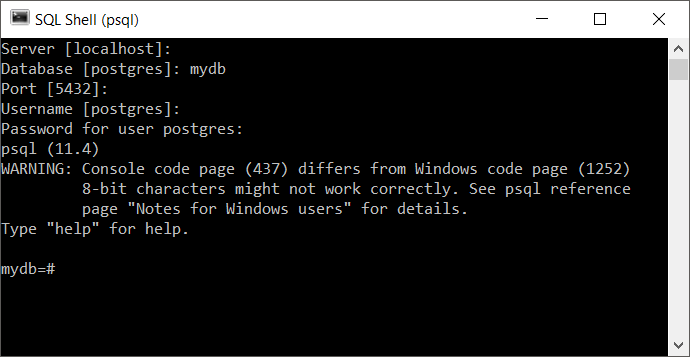
Type in the password for the user and click enter. If the login credentials are correct, you will logged into the command line interface of PostgreSQL as shown below.
Conclusion
In this PostgreSQL Tutorial, we learned how to open PostgreSQL SQL Shell (psql), connect to a PostgreSQL server and login to a database with a username and password.
