Create a Swift Project in Xcode
To create a Swift Project (Command Line Tool) in Xcode, follow these steps.
Step 1 – Open Xcode
Start Xcode from docker or Spotlight Search.
Step 2 – Create New Xcode Project
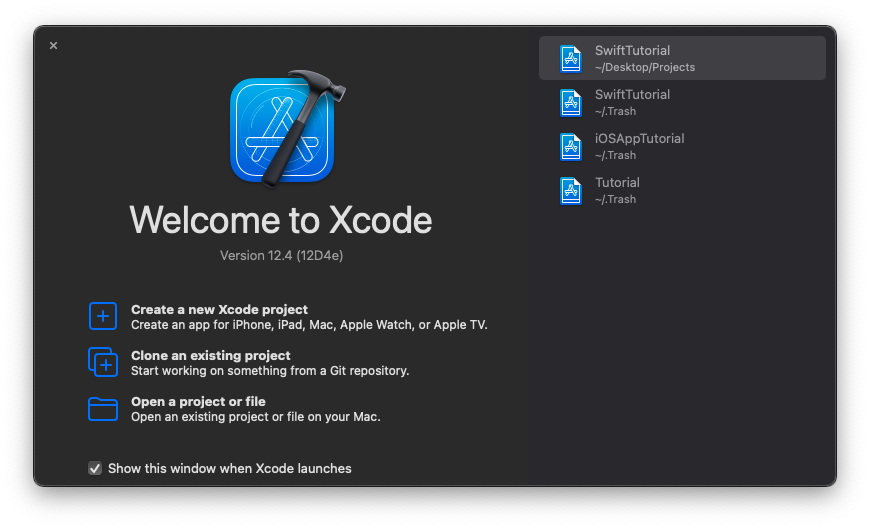
Under Welcome to Xcode, click on ‘Crete a new Xcode project’.
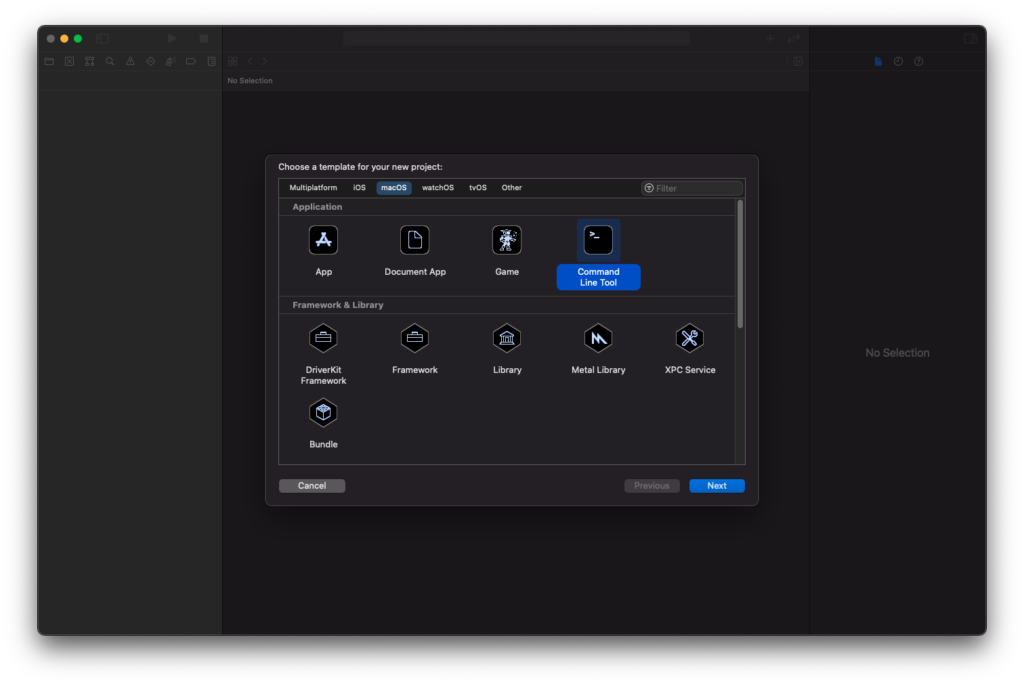
We need to choose a new template for this project.
Under macOS section, choose Command Line Tool. and click on Next button.
Step 3 – Project Name
Type in a name for this Project. Say HelloWorld, and click on Next button.

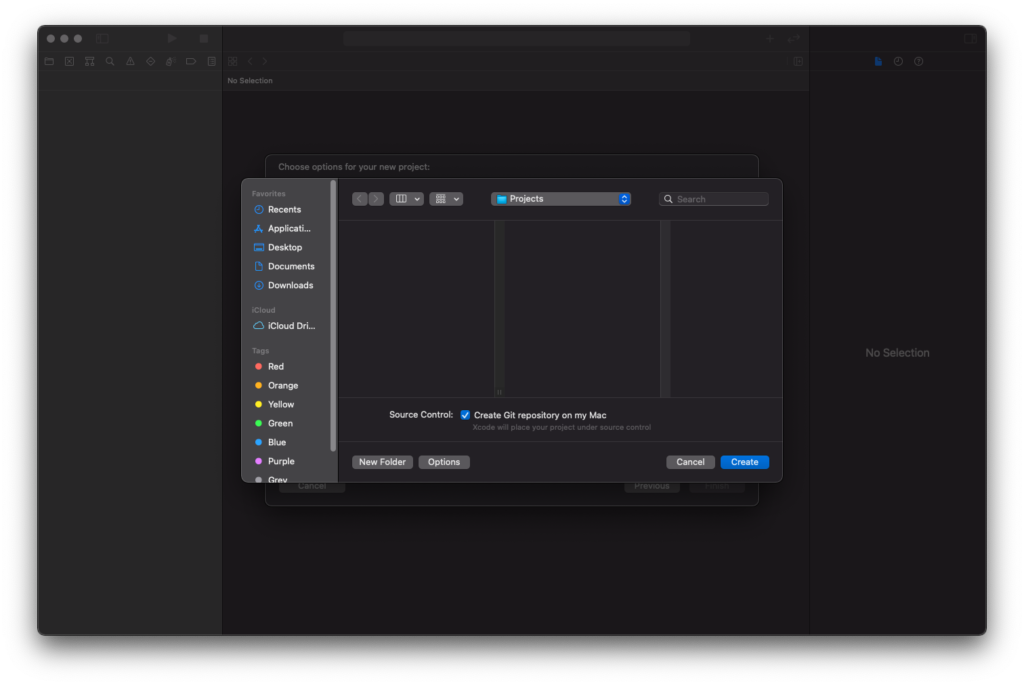
Step 4 – Project Location
Choose a location for this project and click on Create button.
A welcome screen to the Project appears as shown in the following screenshot.
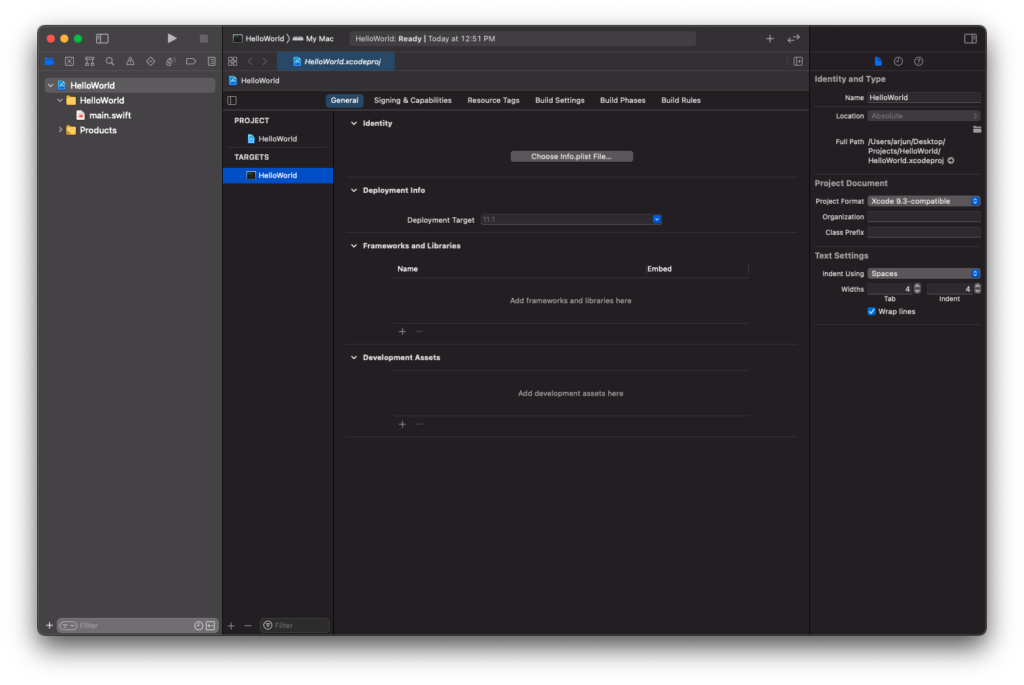
Step 5 – main.swift
From the left panel, under HelloWorld project, click on main.swift file. The file opens in the editor.
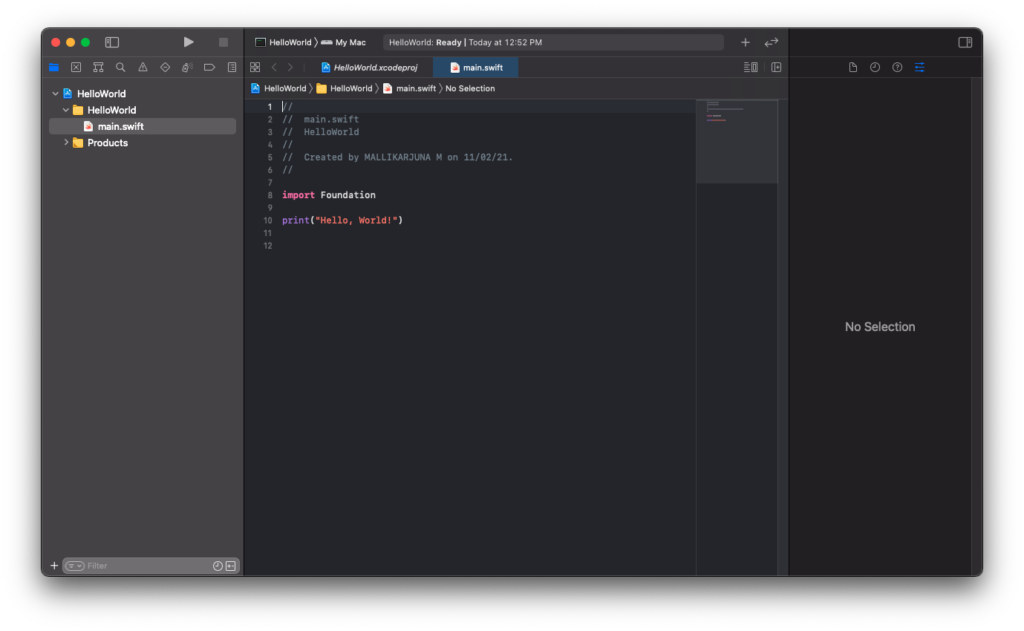
Step 6 – Run Swift Program
In the top of left panel, there is a play button. Click on this button to run the program.
A ‘Build Succeeded’ message appears and the project is run.

The output appears in the bottom window of the tool.
Conclusion
In this Swift Tutorial, we learned how to create a Swift project using Xcode, in a step by step process.