Flutter – Image Repeat
To repeat an image in Image widget in its bounds in Flutter Application, set repeat property of the Image widget with required ImageRepeat value.
repeat property can be set with one of the following values.
- ImageRepeat.repeat
- ImageRepeat.repeatX
- ImageRepeat.repeatY
- ImageRepeat.noRepeat
Syntax
The syntax to set repeat property for Image widget is
const Image(
  repeat: ImageRepeat.repeat,
)
Examples
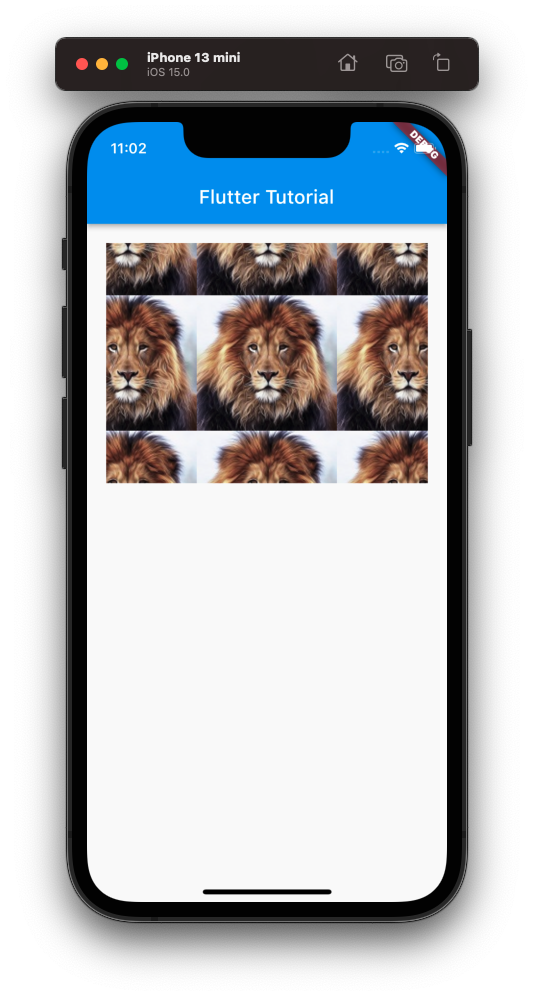
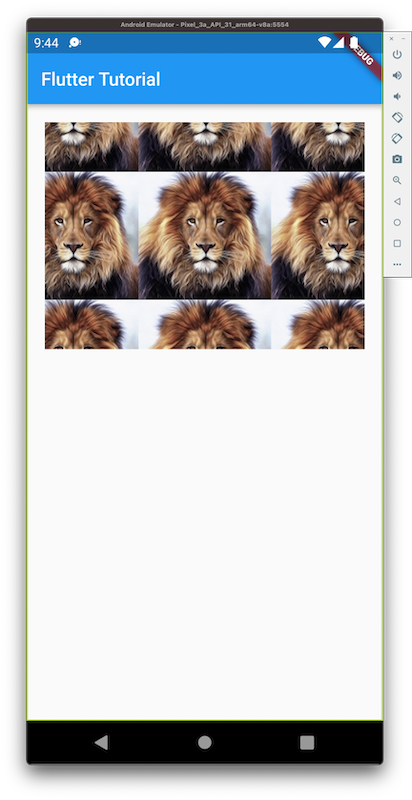
In the following example, we create a Flutter Application with an Image widget. This Image widget has bounds set by width of 400, and height of 250. We shall set repeat property, such that the image repeats in the Image bounds.
main.dart
import 'dart:ui';

import 'package:flutter/material.dart';

void main() => runApp(const MyApp());

class MyApp extends StatelessWidget {
  const MyApp({Key? key}) : super(key: key);

  static const String _title = 'Flutter Tutorial';

  @override
  Widget build(BuildContext context) {
    return MaterialApp(
      title: _title,
      home: Scaffold(
        appBar: AppBar(title: const Text(_title)),
        body: const MyStatefulWidget(),
      ),
    );
  }
}

class MyStatefulWidget extends StatefulWidget {
  const MyStatefulWidget({Key? key}) : super(key: key);

  @override
  State<MyStatefulWidget> createState() => _MyStatefulWidgetState();
}

class _MyStatefulWidgetState extends State<MyStatefulWidget> {
  @override
  Widget build(BuildContext context) {
    return Center(
      child: Column(
        children: <Widget>[
          Container(
            margin: const EdgeInsets.all(20),
            child: const Image(
              width: 400,
              height: 250,
              repeat: ImageRepeat.repeat,
              image: NetworkImage(
                    'https://www.tutorialkart.com/img/lion_small.jpg'),
            ),
          ),
        ],
      ),
    );
  }
}
Screenshot – iPhone Simulator

Screenshot – Android Emulator

Repeat in X or Y directions
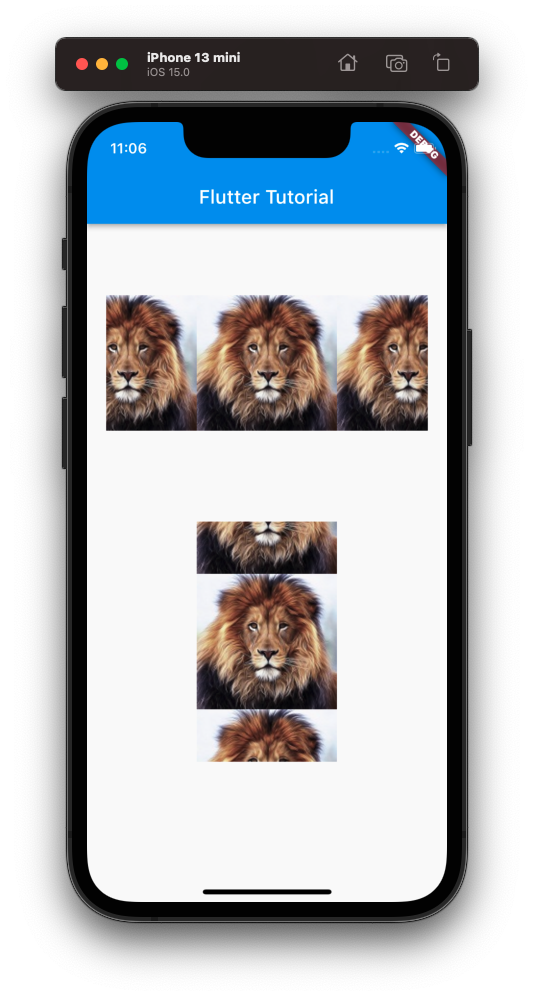
In the following example, we create a Flutter Application with two Image widgets. Both these Image widgets have bounds: width of 400, and height of 250. For the first Image widget, we repeat the image along X axis, and for the second Image widget, we repeat the image along Y axis.
main.dart
import 'dart:ui';

import 'package:flutter/material.dart';

void main() => runApp(const MyApp());

class MyApp extends StatelessWidget {
  const MyApp({Key? key}) : super(key: key);

  static const String _title = 'Flutter Tutorial';

  @override
  Widget build(BuildContext context) {
    return MaterialApp(
      title: _title,
      home: Scaffold(
        appBar: AppBar(title: const Text(_title)),
        body: const MyStatefulWidget(),
      ),
    );
  }
}

class MyStatefulWidget extends StatefulWidget {
  const MyStatefulWidget({Key? key}) : super(key: key);

  @override
  State<MyStatefulWidget> createState() => _MyStatefulWidgetState();
}

class _MyStatefulWidgetState extends State<MyStatefulWidget> {
  @override
  Widget build(BuildContext context) {
    return Center(
      child: Column(
        children: <Widget>[
          Container(
            margin: const EdgeInsets.all(20),
            child: const Image(
              width: 400,
              height: 250,
              repeat: ImageRepeat.repeatX,
              image: NetworkImage(
                    'https://www.tutorialkart.com/img/lion_small.jpg'),
            ),
          ),
          Container(
            margin: const EdgeInsets.all(20),
            child: const Image(
              width: 400,
              height: 250,
              repeat: ImageRepeat.repeatY,
              image: NetworkImage(
                  'https://www.tutorialkart.com/img/lion_small.jpg'),
            ),
          ),
        ],
      ),
    );
  }
}
Screenshot

Conclusion
In this Flutter Tutorial, we learned how to repeat an image in an Image widget, along X-axis, Y-axis, or both the axes, with examples.
