In our previous tutorial, we learned how to create a new Android application with Kotlin support. In this Android Tutorial, we shall learn to convert Java Files in Android Application to Kotlin Files or Classes.
Quick Information: Existing Java Classes could be converted to Kotlin Classes using
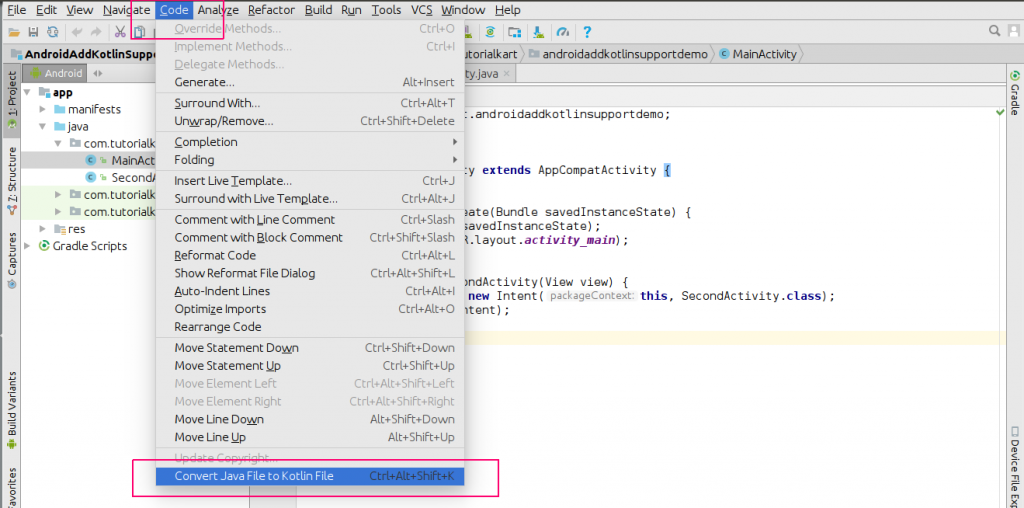
(Studio’s Menu Bar) Code -> Convert Java File to Kotlin File |
Convert Java Files in Android Application to Kotlin Files or Classes
Now, we shall see a step by step process of how to convert Java Files in Android Application to Kotlin Files and Run the Application on an Android Phone.
-
Open existing Android Studio project
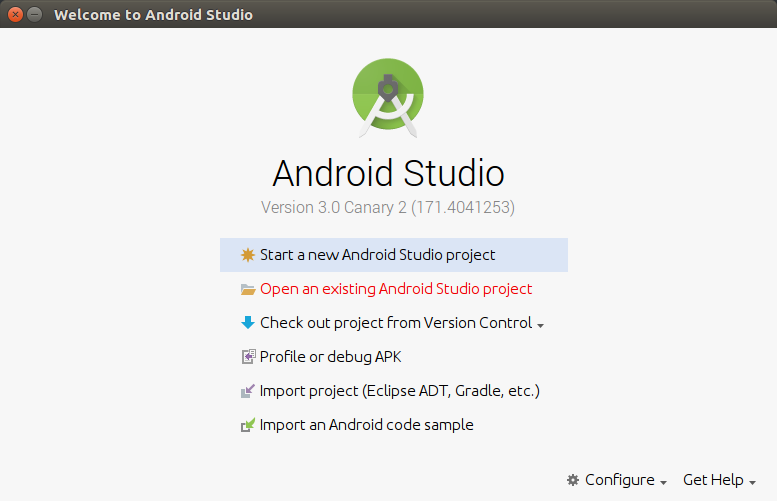
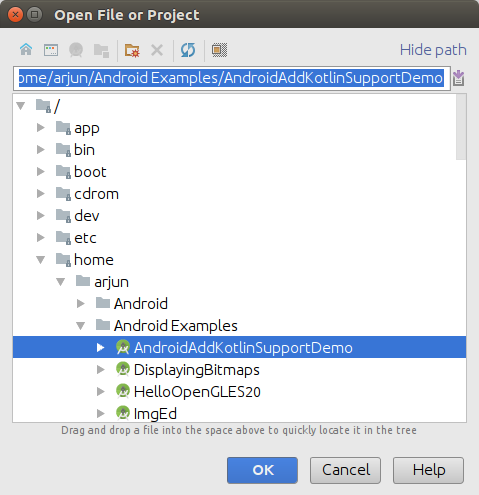
Start Android Studio 3.0 and click on “Open an existing Android Studio project”.
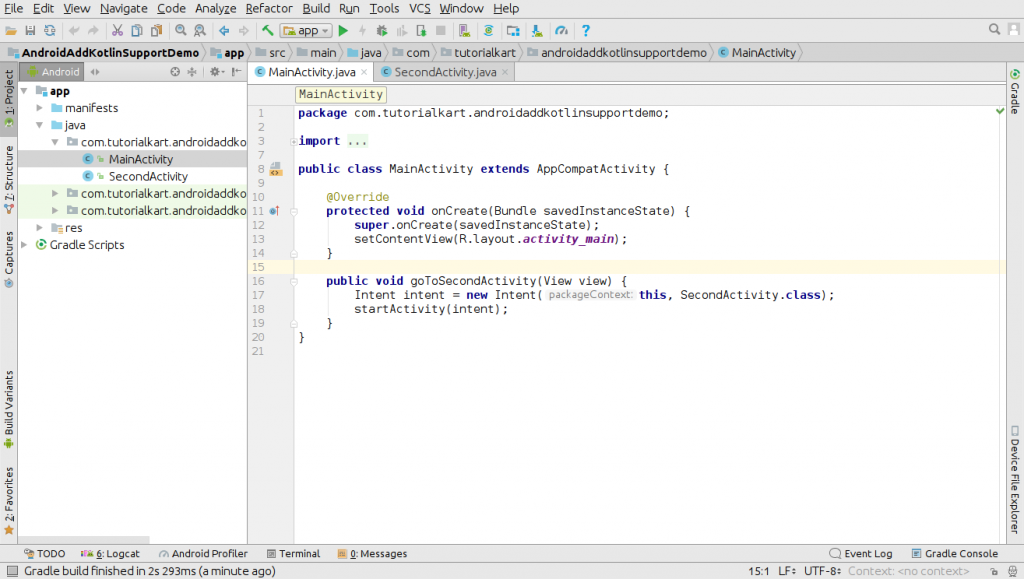
In this already existing Android Studio project, we have two activities namely “MainActivity.java” and “SecondActivity.java”
Convert Java File to Kotlin File
Open MainActivity.java.
Click on “Code” in Menu bar, and then on “Convert Java File to Kotlin File”.
Repeat the process for all the Java Classes in your Android project that you want to be converted to Kotlin Classes.
Configure Kotlin
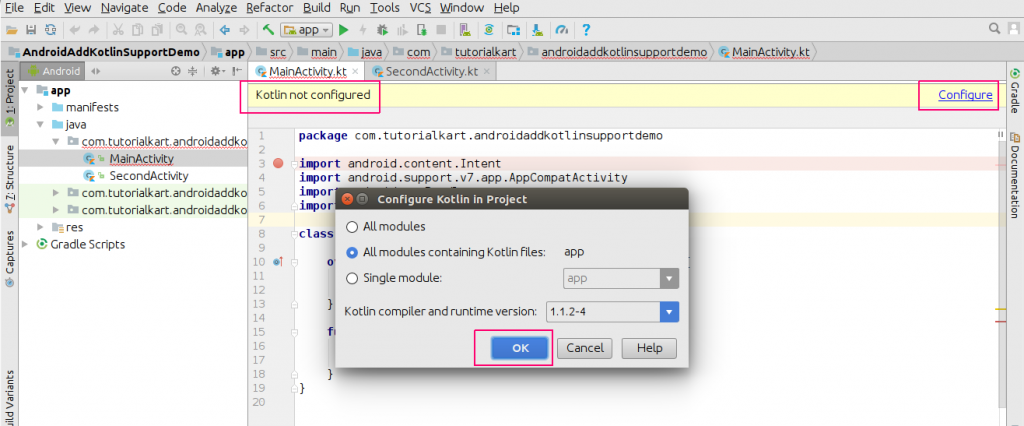
If you get a message “Kotlin not configured”, Click on “Configure” link provided in the message.
Keep the defaults in the dialogue box “Configure Kotlin in Project” and click “OK”.
If Gradle Sync is required, proceed with the sync.
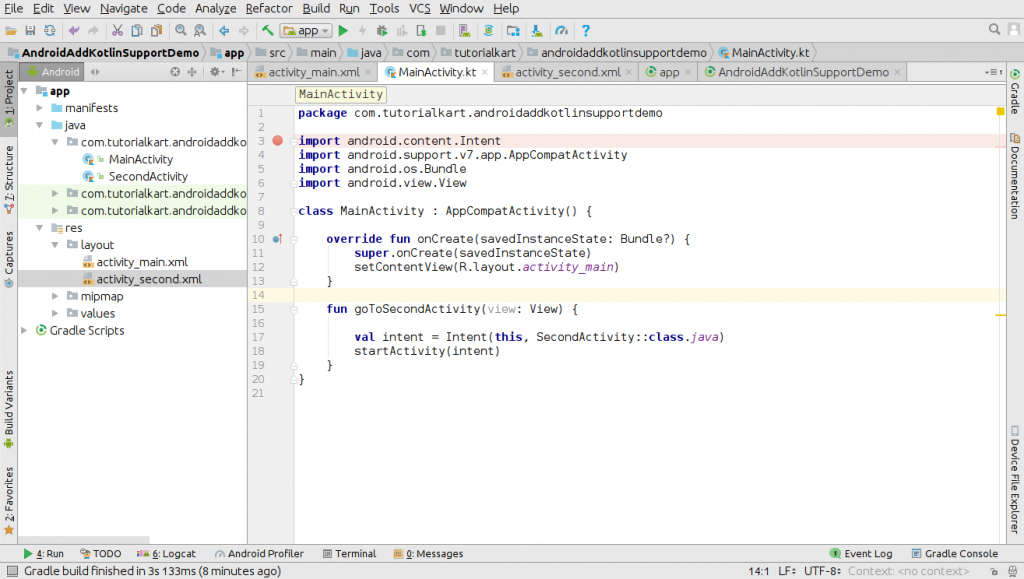
Once the Gradle sync is done, the project should be without any errors as shown below.
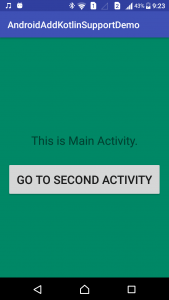
Run the application.
Conclusion
We have successfully learned how to Convert Java Files of Android Studio project to Kotlin Files, and we have confirmed the working of our old Android application with the new Kotlin files on an Android phone. In our next tutorial, we shall the differences between Kotlin and Java.

