Android Button – Text
To set Android Button text, we can assign android:text XML attribute for Button in layout file with the required Text value.
To programmatically set or change Android Button text, we can pass specified string to the method Button.setText(new_string_value).
In this tutorial, we will learn how to set or change the text in Android Button, with the help of example application.

Set Android Button Text in Layout File
In this example project, we will change the Button text in layout file using android:text XML attribute. The following is a step by step process.
Step 1
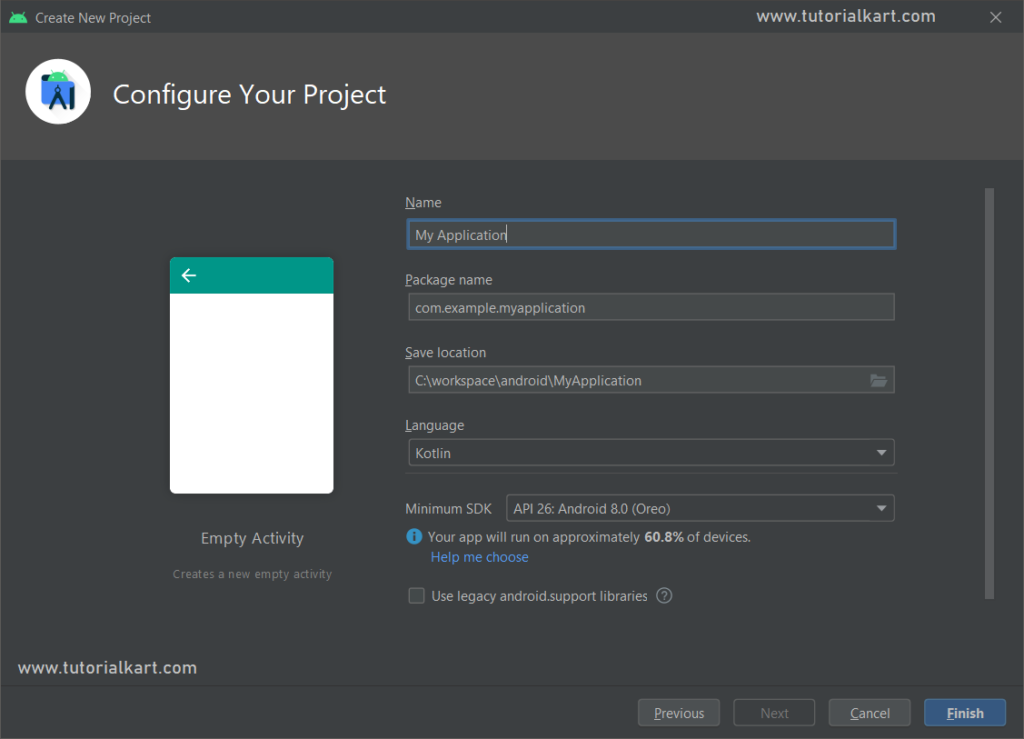
Open Android Studio and create an Android Project as shown in the following screenshot.

Step 2
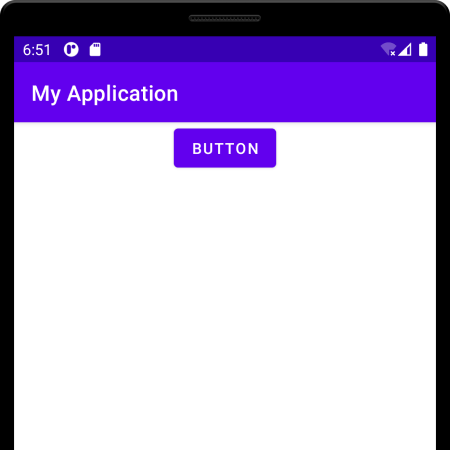
Create Button widget in activity_main.xml. Set the text value of Button widget using android:text attribute. In the following layout file, we have set the button text to "Button".
activity_main.xml
<?xml version="1.0" encoding="utf-8"?>
<androidx.constraintlayout.widget.ConstraintLayout xmlns:android="http://schemas.android.com/apk/res/android"
    xmlns:app="http://schemas.android.com/apk/res-auto"
    xmlns:tools="http://schemas.android.com/tools"
    android:layout_width="match_parent"
    android:layout_height="match_parent"
    tools:context=".MainActivity">
    <Button
        android:id="@+id/myButton"
        android:text="Button"
        android:layout_width="wrap_content"
        android:layout_height="wrap_content"
        app:layout_constraintLeft_toLeftOf="parent"
        app:layout_constraintRight_toRightOf="parent"
        app:layout_constraintTop_toTopOf="parent" />
</androidx.constraintlayout.widget.ConstraintLayout>
We may keep the MainActivity.kt to the default code.
MainActivity.kt
package com.example.myapplication
import androidx.appcompat.app.AppCompatActivity
import android.os.Bundle
class MainActivity : AppCompatActivity() {
    override fun onCreate(savedInstanceState: Bundle?) {
        super.onCreate(savedInstanceState)
        setContentView(R.layout.activity_main)
    }
}
Step 3
Run this Android Application, and we would get the following output in the screen.

Change Android Button Text Programmatically
In this example project, we will change the Button text programmatically in MainActivity.kt program using Button.setText(“new_value”) or Button.text = “new_value”. The following is a step by step process.
Step 1
Open Android Studio and create an Android Project as shown in the following screenshot.

Step 2
Create Button widget in our main activity layout file as shown in the following acitivity_main.xml. Please note that we assigned an id myButton. We shall use this id to get the reference to this Button in MainActivity.kt program.
activity_main.xml
<?xml version="1.0" encoding="utf-8"?>
<androidx.constraintlayout.widget.ConstraintLayout xmlns:android="http://schemas.android.com/apk/res/android"
    xmlns:app="http://schemas.android.com/apk/res-auto"
    xmlns:tools="http://schemas.android.com/tools"
    android:layout_width="match_parent"
    android:layout_height="match_parent"
    tools:context=".MainActivity">
    <Button
        android:id="@+id/myButton"
        android:text="Button"
        android:layout_width="wrap_content"
        android:layout_height="wrap_content"
        app:layout_constraintLeft_toLeftOf="parent"
        app:layout_constraintRight_toRightOf="parent"
        app:layout_constraintTop_toTopOf="parent" />
</androidx.constraintlayout.widget.ConstraintLayout>
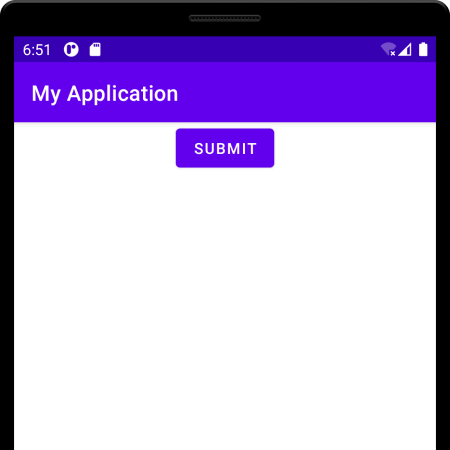
In MainActivity.kt program, we will get the reference to the Button using id, and set its text to a new value "Submit" using Button setText() method. We can assign the new value to Button.text property. Inherently setText() method is called.
MainActivity.kt
package com.example.myapplication
import androidx.appcompat.app.AppCompatActivity
import android.os.Bundle
import android.widget.Button
class MainActivity : AppCompatActivity() {
    override fun onCreate(savedInstanceState: Bundle?) {
        super.onCreate(savedInstanceState)
        setContentView(R.layout.activity_main)
        val button: Button = findViewById(R.id.myButton)
        button.text = "Submit"
    }
}
Step 3
Run this Android Application, and we would get the following output in the screen.

Conclusion
In this Kotlin Android Tutorial, we learned how to change the text of Button widget in Android using Kotlin language via layout file and programmatically.
